Step-By-Step User Guide
The 5-Pin Cone
Today, we’ll show you how to swap out the Deity DXTX cone for a stereo 5-pin cone.
The DXTX ships with a mono XLR connection; the 5-pin cone comes as an optional accessory.
Detaching the 3-pin Cone
Once you’ve picked it up, power down the device and remove the batteries.
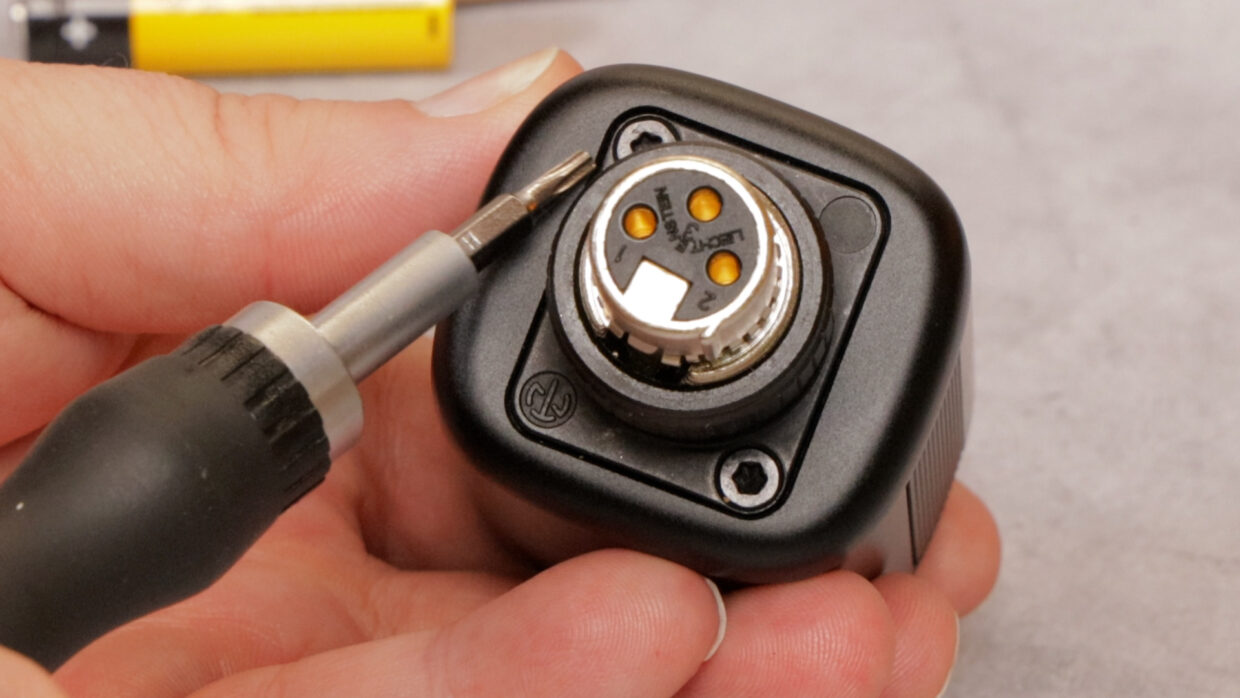
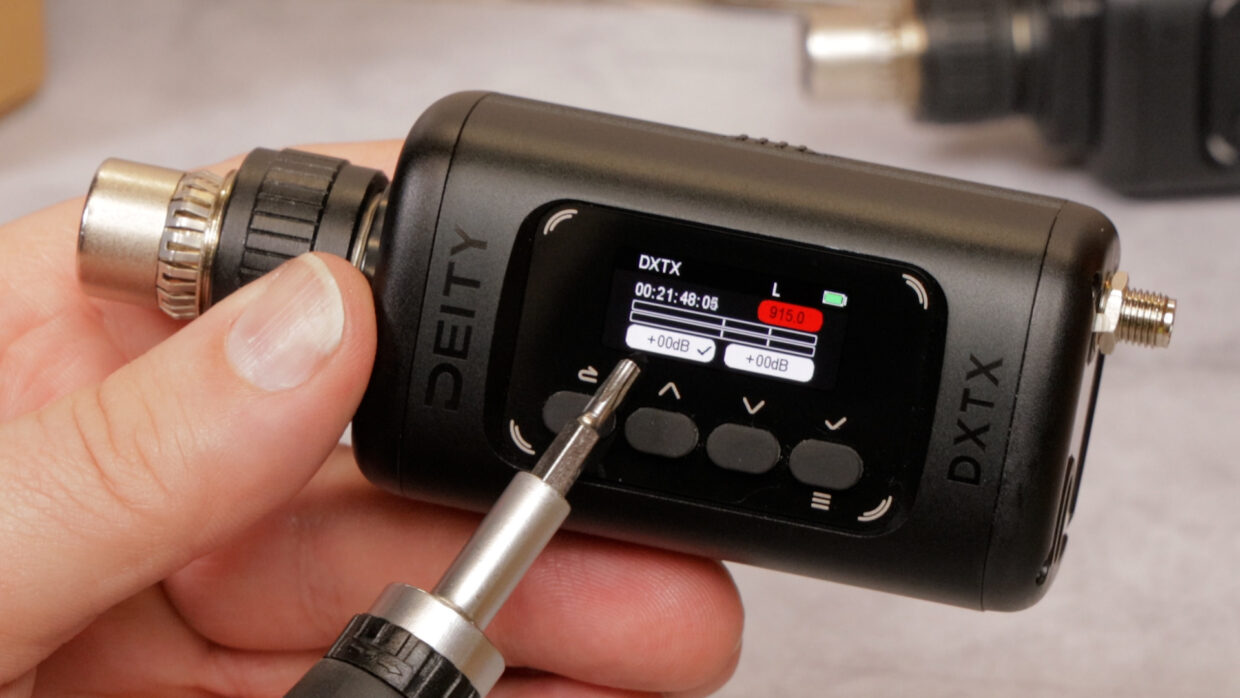
Next, using a size T9 screwdriver, remove the two screws on the front of the unit.
Pin Connection
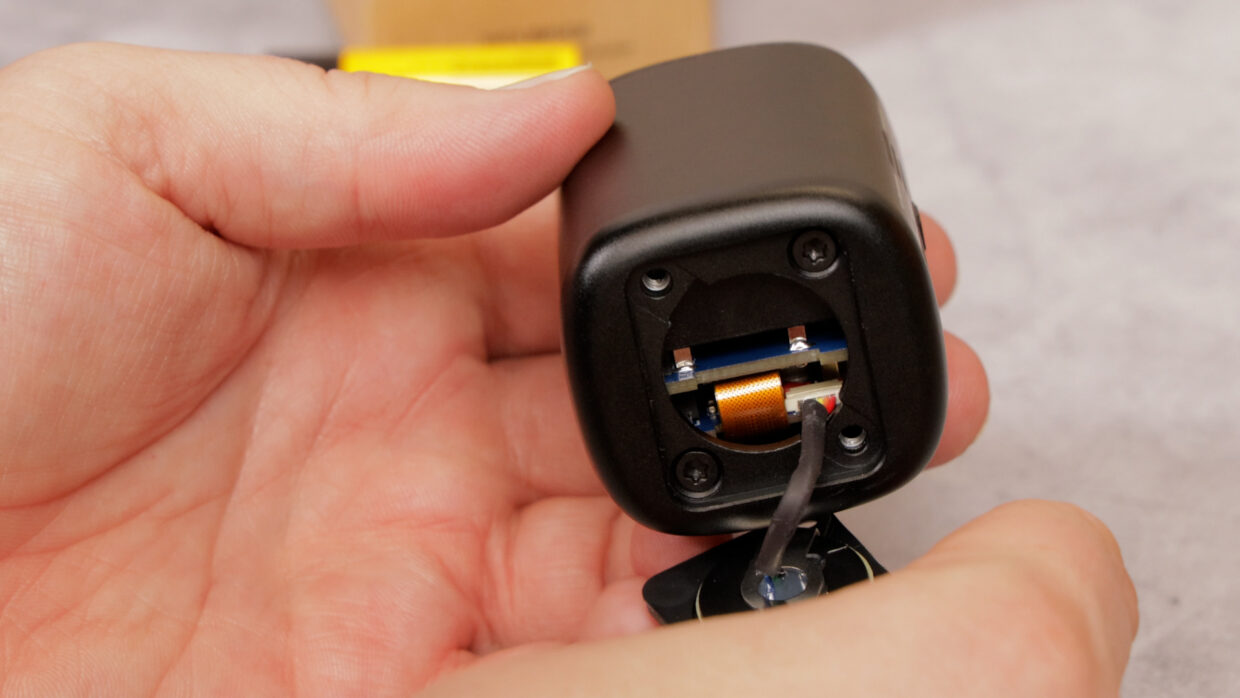
Gently pull the cone off until you can see the pin connection. Set down the cone and pull out the connector cable; again, be gentle with this.
Seating the New Cone
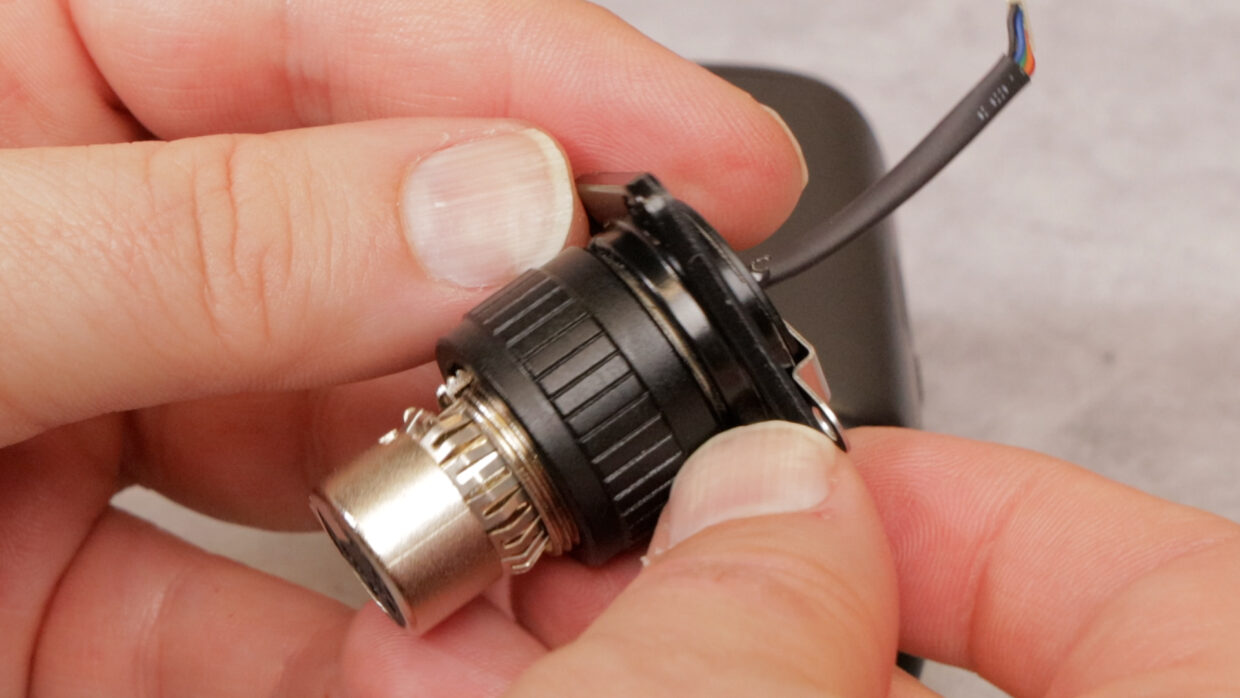
Grab the 5-pin cone and double-check that your pins are aligned.
Then, seat the new connector as best you can with your hand, and then secure it fully with a screwdriver.

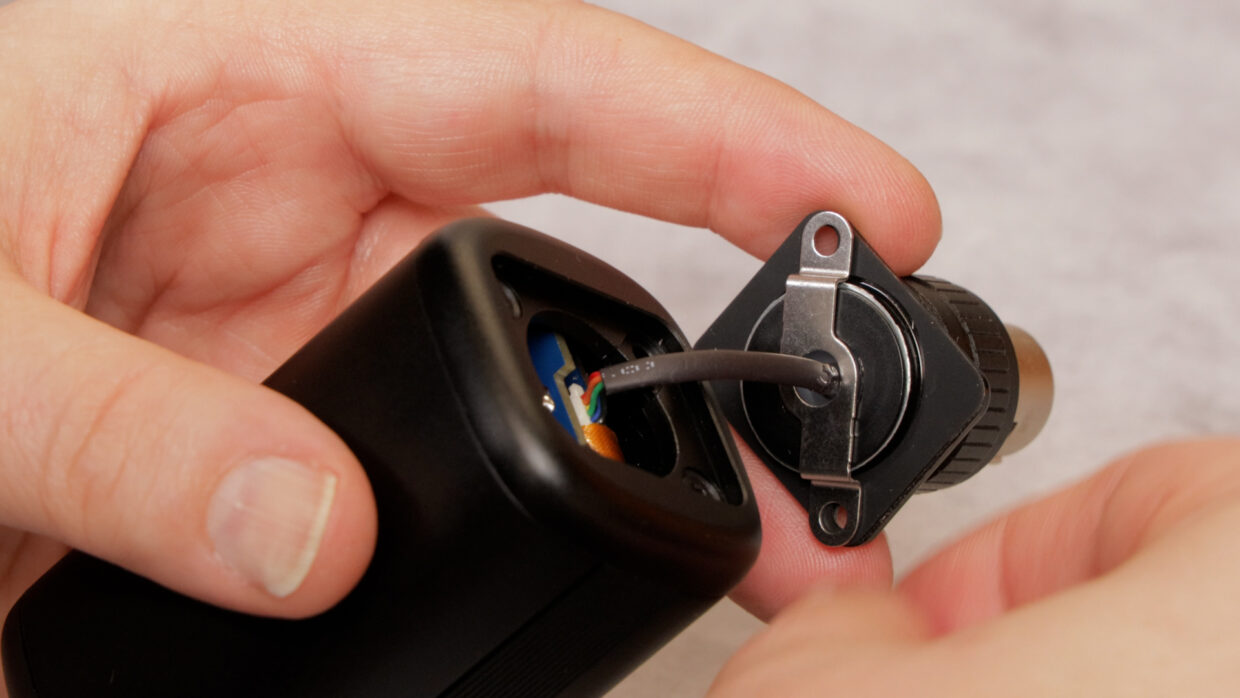
Mind the cable
Place the cone onto the unit, being mindful not to pinch the cable connection.
Finally, with the unit secured with your thumb, use the original screws to lock it in place.
Enabling stereo mode
When you turn the unit on, you can see that it automatically boots in stereo mode.
From there, you can control the gain of each channel independently.
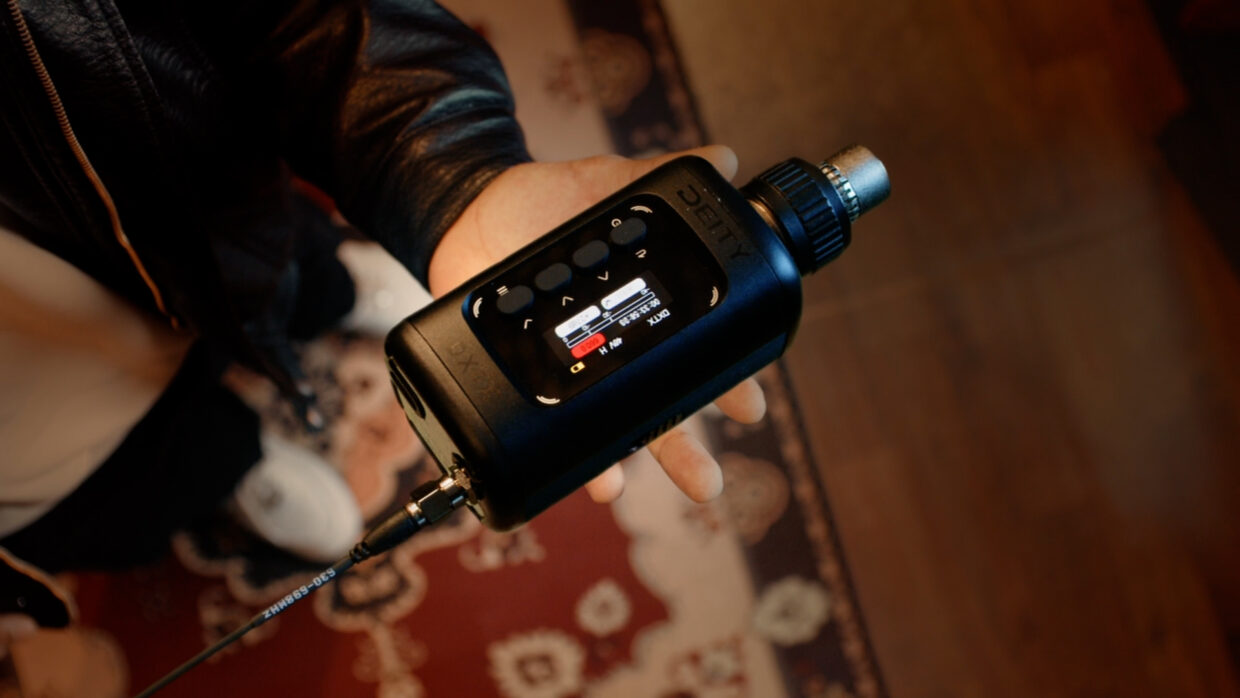
You’re up and running!
Your DXTX is now ready to get recording!
If you need help syncing the DXTX to our Deity TC-1 timecode generators, here is a User Guide!
Connect all your devices to your phone or laptop via Sidus Audio™️. With our app, you can control your device’s settings, monitor their status, and sync all your units at once. Learn More
For the user guide to Sidus Audio™️ Click Here

