Step-By-Step User Guide
Timecode Menu
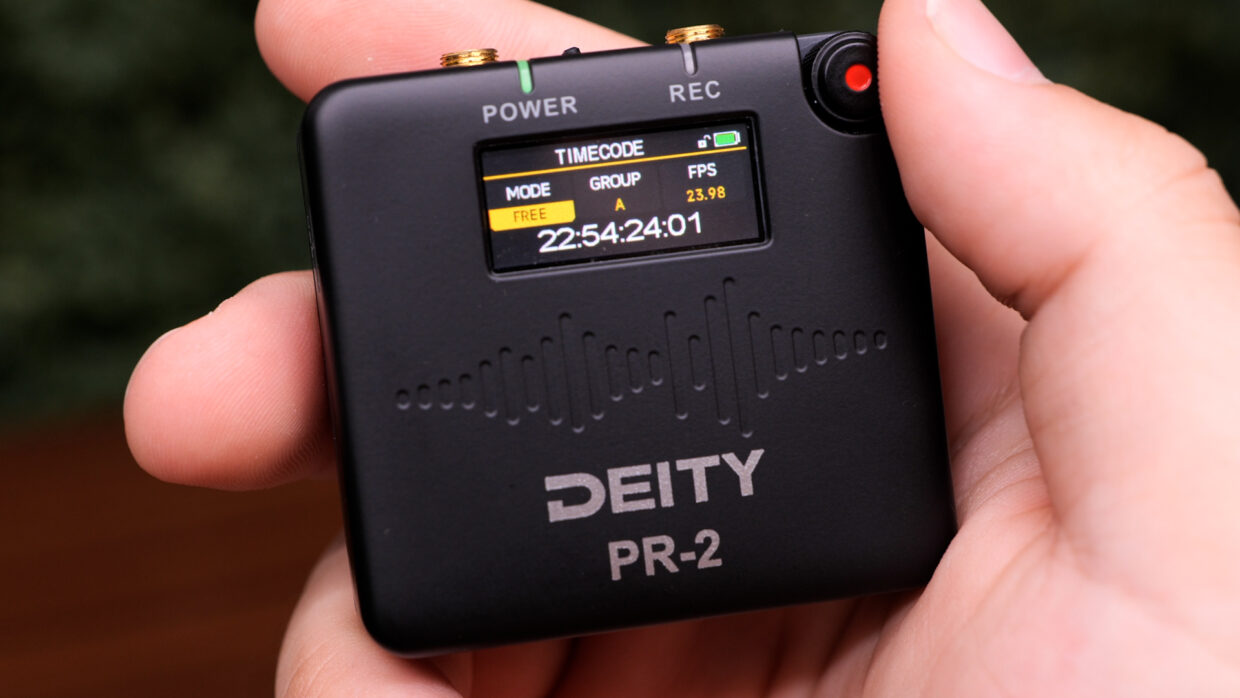
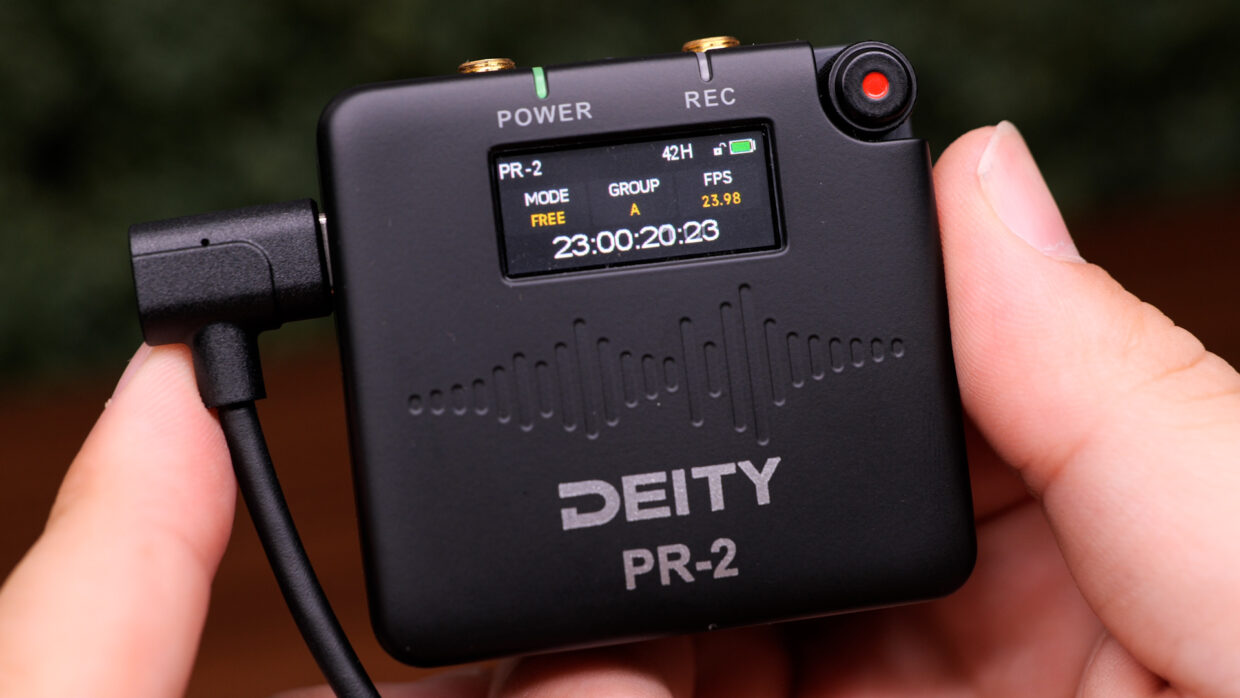
Today, we are gonna show you how to set the timecode in your Deity PR-2.
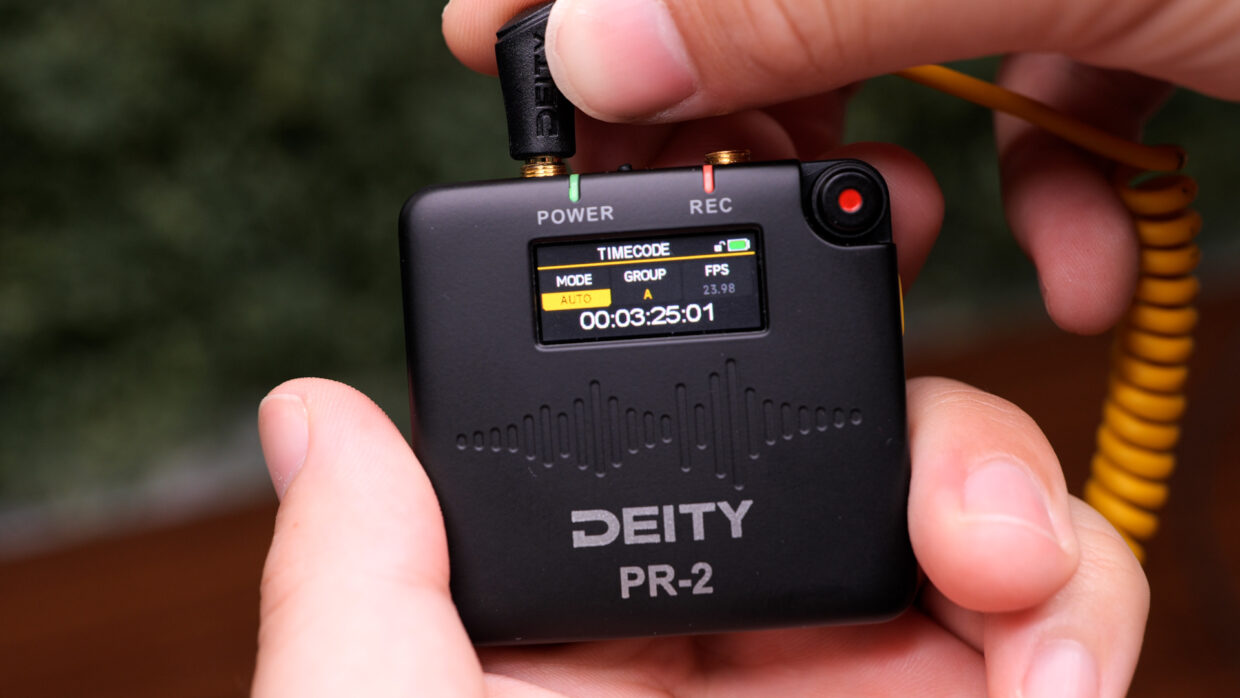
First, On the PR-2, short-press the record button and scroll down to the timecode menu. Here can control three major elements of your timecode. Mode, group, and frames per second.
Timecode Mode
“Mode” dictates how and when your timecode is activated. Here, you can see there are four modes:
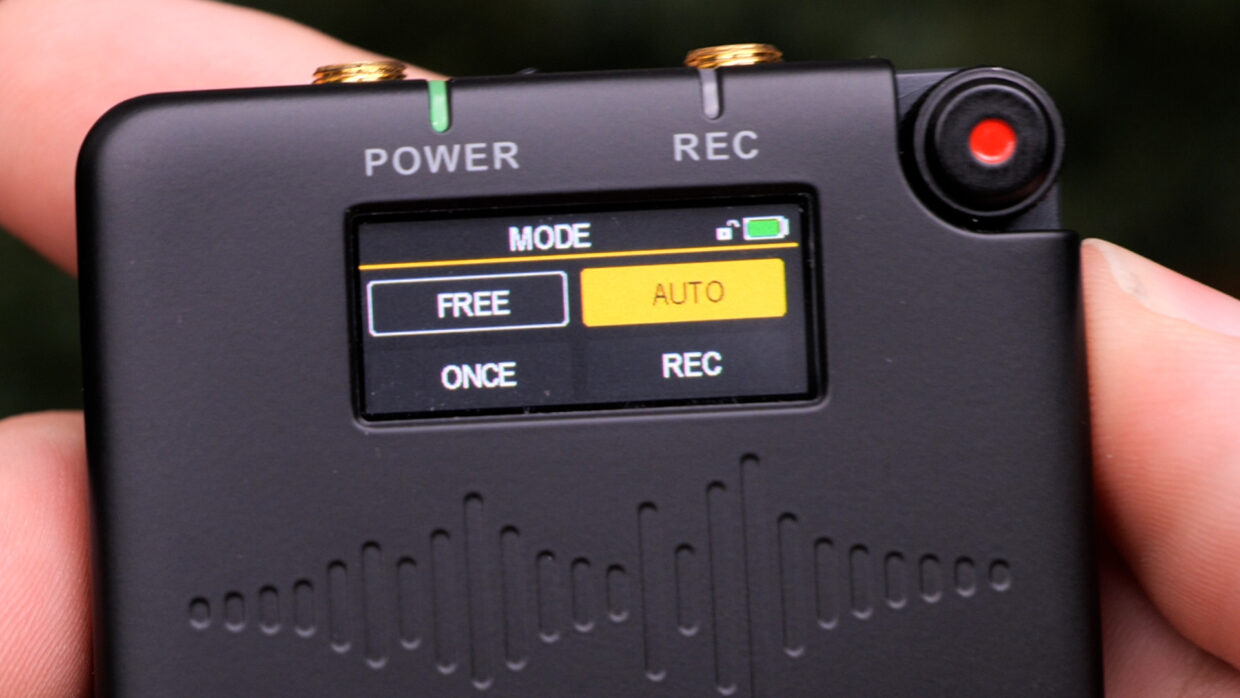
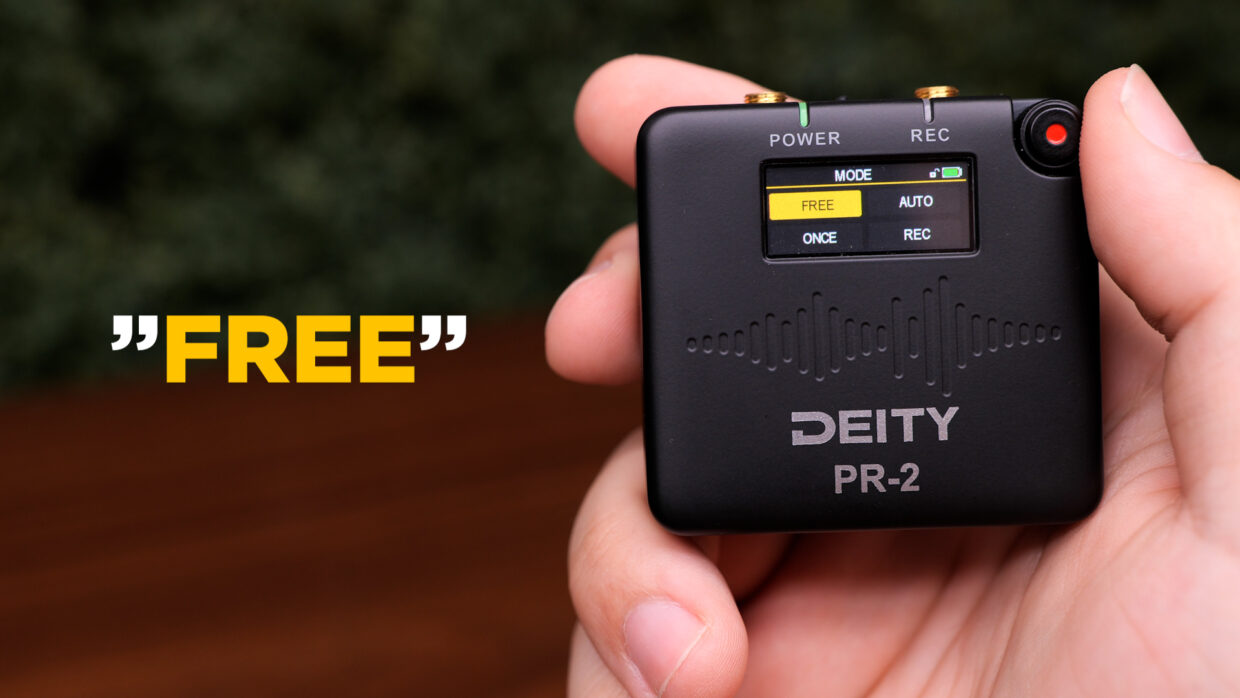
Free Mode
Free, which stands for free-run. In this mode, the unit’s timecode is always running.
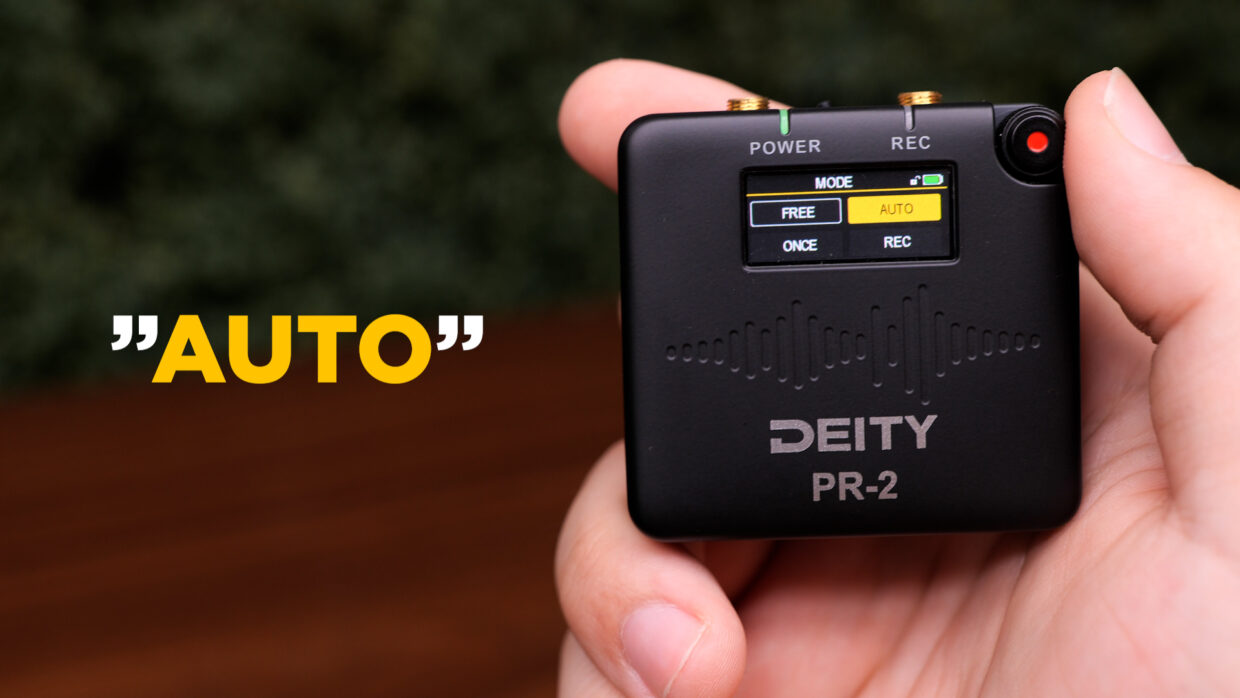
Auto Mode
“Auto,” which stands for auto jam.
In this mode, the unit can receive timecode from another source via the 3.5mm input or wirelessly from a compatible wireless Deity timecode box.
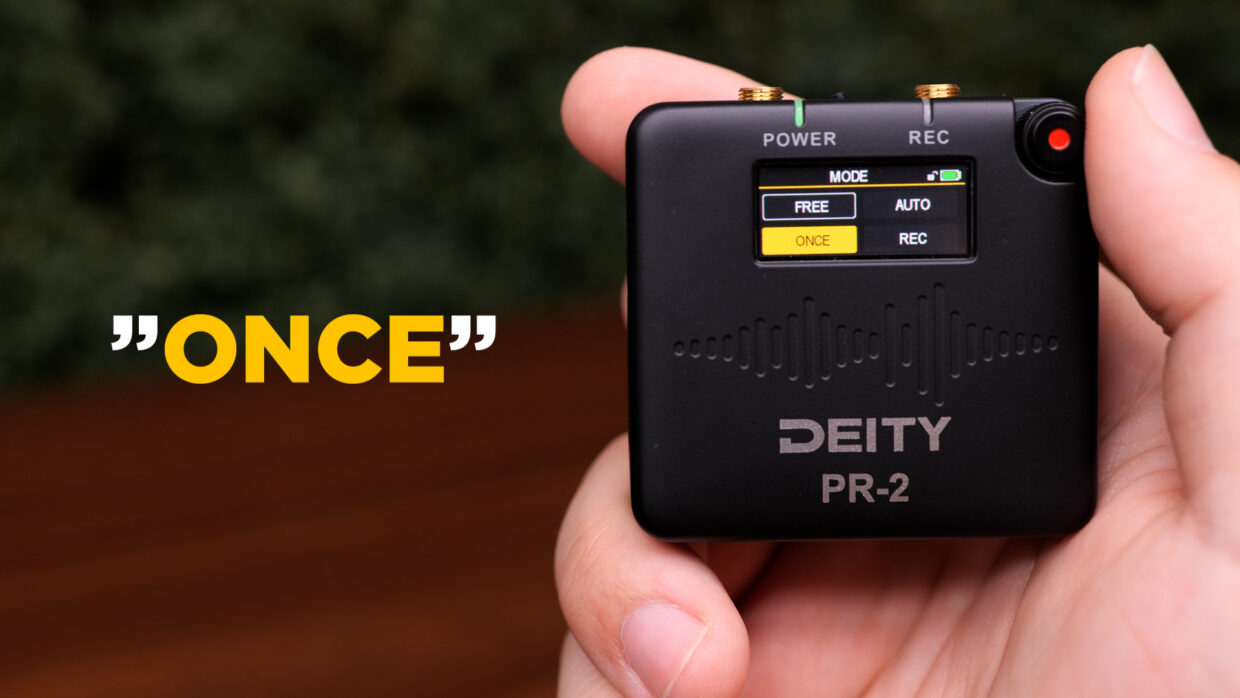
Once Mode
“Once,” which means to jam once.
In this mode, the unit is ready to receive a timecode from another source but will automatically lock itself off from receiving it again until the PR-2 has been power-cycled.
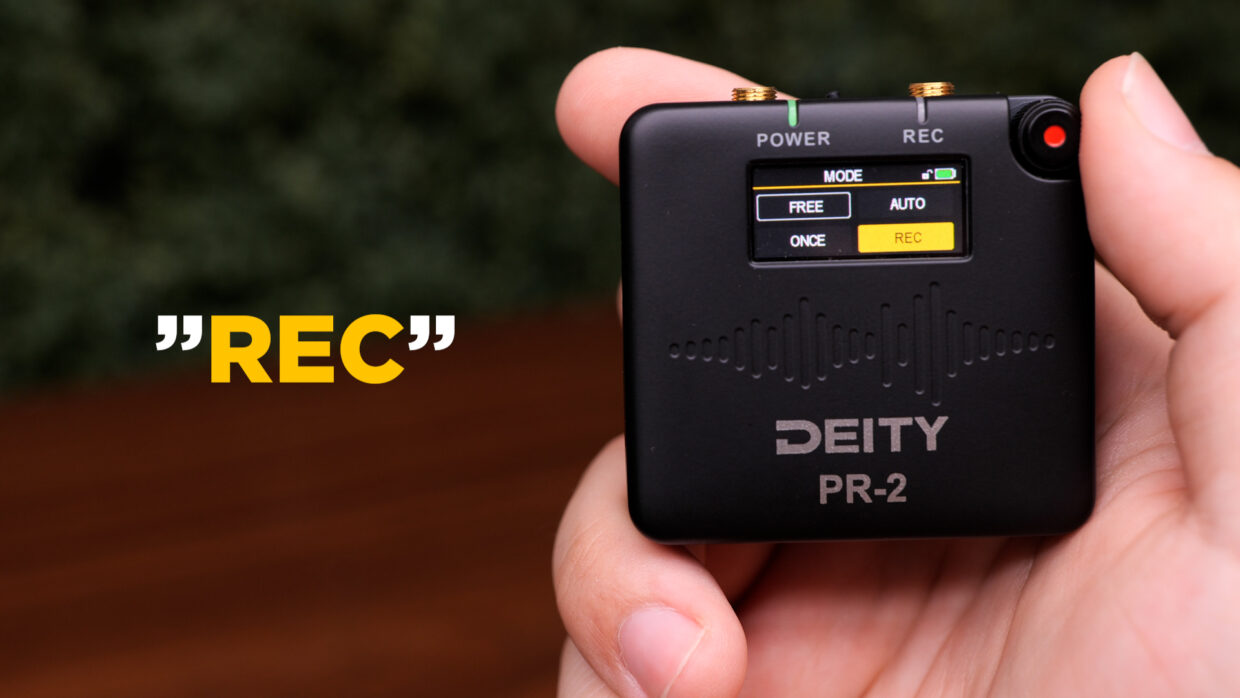
Record Mode
Lastly, we have “Rec,” which stands for rec-run. Timecode will only be running when the unit is recording.
Use of this mode is very uncommon.
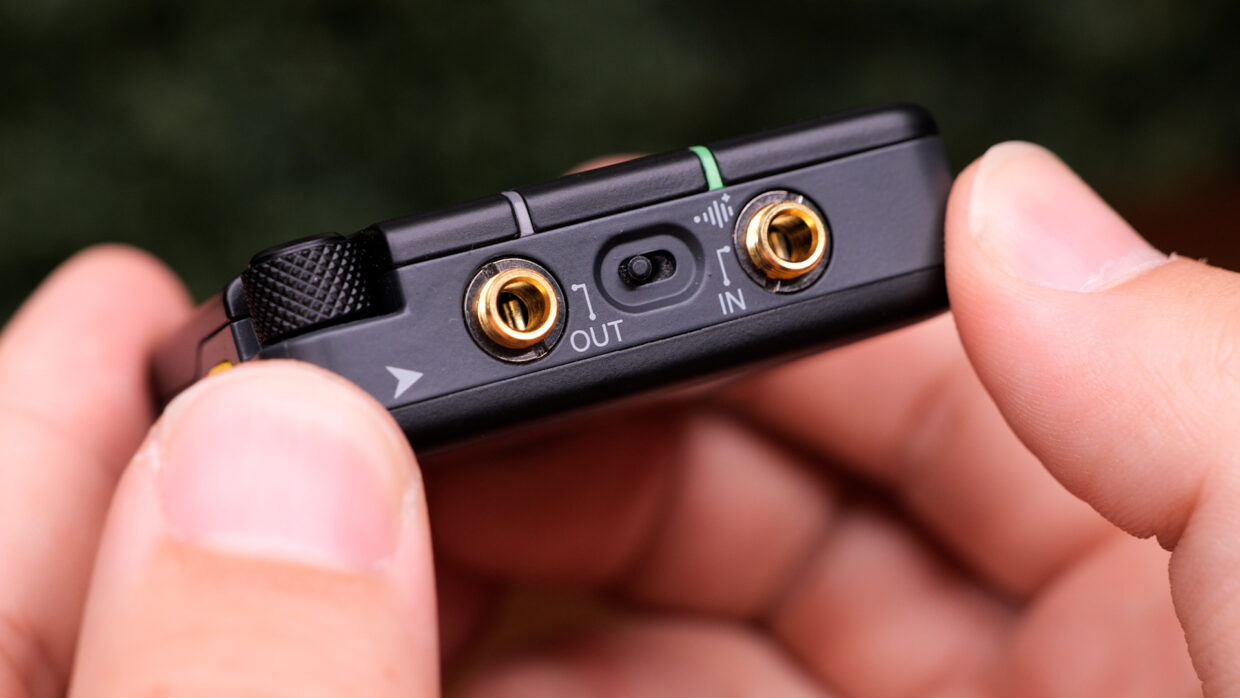
Connecting to external timecode devices
If you will be using the PR-2 with another brand’s external timecode box or the Deity TC-1, select “Auto.”
You’ll need to plug it into the PR-2’s mic input to start a sync.
Group Menu
Back in the timecode menu, you can select a group. Here, you can assign your gear to a group letter.


Group workflow
Gear like the Deity timecode generators, THEOS wireless, or Deity PR series of recorders that are all on the same group will all sync up to the same wireless timecode signal generated by a Deity timecode box.
Framerate Menu
In the timecode menu, you can also select Framerate.
If you are jamming the PR-2 from an external source, the PR-2 will automatically update the framerate to match the source timecode.
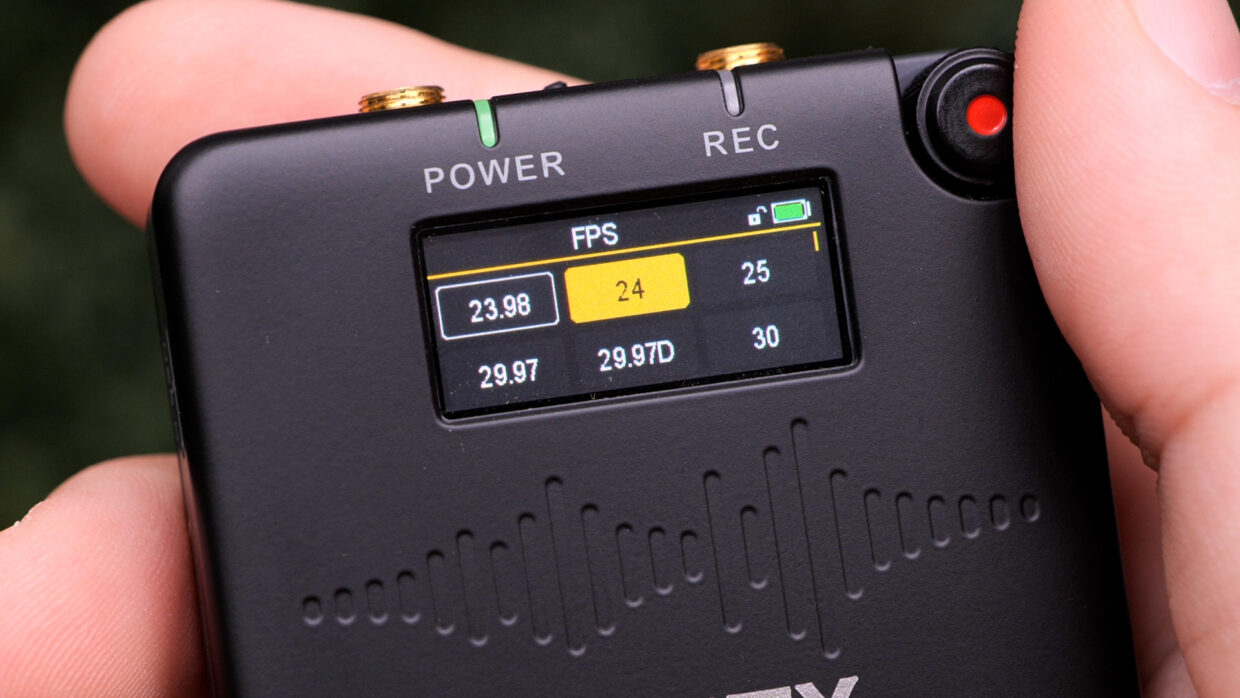
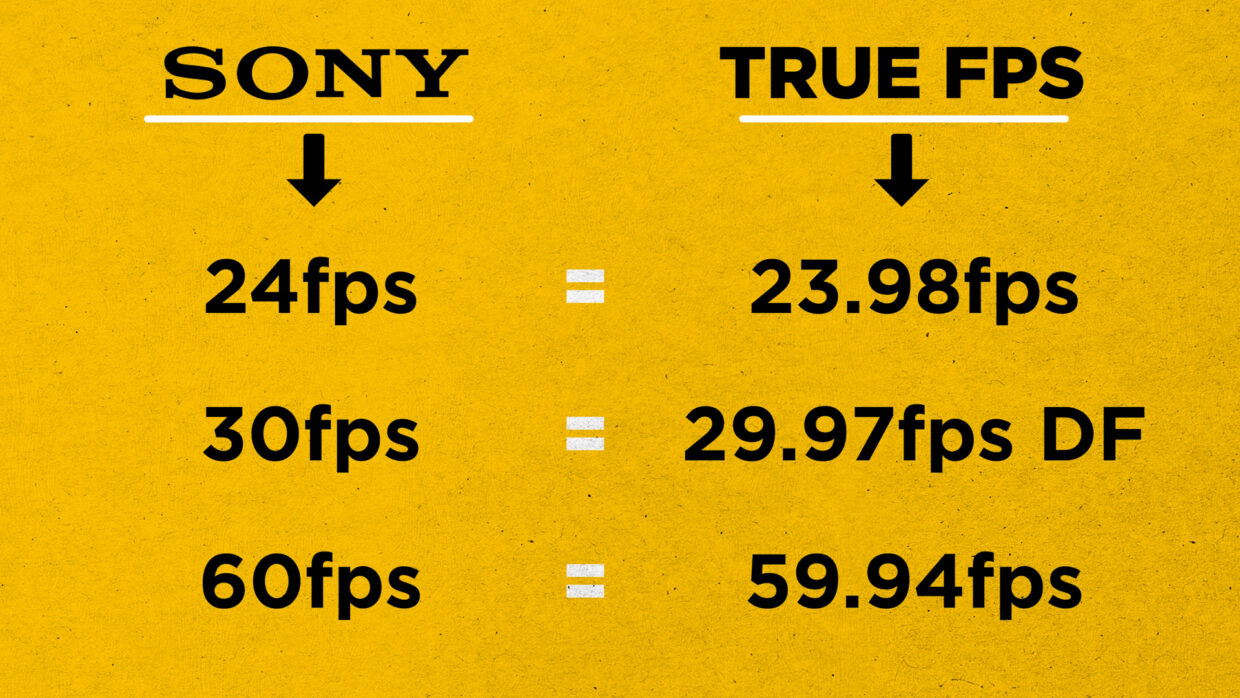
Double check framerate
If you are using a mirrorless or action camera, the camera may be mislabeling its frame rate. Be sure to look at your footage’s metadata to confirm the true fps before your next production.
Timecode connections
Now that you know the timecode menu, let’s talk about how to output it to other devices.
It can be done in one of two ways: through the headphone output or out of the USB-C port.
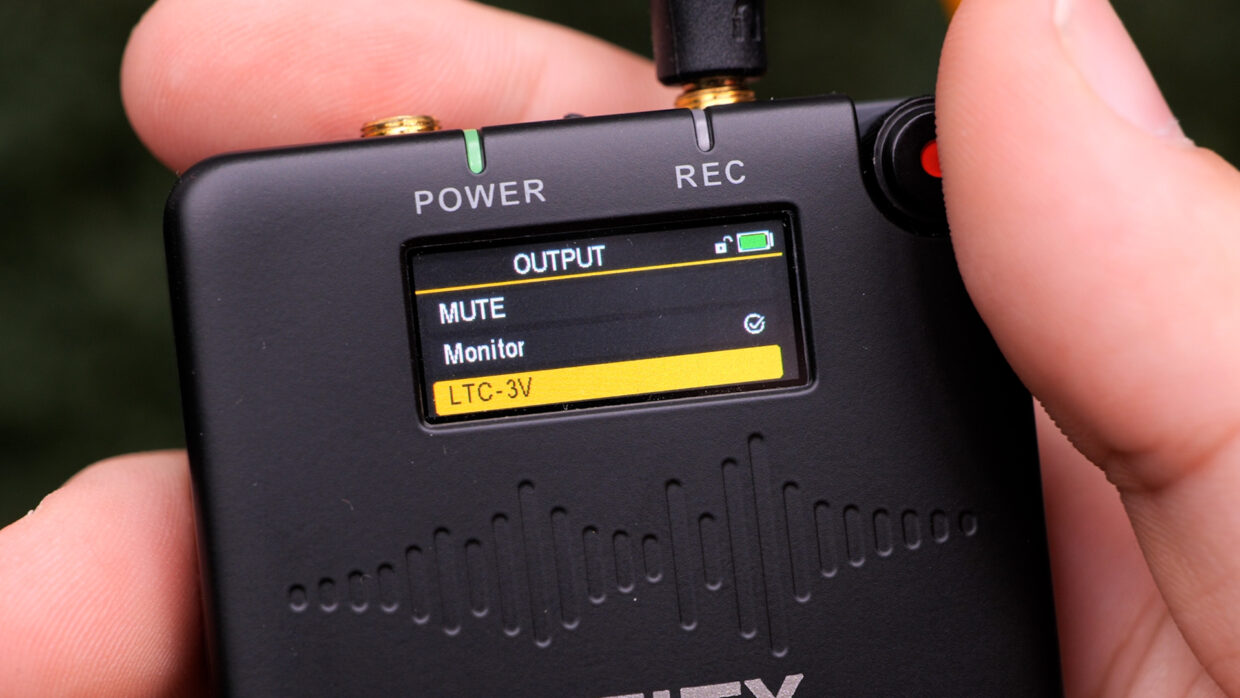
Using the TRS Output
To use the 3.5mm, scroll to Output in the menu, then select LTC-3V.
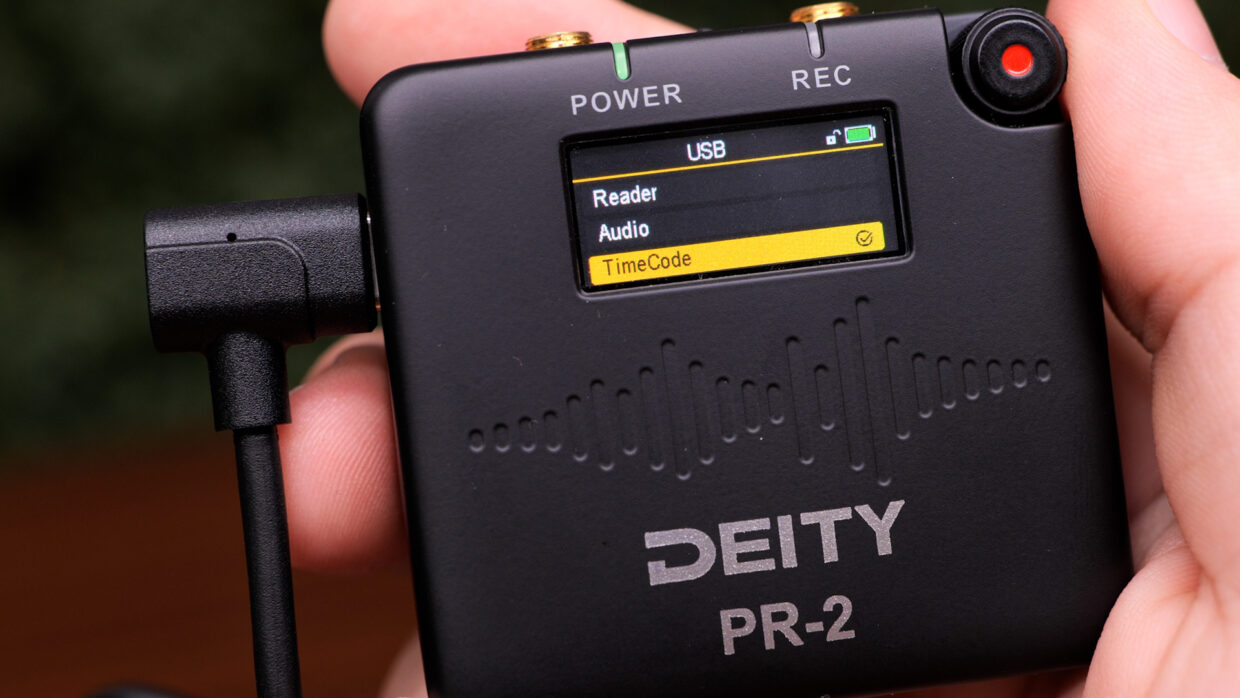
Using the USB-C Output
A few devices only accept timecodes through their USB-C like DJI cameras and phones.
To use the USB-C output, go to the menu and scroll all the way down to system, select USB, and then timecode.
You’re Synced!
You can use the PR-2 as a dedicated timecode box or simply jam another device before switching it back to being a pocket recorder.
If you need help syncing your PR-2 to your other Deity TC-1 timecode generators, here is a User Guide!
Connect all your devices to your phone or laptop via Sidus Audio™️. With our app, you can control your device’s settings, monitor their status, and sync all your units at once. Learn More
For the user guide to Sidus Audio™️ Click Here

