Step-By-Step User Guide
Step #1
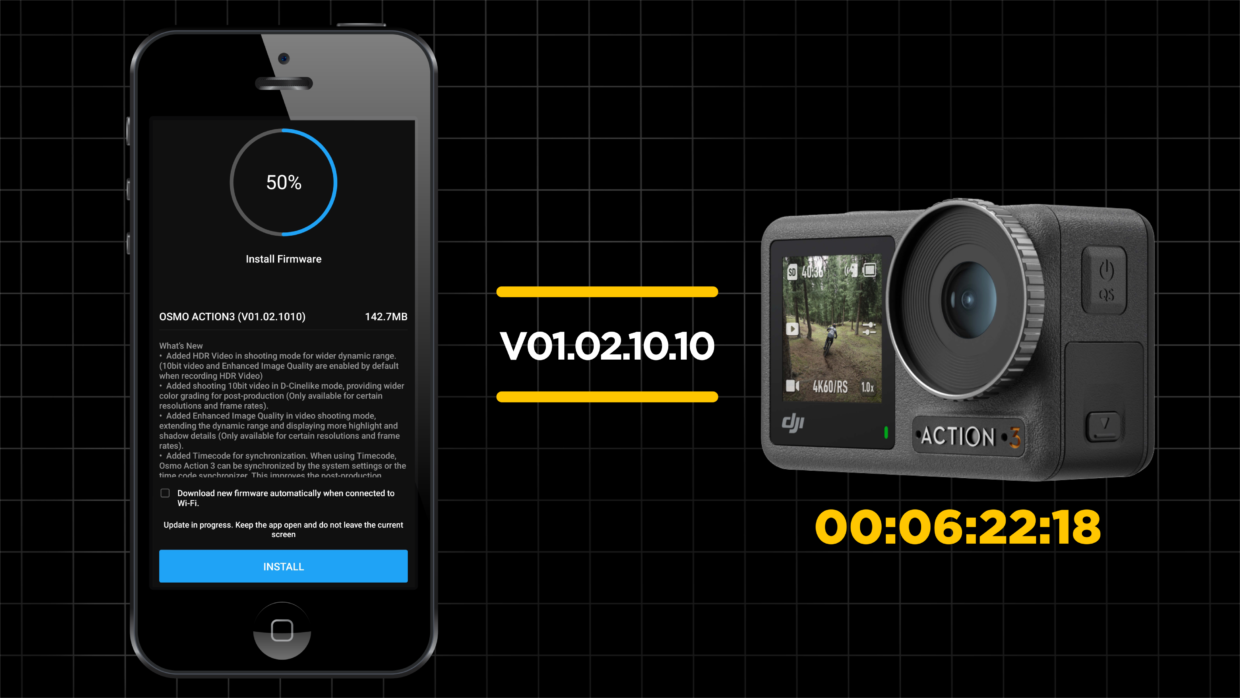
First, you need to ensure your DJI Osmo Action 3 firmware is at least v01.02.10.10 or newer.
This update contains the timecode function and can be found using the DJI Mimo app.
Step #2
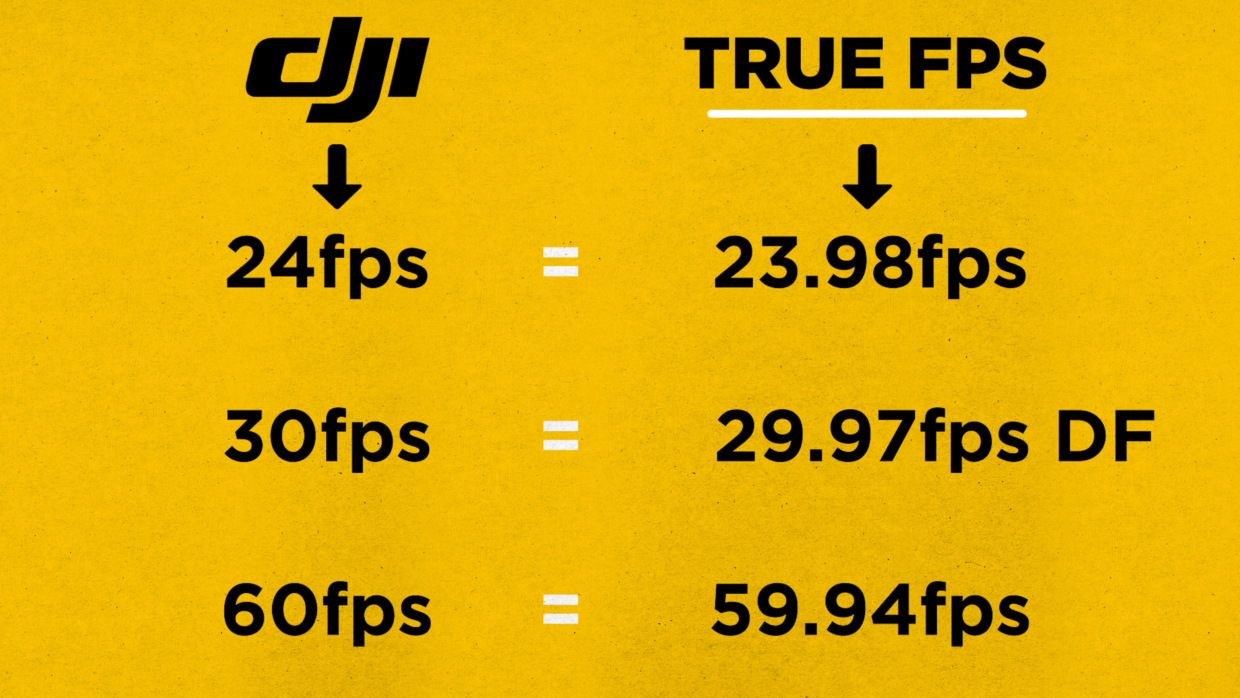
Next, confirm your frame rate, note that the DJI Osmo 3 menu displays the incorrect frame rates. This is confirmed by looking at the clip metadata.
Conversions:
⚫ 24fps = 23.98fps
⚫ 30fps = 29.97fps DROP FRAME
⚫ 60fps = 59.94fps
Step #3
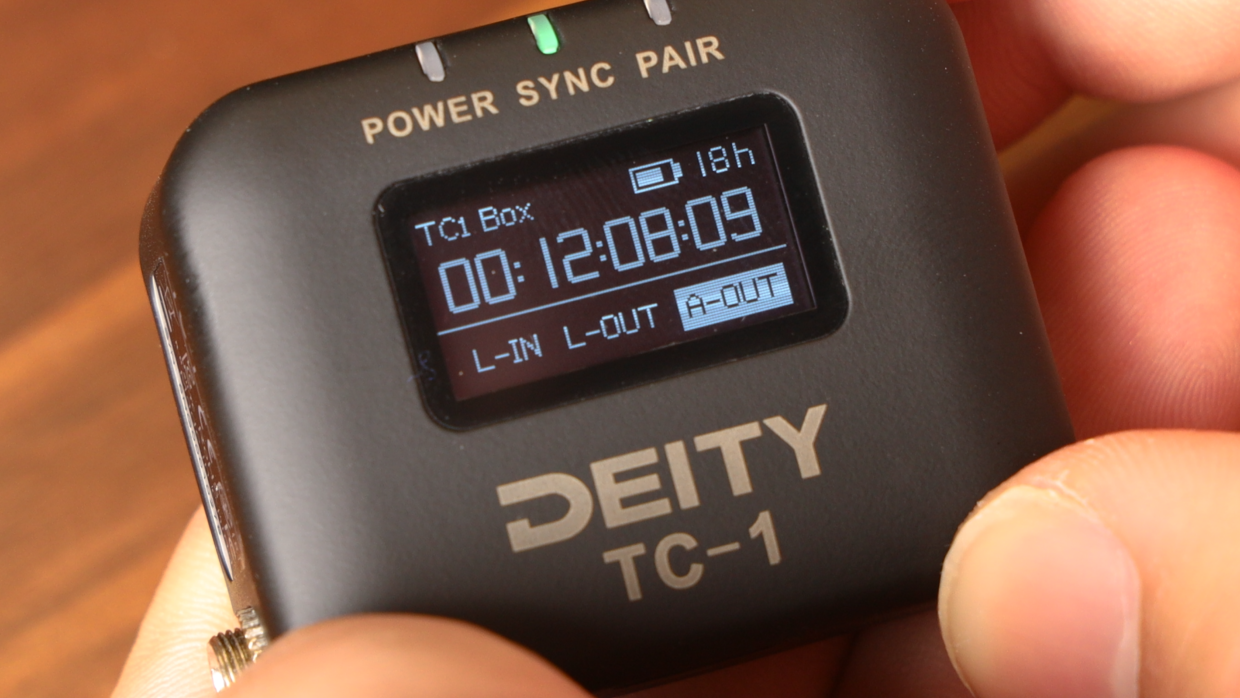
On your TC-1, scroll over to the frame rate section and match it to the camera.
Next, scroll over to the out type section and select “A-Out.”
Step #4
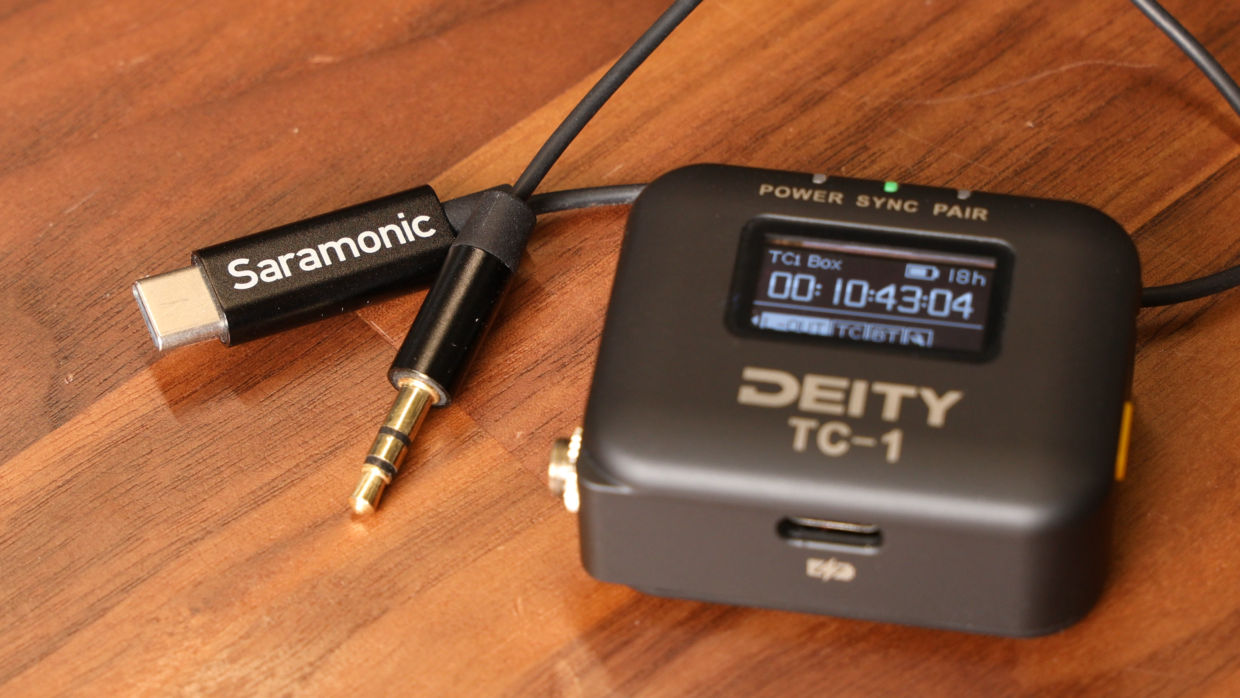
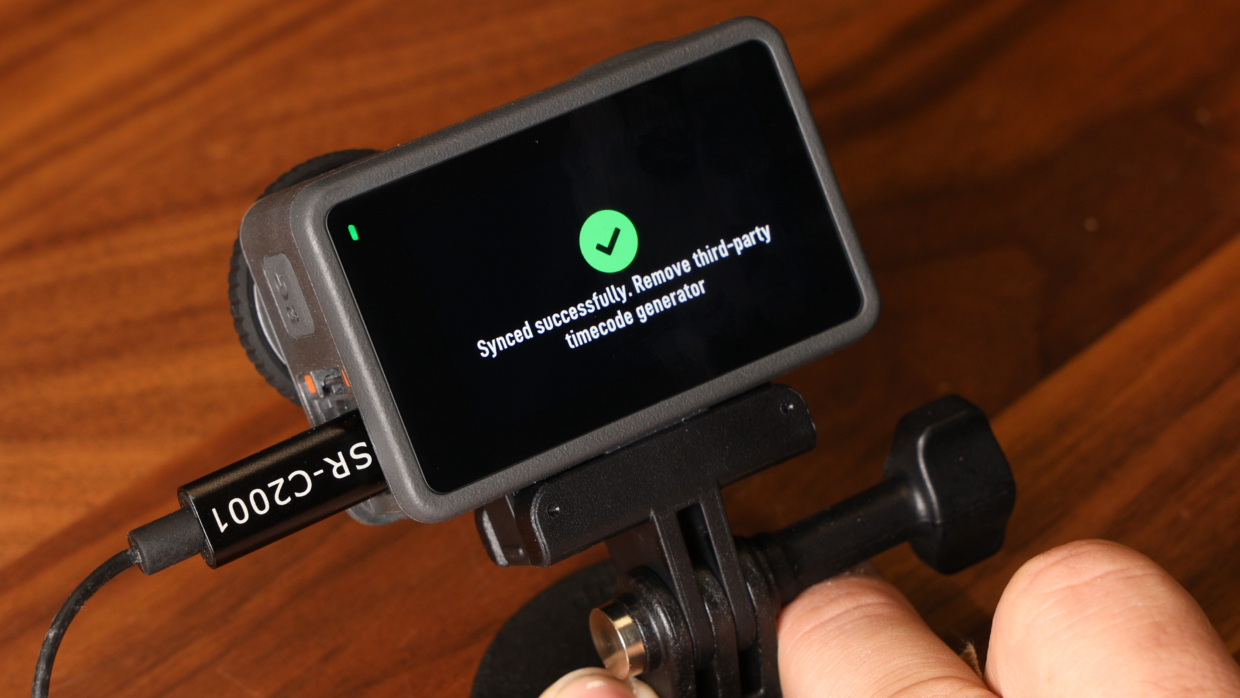
To connect the TC-1 to your Osmo Action 3, you will need a USB-C to 3.5 TRS cable.
Through our testing, we had the most success with the Deity C21 and Saramonic SR-C2001.

Step #5
Once inside the timecode menu, connect the TC-1 to update the Osmo Action 3’s internal timecode.
After syncing, remove the TC-1 for scratch audio or to add an external microphone. Keep the TC-1 powered on for later use.
Step #6
The internal timecode of the Osmo Action 3 will lose sync after a few hours so repeat the jamming process every so often.
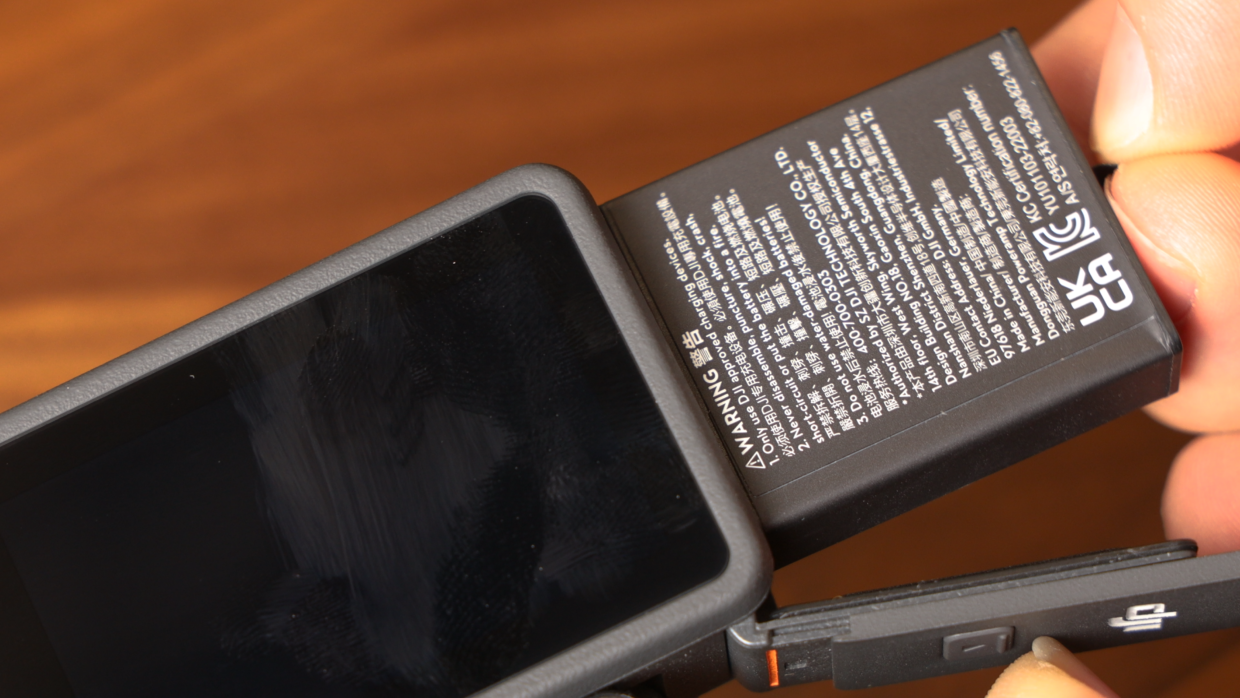
Step #7
Note that you can power down the camera and swap the battery without losing timecode sync.
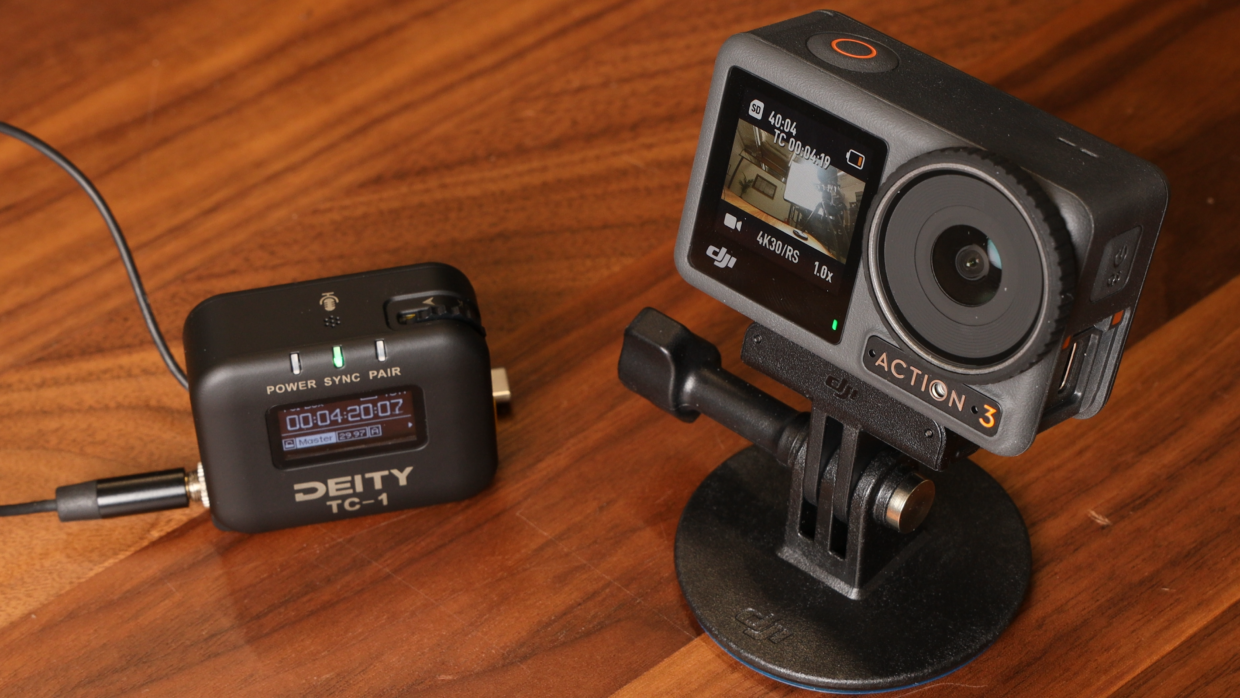
You’re Connected!
Your DJI Osmo Action 3 is ready to be synced with the rest of your set!
If you need help syncing your Deity TC-1 to your other Deity TC-1 timecode generators, here is a User Guide!
Connect all your devices to your phone or laptop via Sidus Audio™️. With our app, you can control your device’s settings, monitor their status, and sync all your units at once. Learn More
For the user guide to Sidus Audio™️ Click Here


Drop a comment down below if you have any cameras or mixers you’d like to see tutorials for!