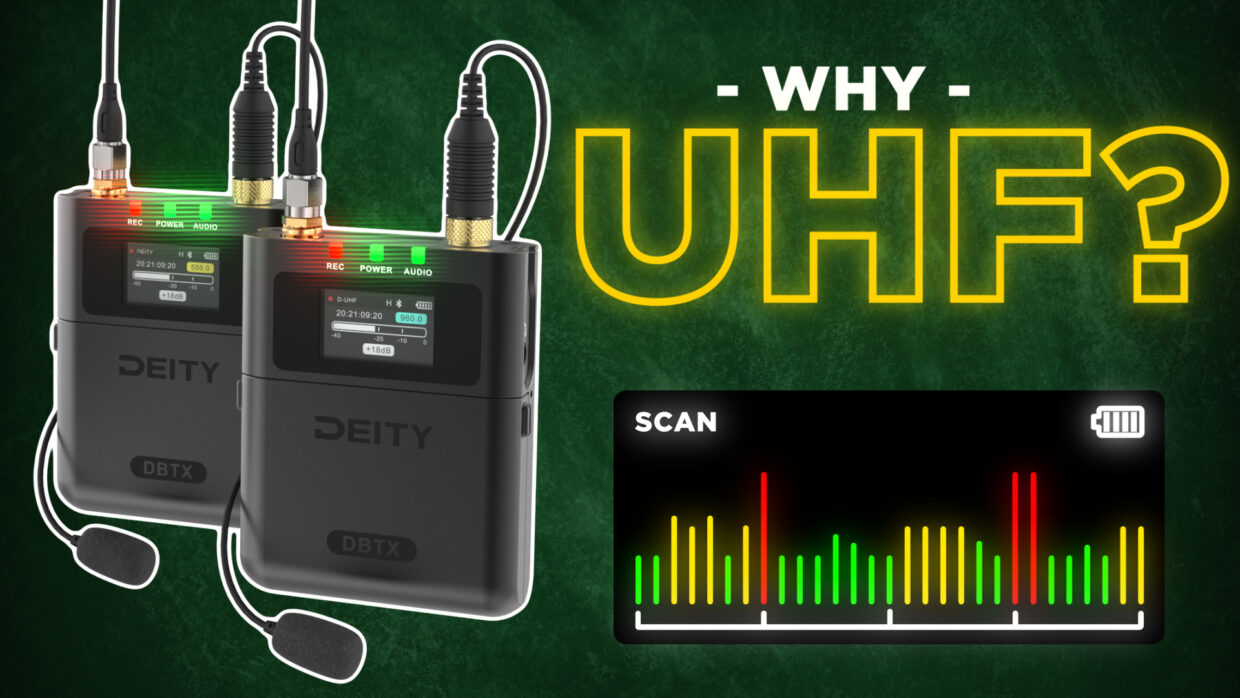
Now that you know…
In our last article, we tackled how UHF works and what makes it so much more powerful than 2.4GHz.
But that’s only half of the conversation.
…Now what?
You bought your shiny new kit, you show up on the day… but now what?
Today we teach you how to use UHF digital wireless on a professional film set.

The project
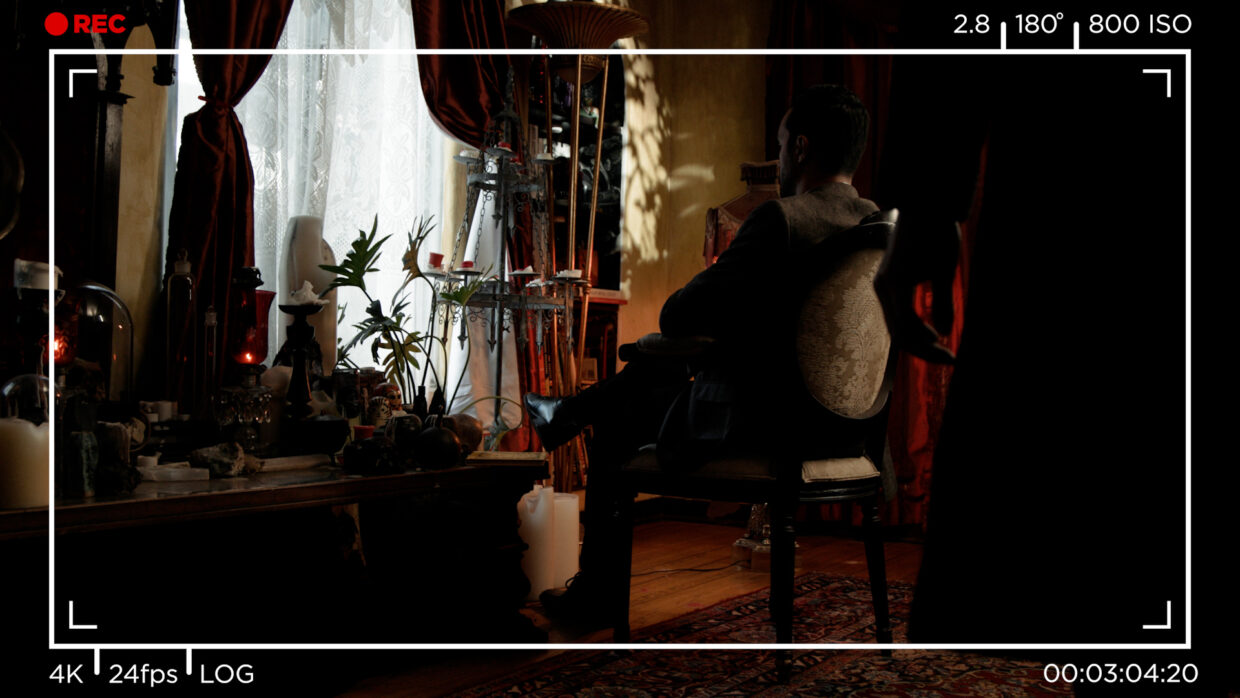
Today’s shoot is a film noir in an old Hollywood house.
- You’ve received your morning sides from the AD.
- You know how many people are on camera.
- You know how many wires need to be set up.
The challenge
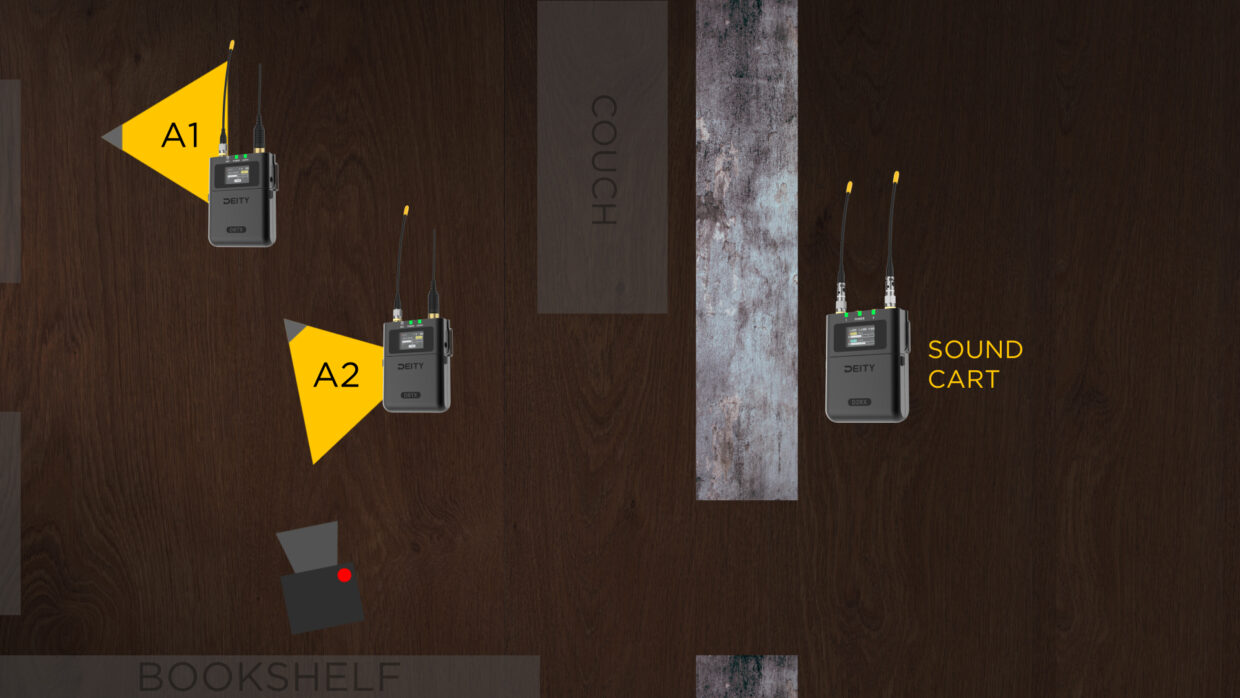
There are two actors, and the location is tight!
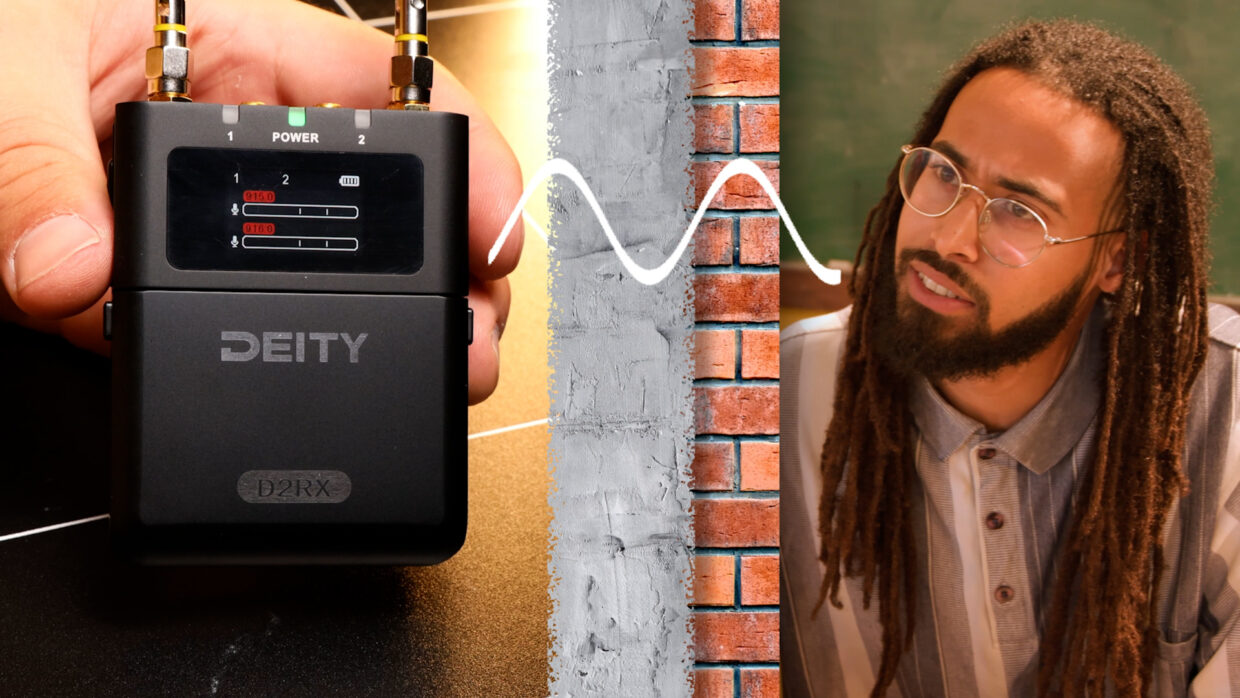
This means we’ll need 2 lavs and our sound mixer will have to set up in the next room over and record through the concrete wall.

First, scan.
Now that we understand the situation, we can talk about the first step of using UHF – scanning.
How many frequencies?
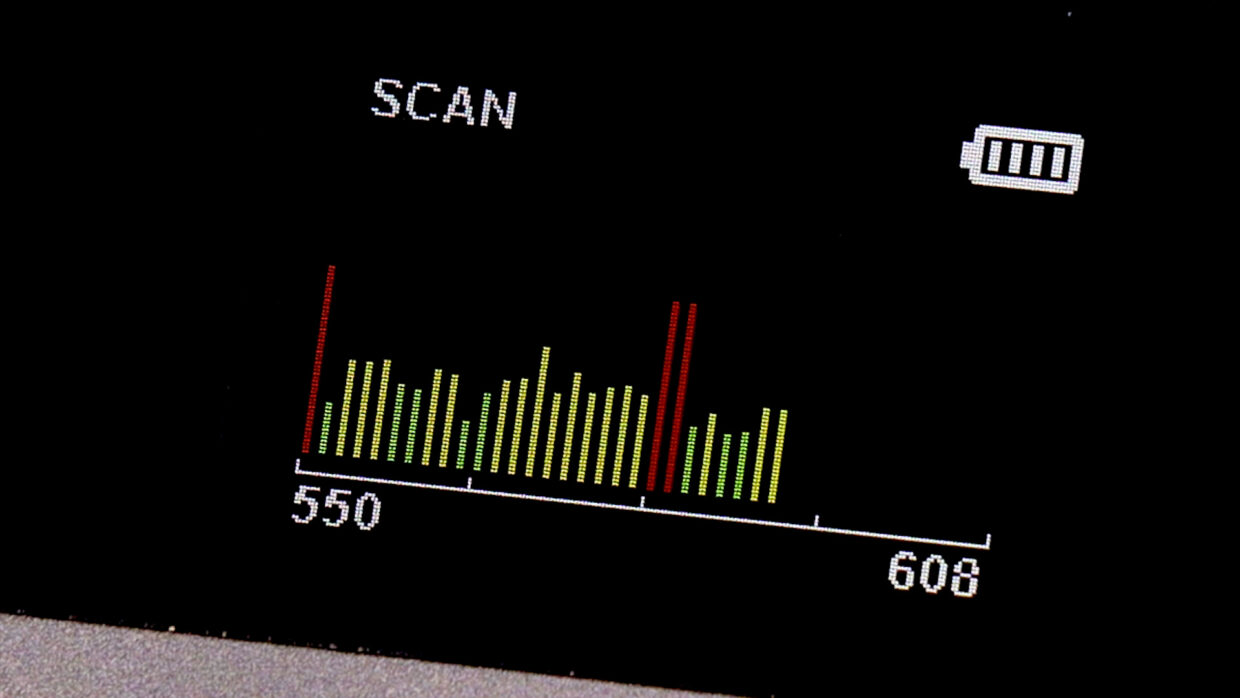
At the top of the day, we conduct a scan of all the nearby frequencies to find the cleanest ones for our devices to use.
We’ve been told we need two transmitters so that’s at least two clean frequencies.
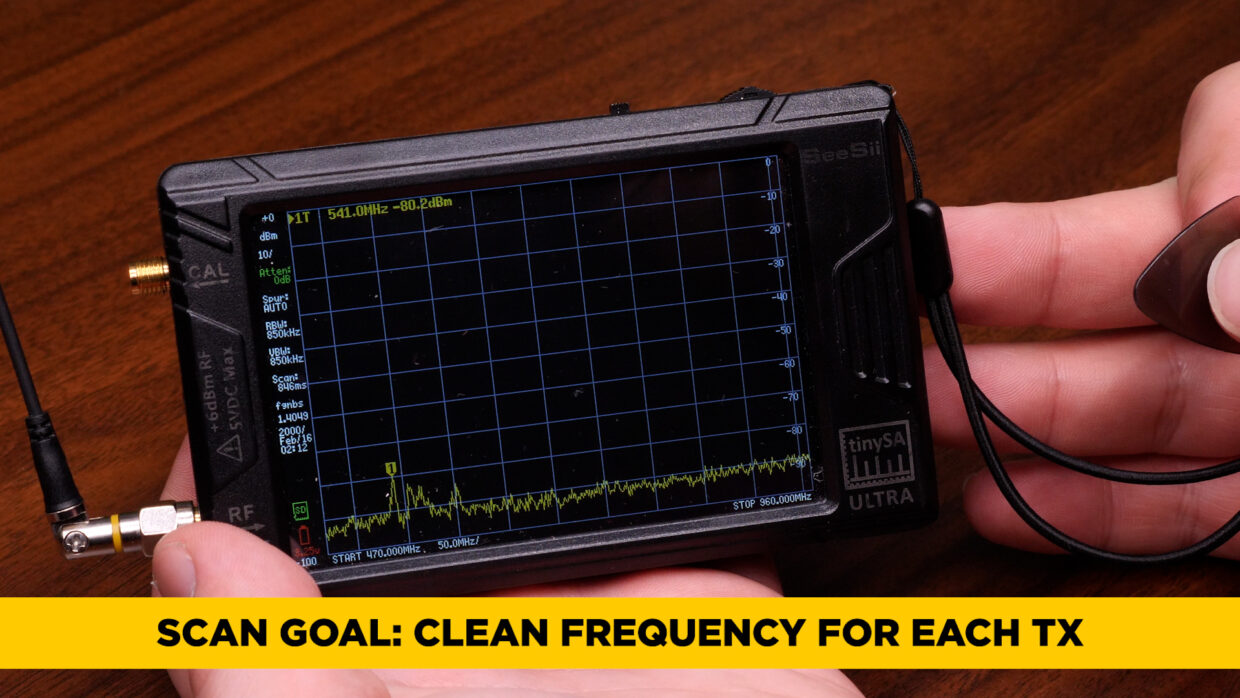
What do I use for RF scanning?
You can use a dedicated RF scanner or the one included in your wireless system.
If you’re using the Deity THEOS you can conduct a scan right from the D2RX receiver which means one less piece of gear you need.
Know your laws
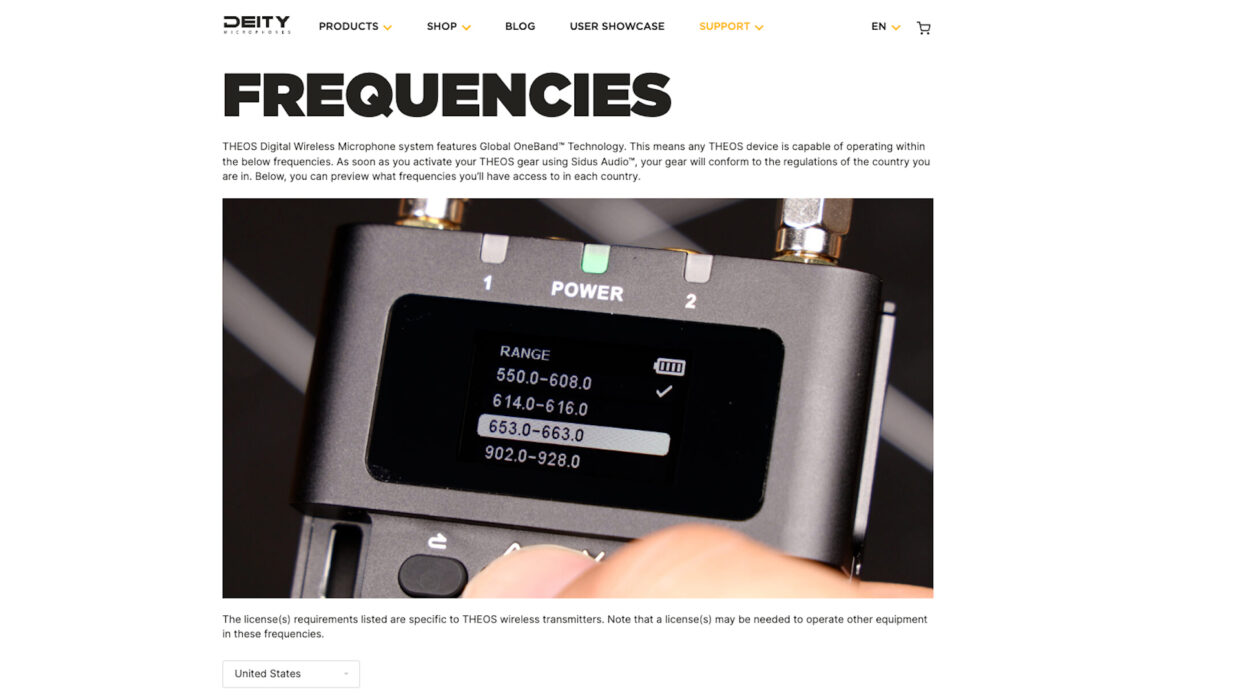
Before you get to set, you should familiarize yourself with local laws and regulations for UHF transmission as they differ greatly from place to place.
Then conduct your scan accordingly.
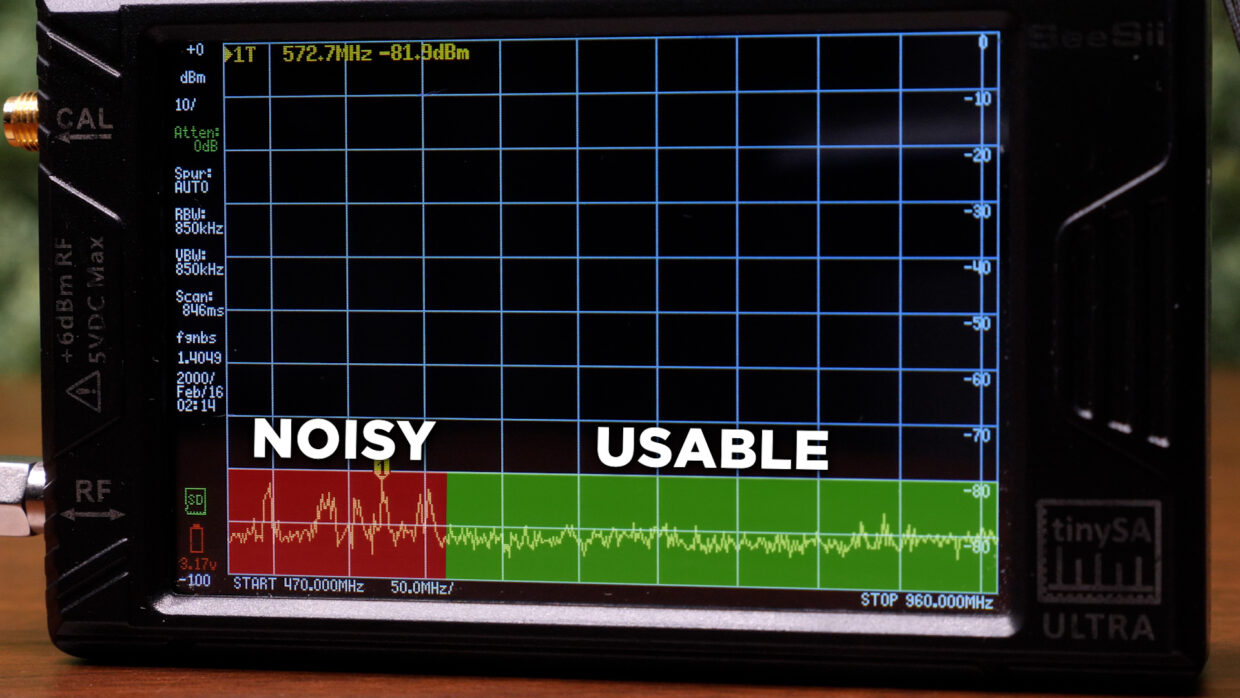
Example RF scan
Let’s look at this scan of our set. Ideally, our devices should use the frequencies in green to the right, where the RF noise is lowest. The red “noisy” bands have a lot of spikes which equal interference.
Take note of the good frequencies and then enter them into your transmitter and receiver.
Skip the manual settings
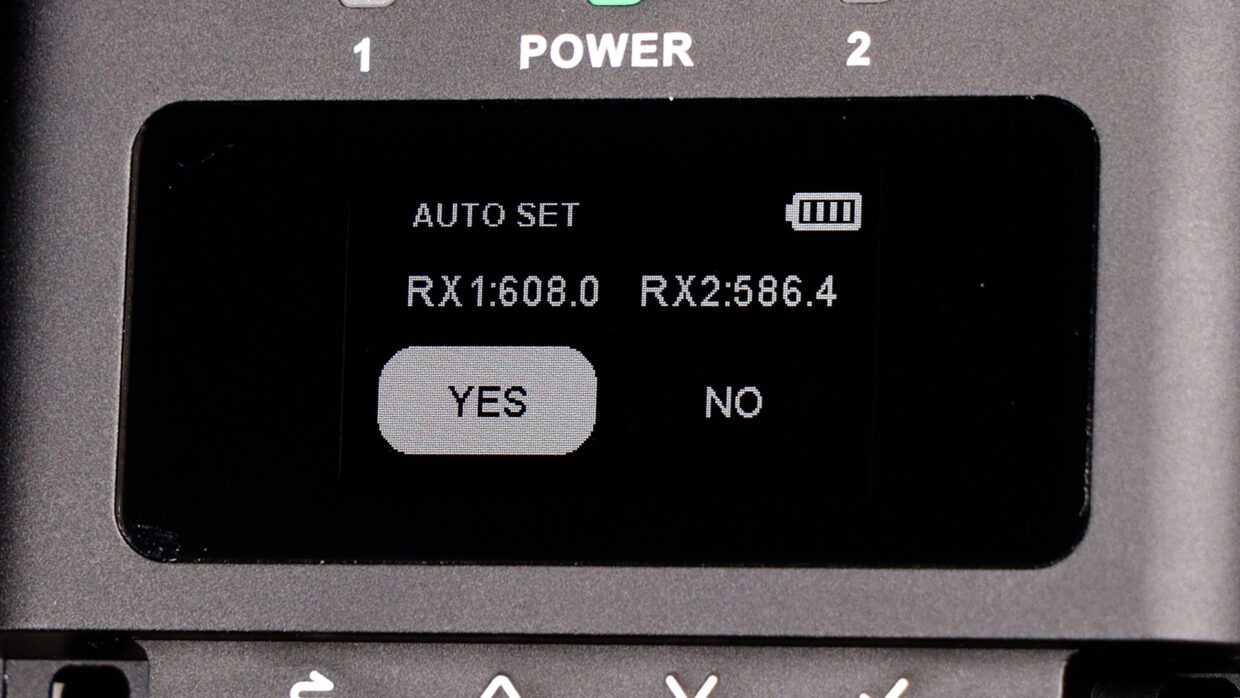
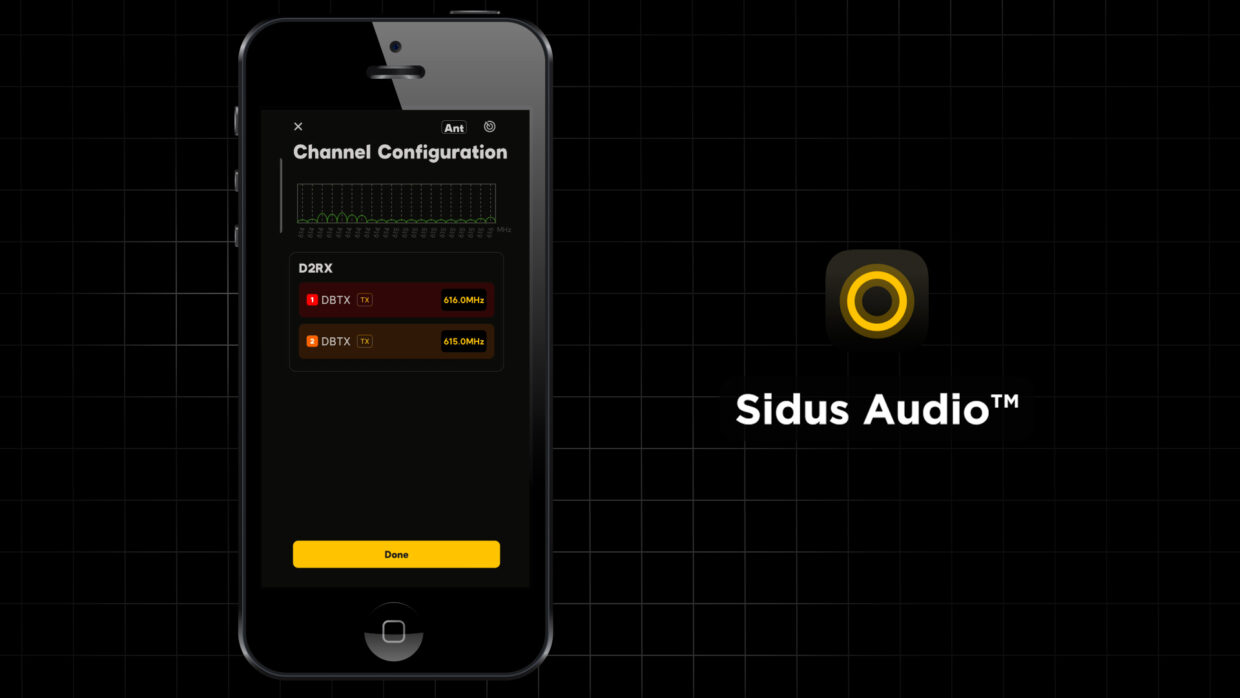
If you’re using THEOS, as long as your transmitters have been paired to your receiver, your system will automatically select them for you after your scan.
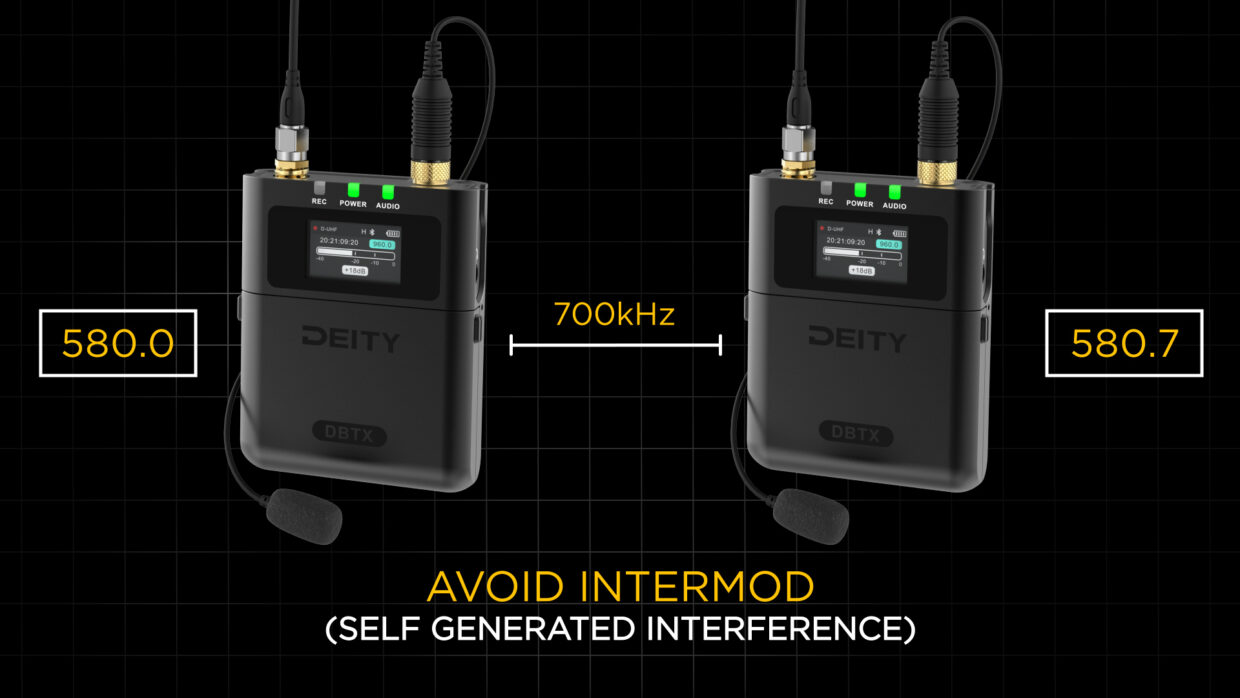
700kHz is the magic number
If you have to manually select frequencies, you need to be mindful of properly spacing them. Make sure your transmitters are all at least 700kHz apart.
They need to be at least this far apart to avoid intermodulation – or self-generated interference.
Skip even more manual settings
Again if you use the built-in scanner in the Sidus Audio app, it will find and assign these spaced-out frequencies to your devices automatically.
Frequency blocks
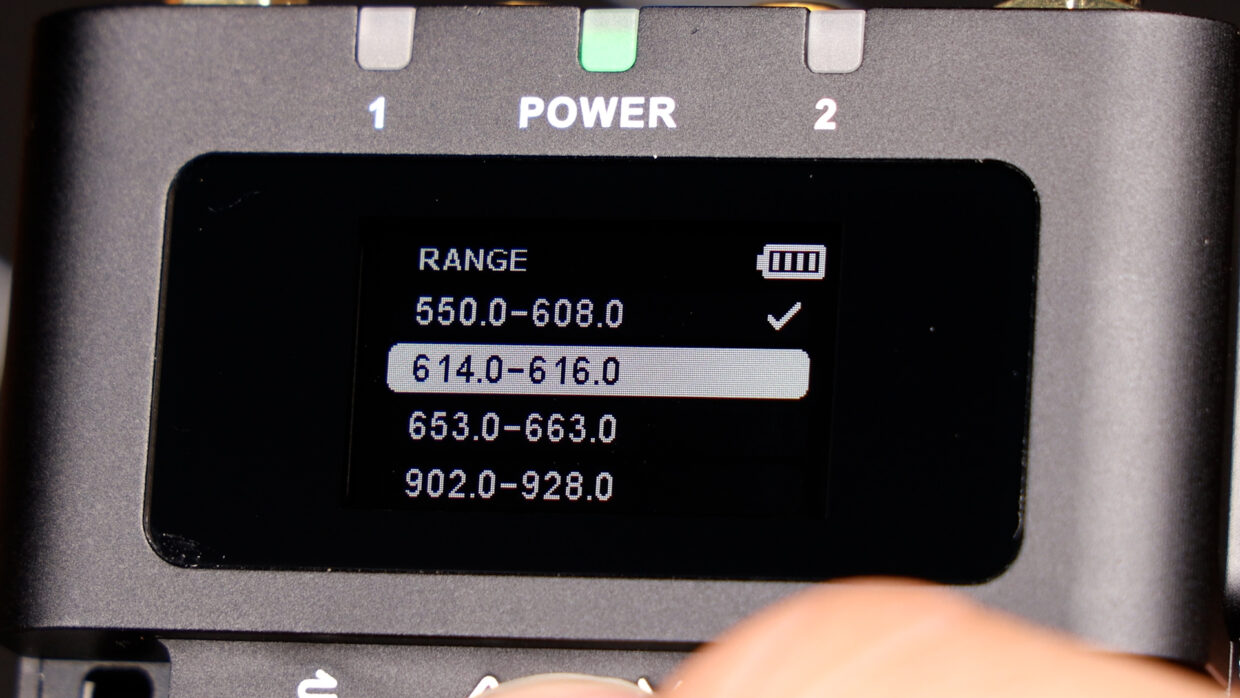
Say after you’ve scanned a frequency block, you don’t see any available space for your devices.
You could of course ball up and cry because your job is over…or you can just check another frequency block.
The Deity THEOS gives you access to all the frequency blocks legal in your area, so scan each one to find the best block for you. Make sure to change antennas accordingly.
LAV Up
Once you’ve found the right frequencies, it’s time to lav up your talent and hide the transmitters.
Much like everything in the sound world – it’s not always as straightforward as it sounds.

Nearby materials
You can hide UHF transmitters anywhere on talent generally, you just need to be mindful of one major thing – what material – and how much of it – is between the transmitter and the receiver.
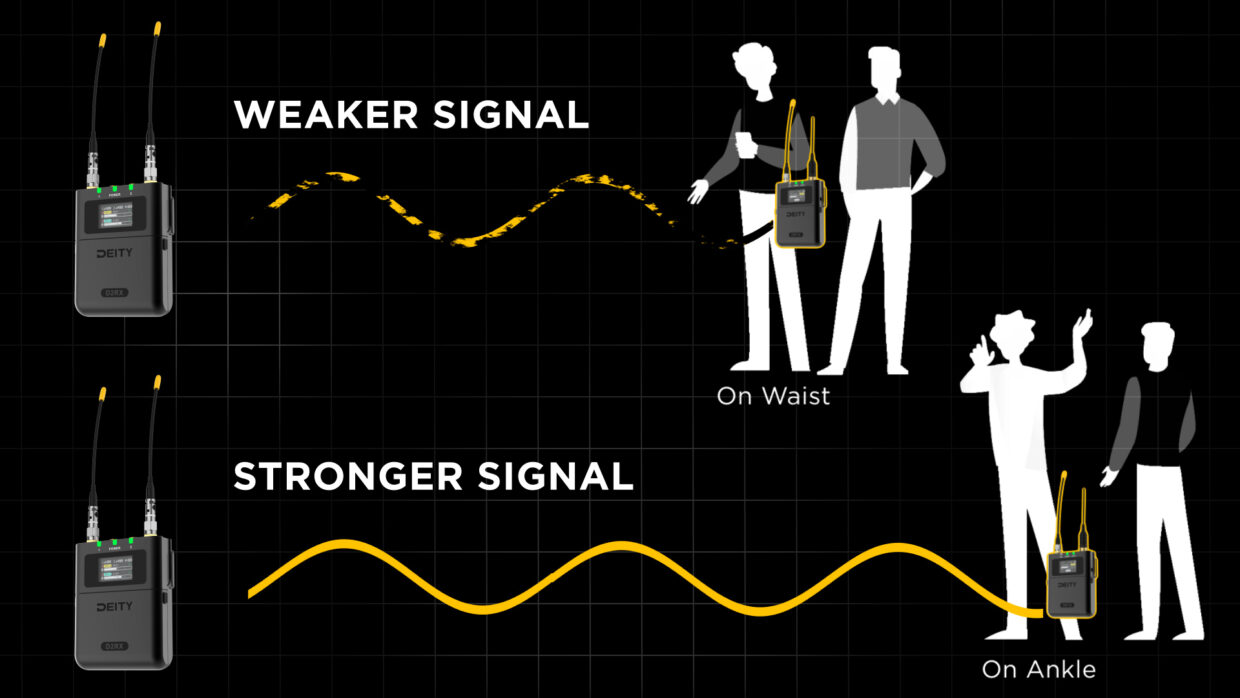
Avoid transmitting through people
UHF radio waves are tremendously robust and can punch through most materials, though it’s best to try and avoid as much as possible.
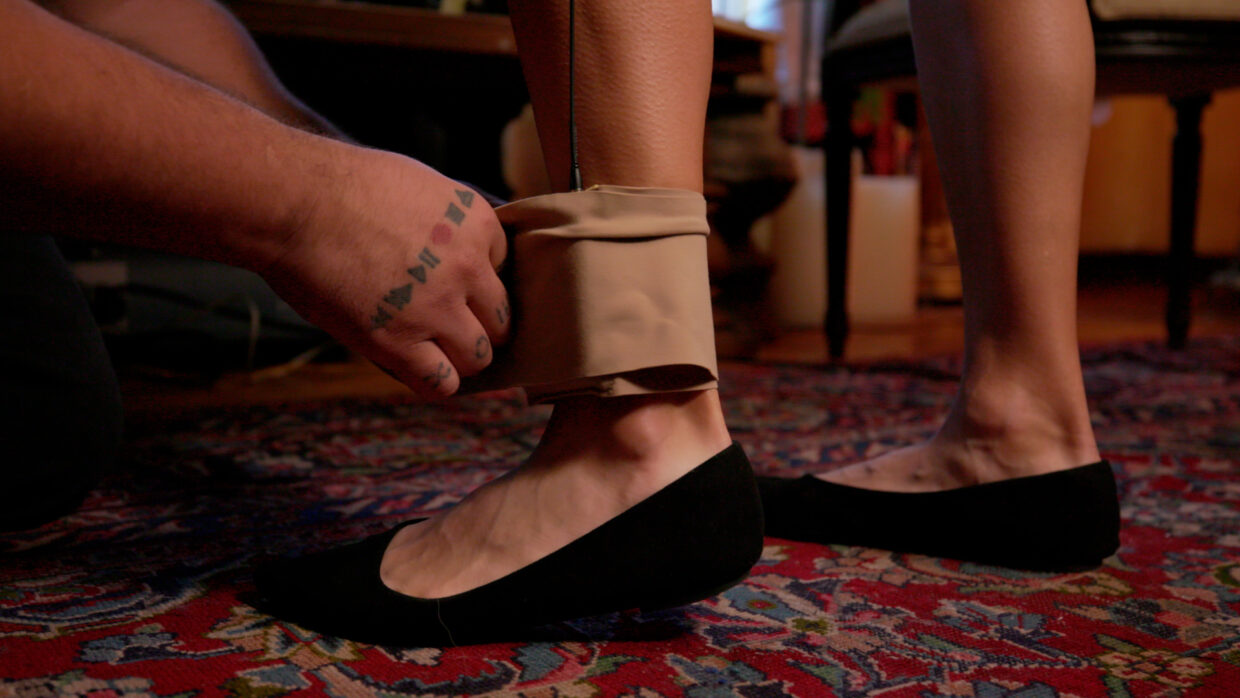
You should mount the transmitter on a part of their body with the least amount of mass on ‘em. Like an ankle, versus a waistband.
What is LOS?
Even more ideally, in a position that’s directly facing your receiver.
We often use the term “line of sight” or “LOS” to refer to this – nothing between TX and RX.
The right tools
Ankle straps or other specialized mounts can be your best friend in achieving this.
Make sure to have a fully stocked expendables kit before you head to set.

The location could be a problem
Another thing to be mindful of is the material IN the walls of your set.
There can be problematic piping, wiring, rebar, or any number of dense things. Try to work around these if you can.
Work around the set
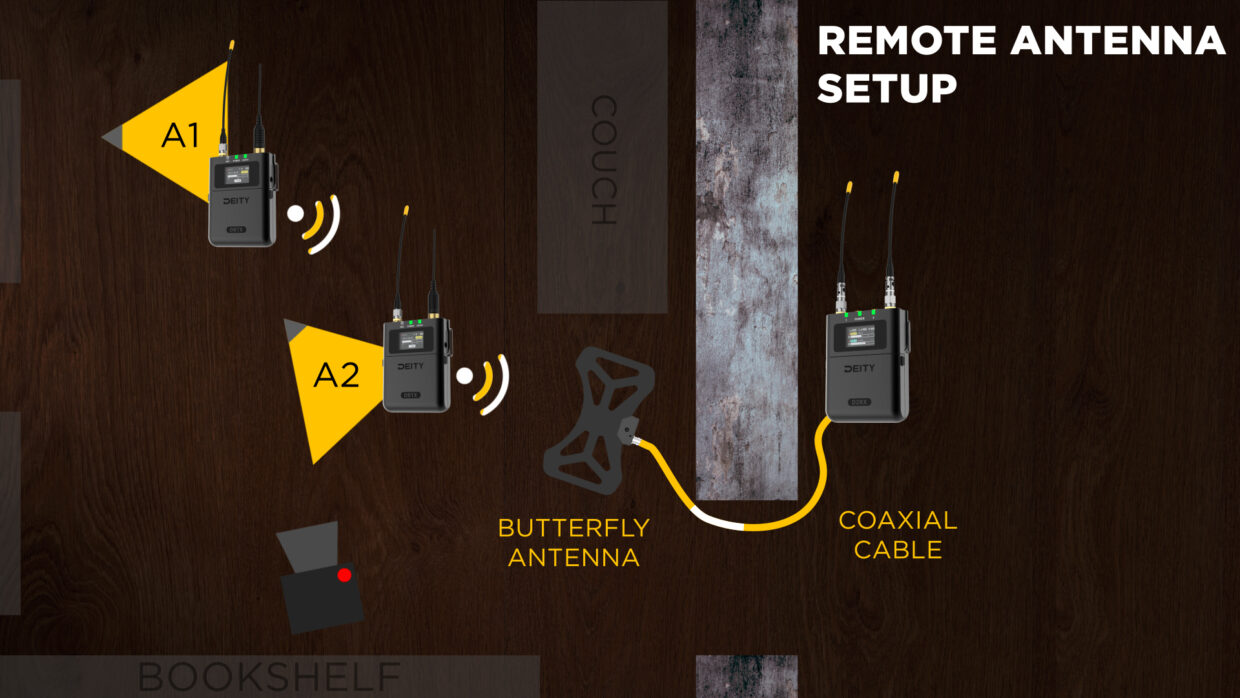
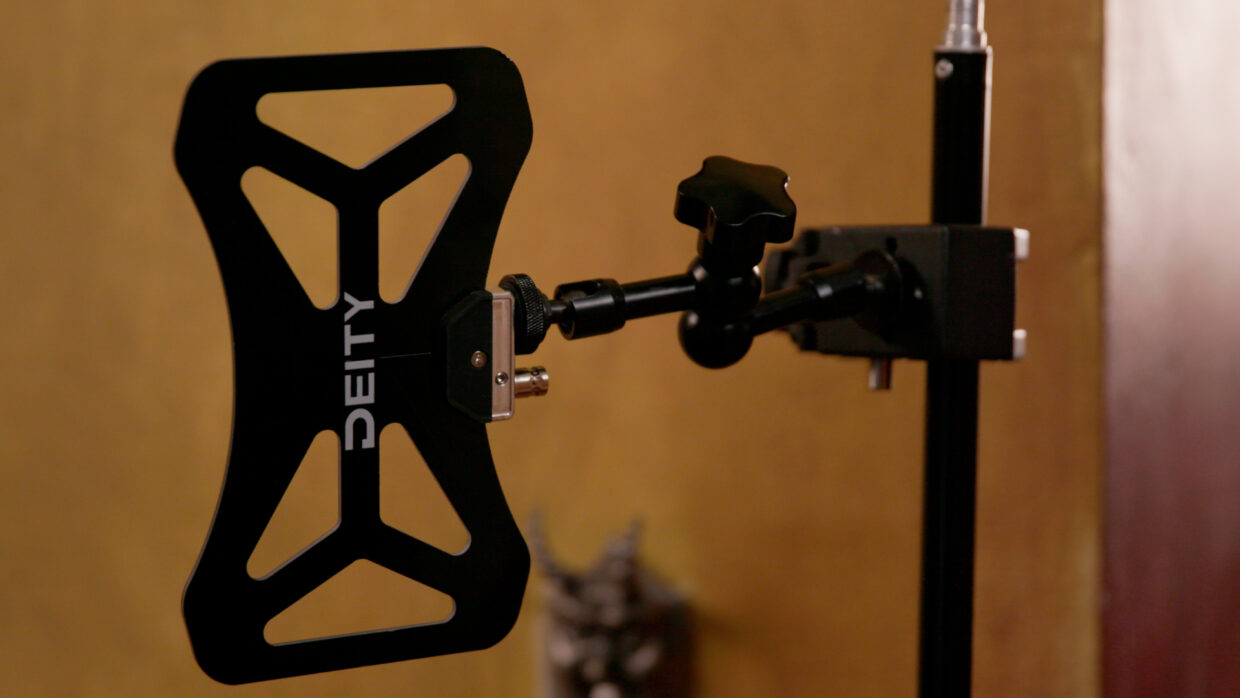
One of the best ways to deal with this is by “remoting” your receiver’s antenna.

Our setup
So in our setup, we need to receive the signals from our two actors through this concrete wall full of piping.
Using an extended coaxial cable we rigged up an external antenna on the inside of the room. This way we don’t have to transmit through the wall to get a good recording.
The transmission takes place all in the same room, and then the signal gets to us via hardwire – much more reliable.
Remoting is a common solution, use it
You’ll see a lot of sound mixers using remote antennas in stadiums, concert halls, or other metal structures to help combat material problems.
Increase the RF power
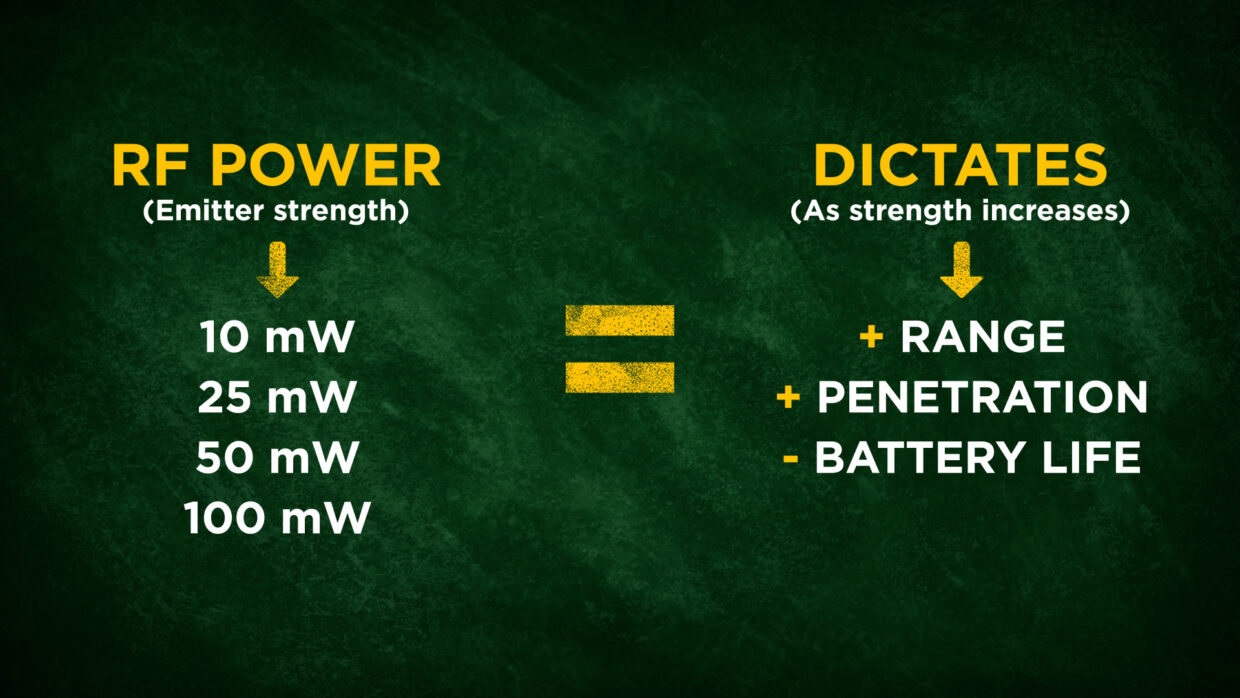
If you’re on set and are forced to transmit through conductive materials for whatever reason, you can still increase the RF power to strengthen the punch of your signal and hopefully get through those problematic materials.
Be sure to check your local RF power laws.
Transmission tools
We touched on antennas a little bit already but there are a couple more key things to know to properly use them.

Antenna types
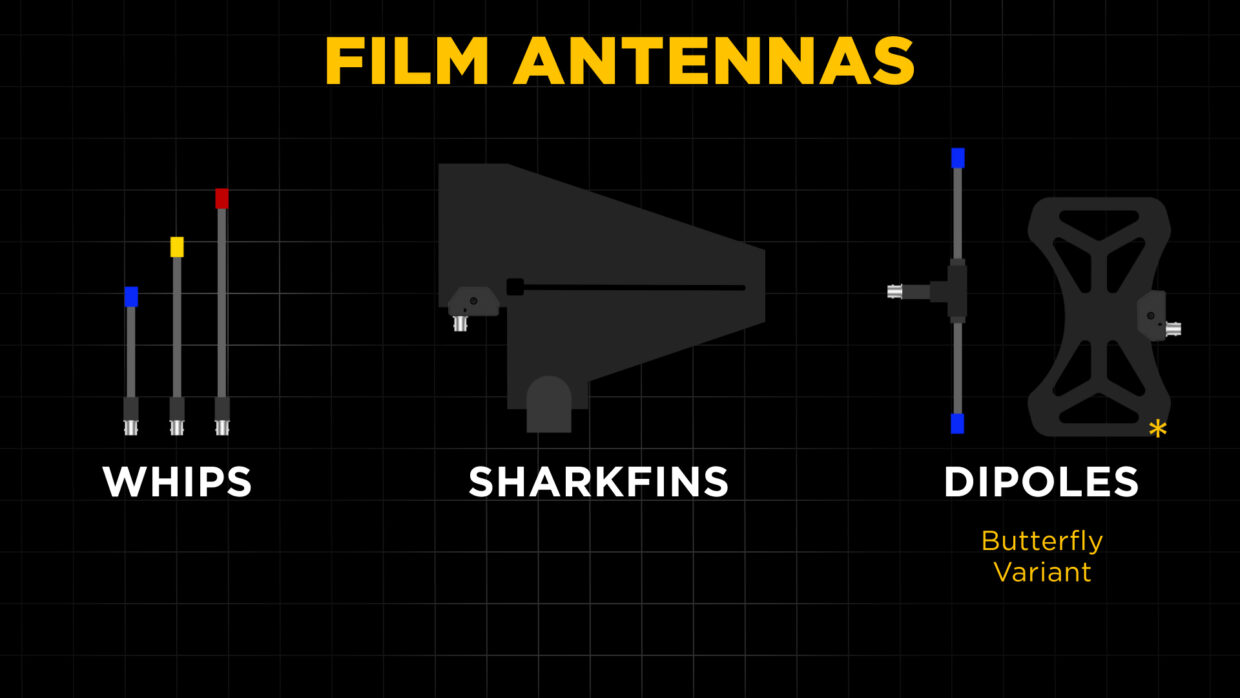
For filmmaking, there are generally three you need to be aware of.
Whips, Shark fins, and dipoles.
Whips
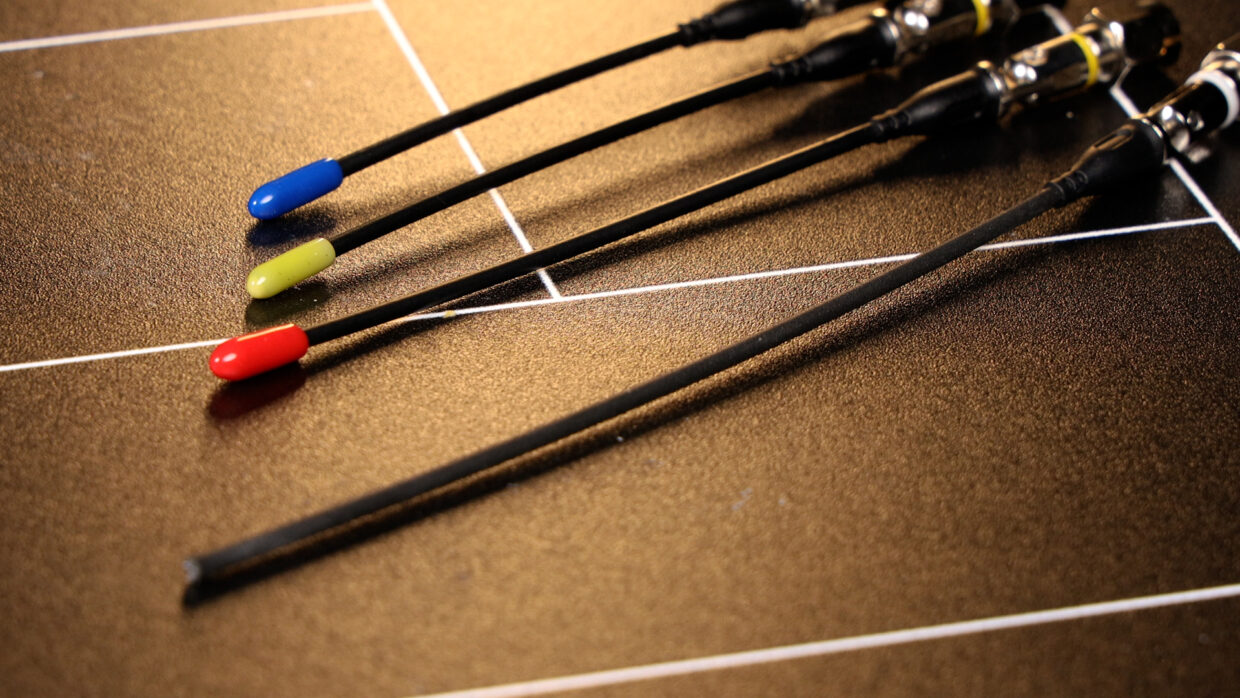
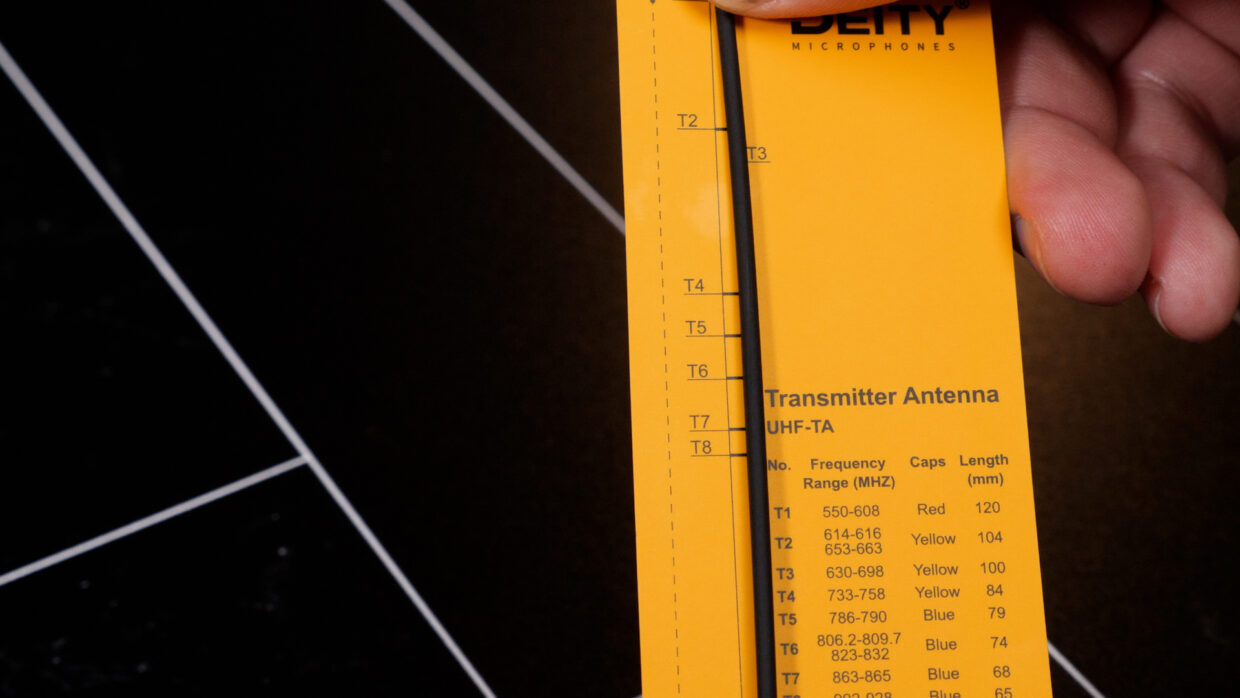
Whips are the most common antenna you’ll find. It’s a simple wire that captures a very narrow amount of frequencies at a limited range.
The length of the antenna dictates which frequencies it can send and receive.
Cut to length
Though they only capture a small window of frequencies you can cut whips to the exact length you need, keeping them cost-effective and versatile.
External antennas
If you need to transmit across long distances or have to place a remote antenna for reasons we discussed earlier, you will need to use an external antenna.
These often require a coaxial cable to use rather than plugging directly into your receiver like a whip.
Sharkfins
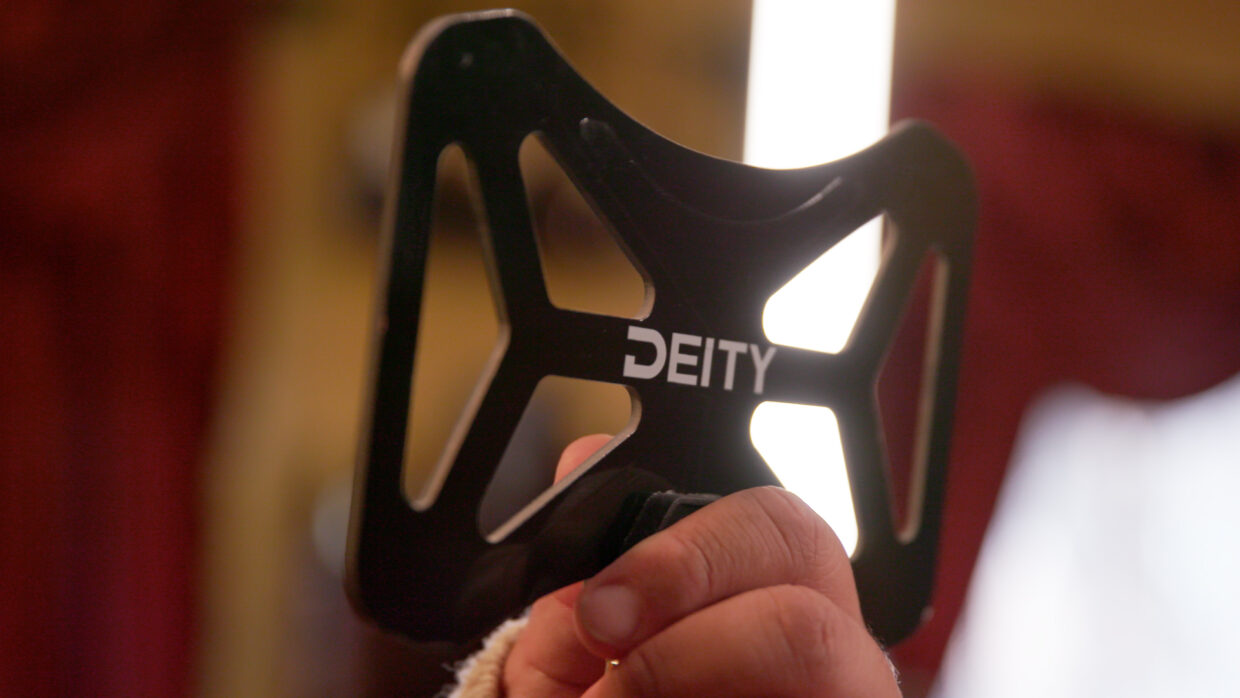
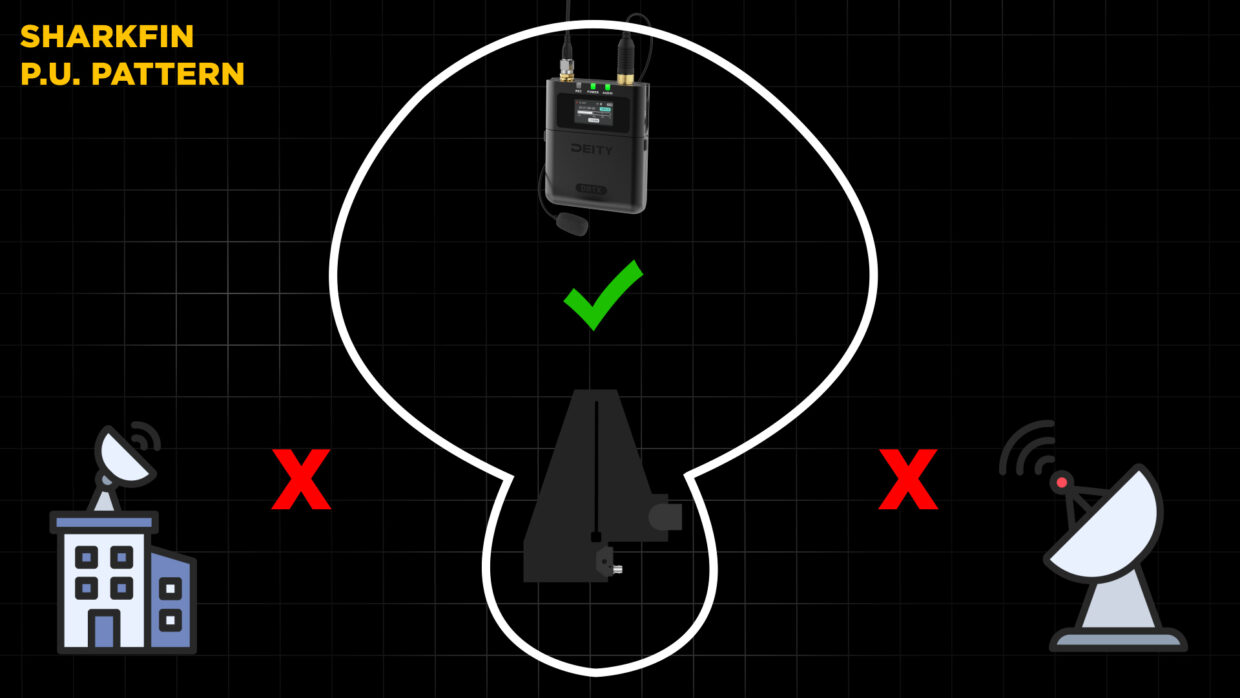
The shark fin antenna is directional and used for picking up signals really far away.
It can also be used to avoid picking up interfering signals coming from the sides of the antenna.
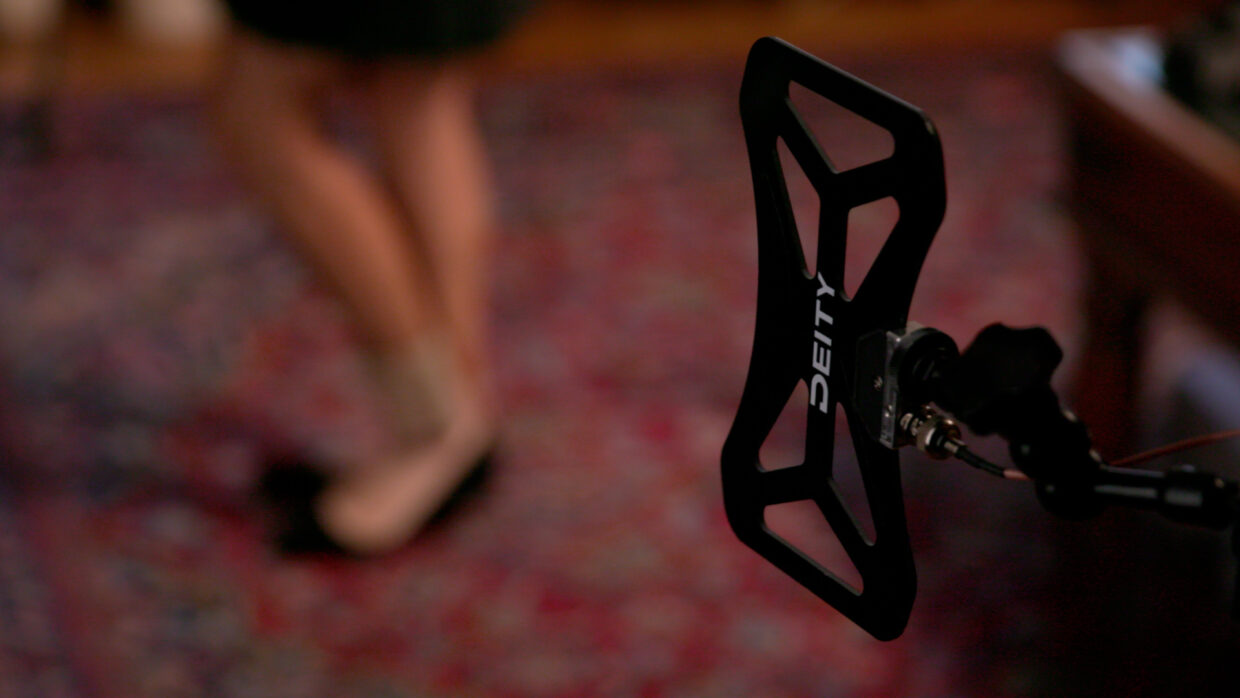
Dipoles / Butterfly variant
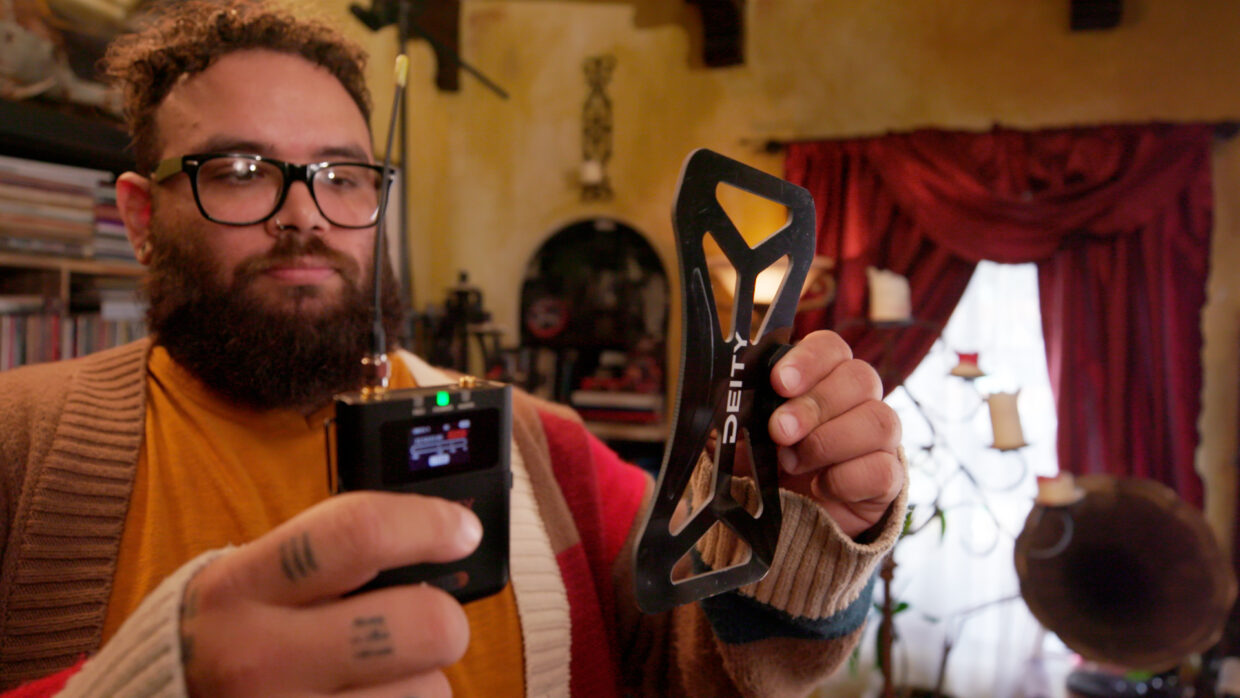
A dipole and its variant, a butterfly antenna, are omnidirectional and great for when transmitters are moving everywhere on set.
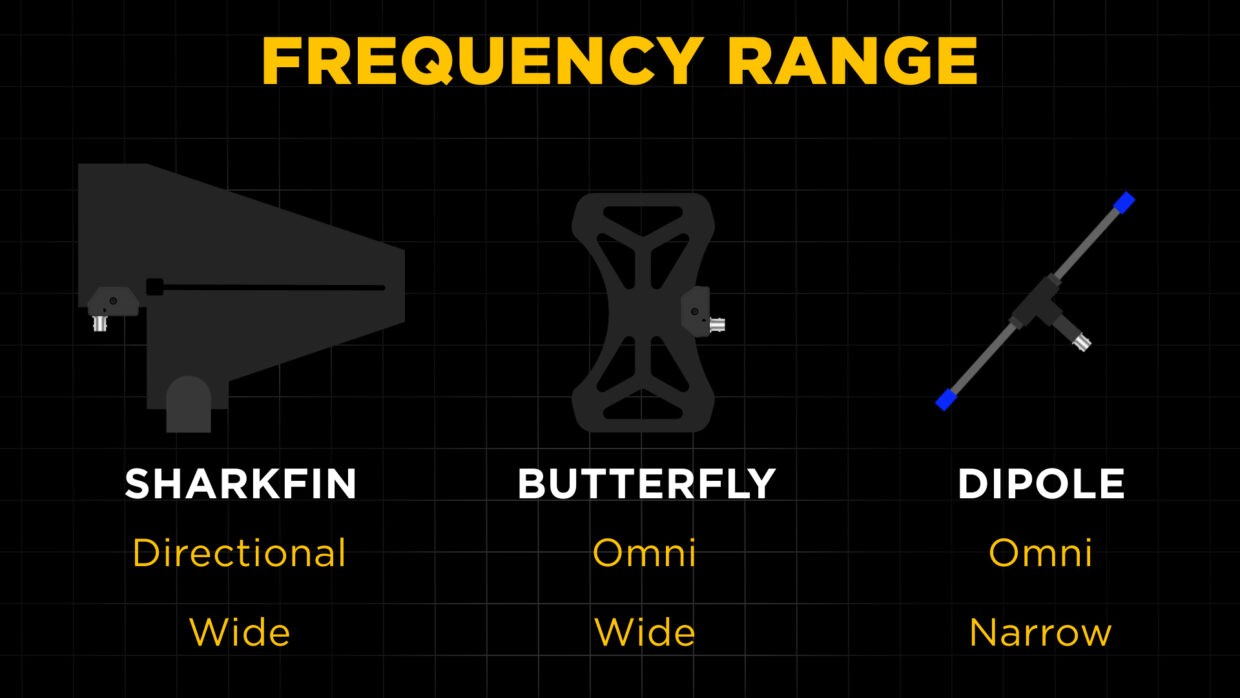
Frequency ranges
Of these three antennas, a shark fin and butterfly antenna will span an ultra-wide bandwidth of frequencies, while a dipole is more narrow.
Antenna Distros
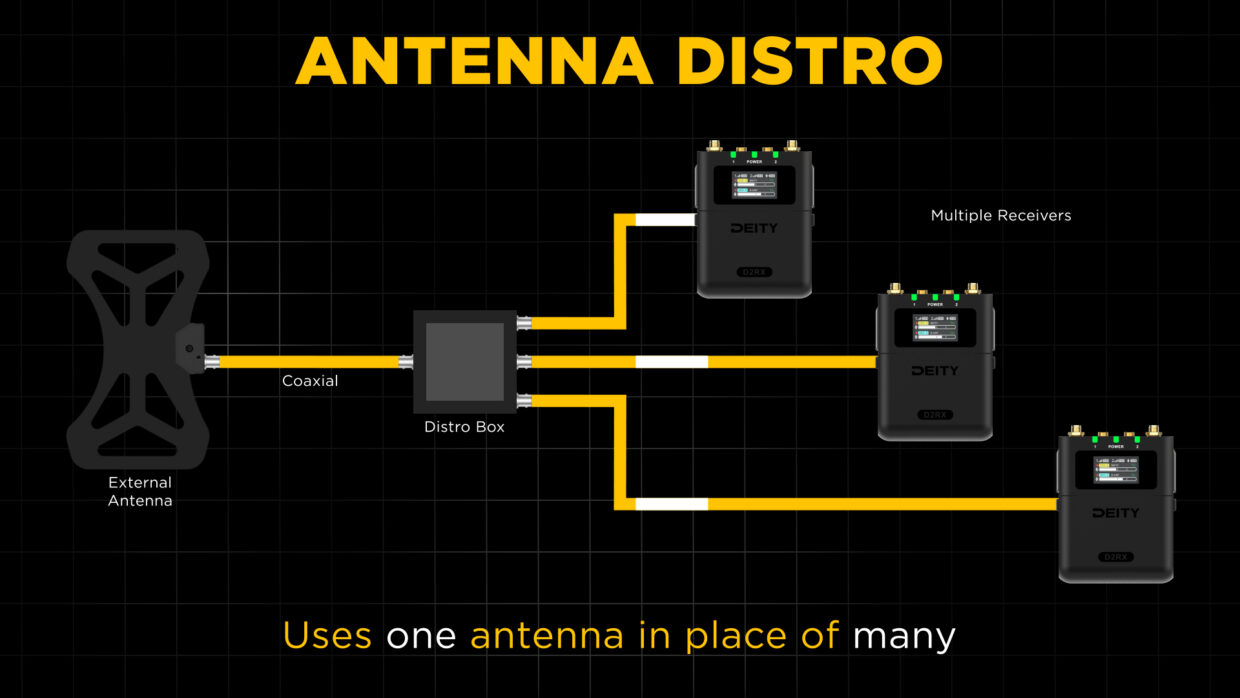
Lastly, if you need to distribute an external antenna to multiple receivers, you should add an RF antenna distro to your kit.
An RF distro comes in many forms, but they all allow you to use one antenna for your receivers in place of many, keeping your setup light.

Bottom line
If you want to be a professional sound mixer, always carry a variety of expendables and antennas, and study your location ahead of time for potential problems.
Do your homework!
Get Recording
Hopefully, this article has helped you become a more confident sound mixer!
Be sure to check out the rest of our blog which is packed with other sound advice. Happy shooting!
