Step-By-Step User Guide
Step #1
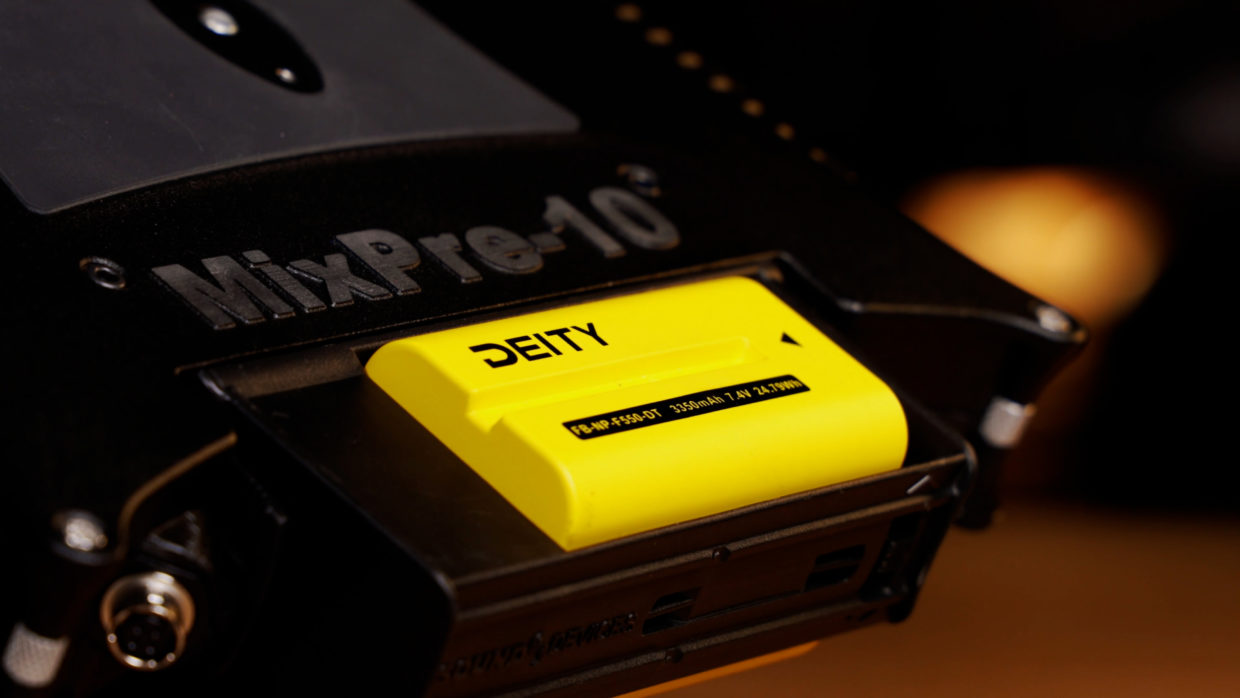
I’ve taken the mixer out of its sound bag to better access my ports. To power it I’m using the Deity NP batteries.
Step #2
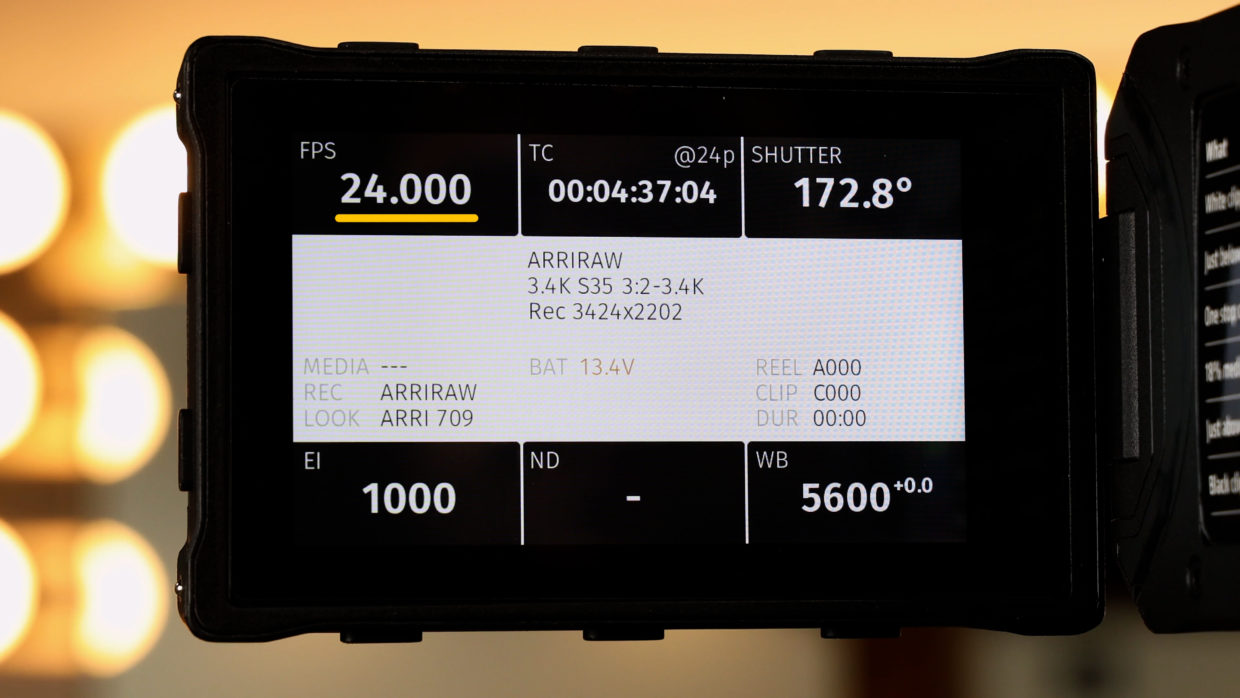
First, confirm your frame rate with the camera department.
In this tutorial, we’ll be using true 24fps.
Step #3
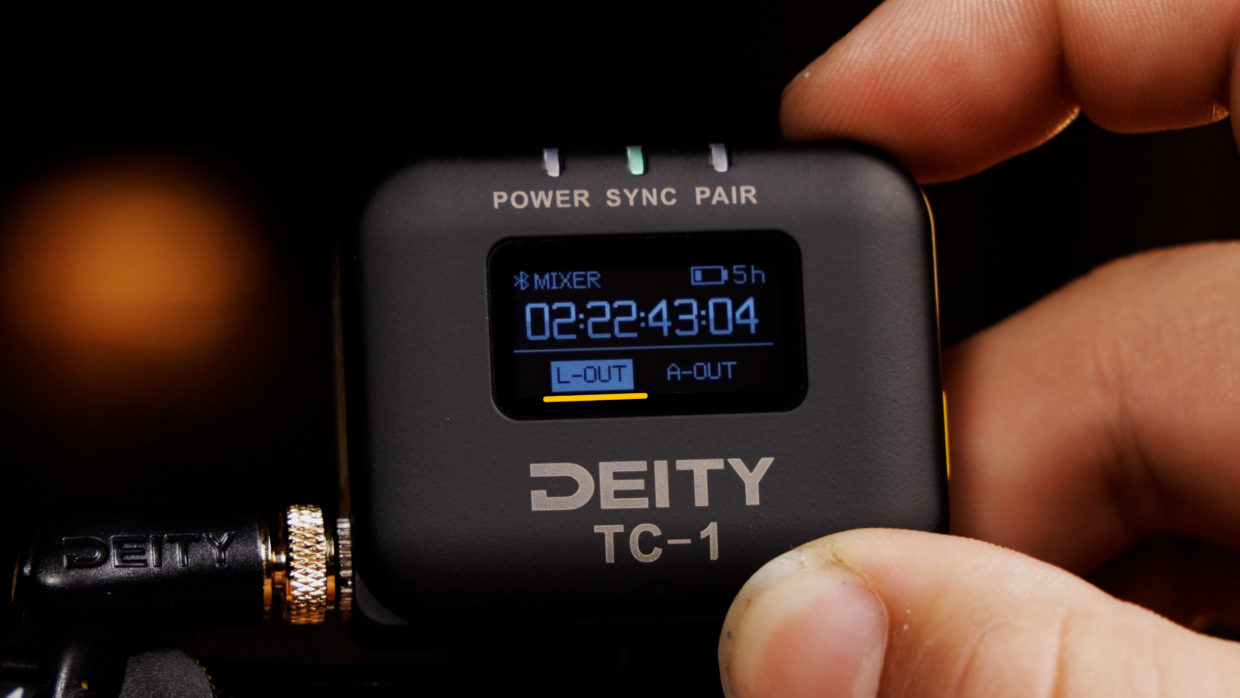
On your Deity TC-1, scroll over to the frame rate section and match it to the camera.
Next, scroll over to the out type section and select “L-Out.”
Step #4
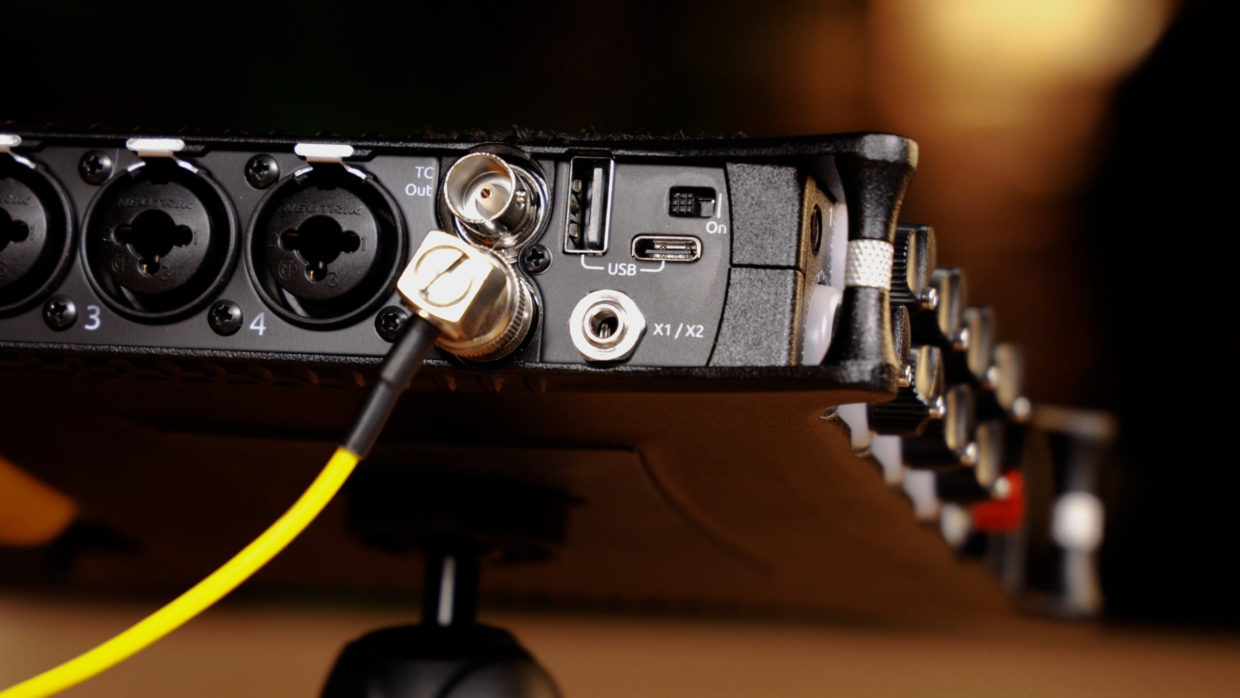
To connect the TC-1 to your camera you need a locking TRS to BNC cable.
Locate the TC input on the left side of the mixer and plug it in.
Step #5
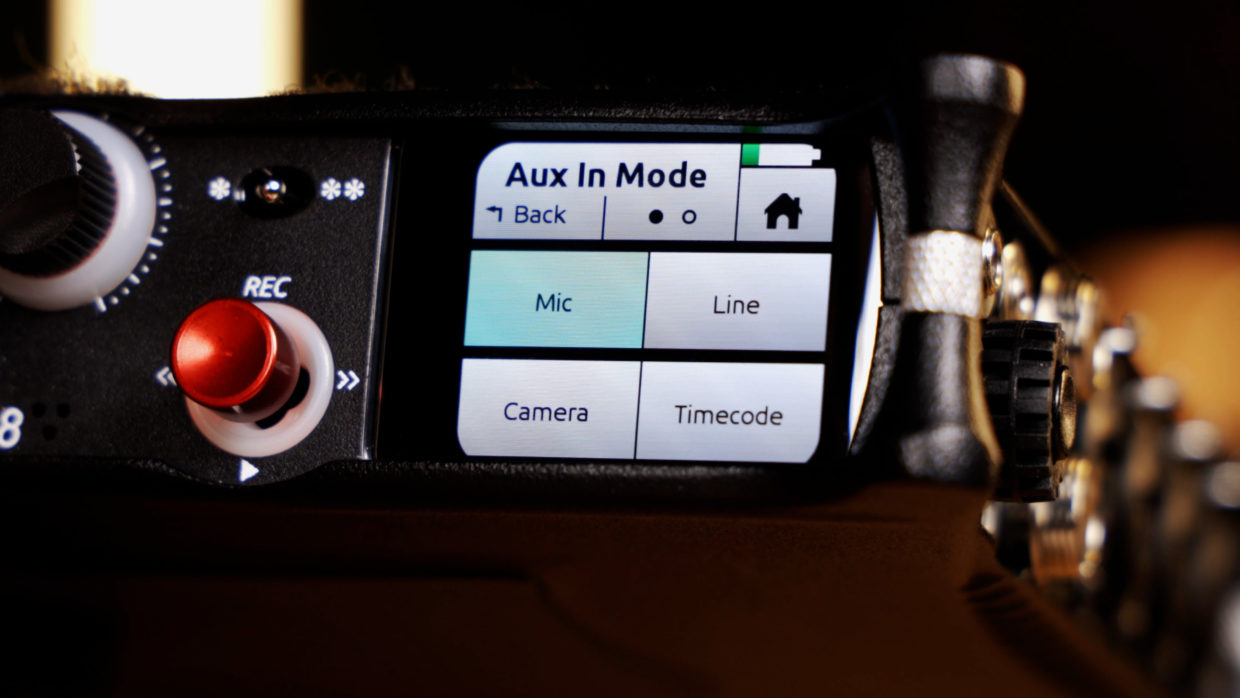
In the MixPre’s menu, select “Inputs” and set your “Aux In Mode” to something other than “timecode.”
This will make the device pull timecode from your BNC instead of the aux anytime the unit is powered off and on.
Step #6
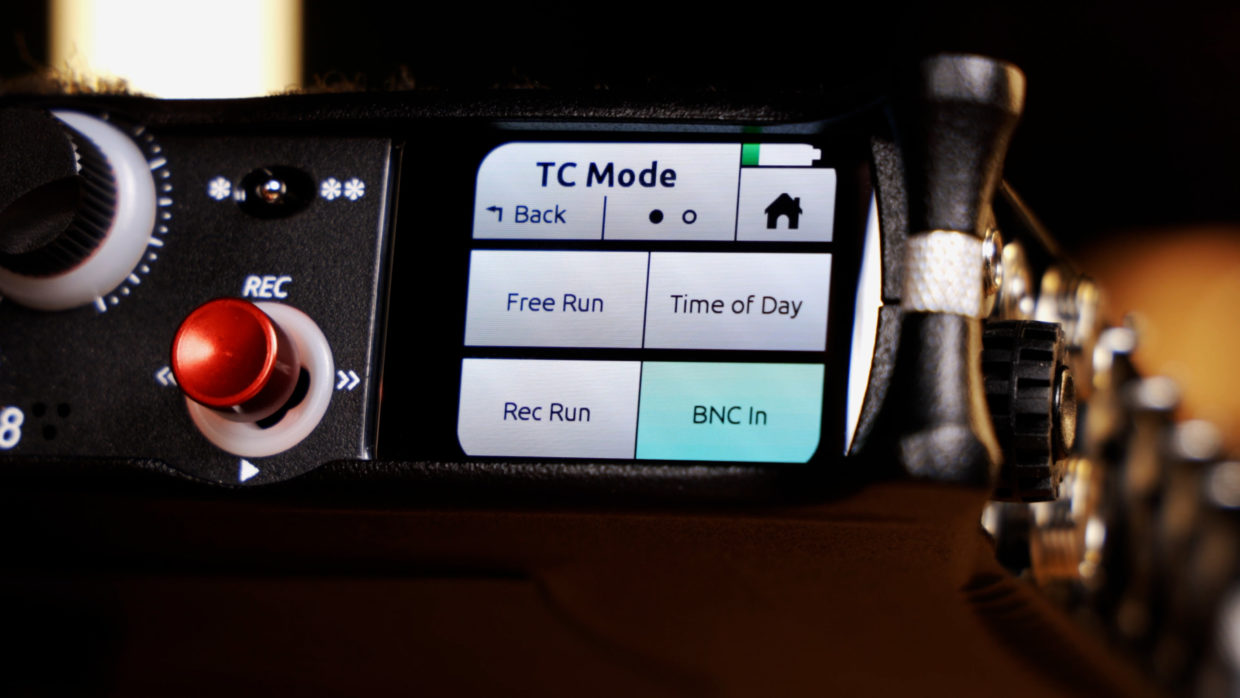
Back in the top menu, go to the second tab and select “Timecode.”
Inside this set your “TC Mode” to “BNC In.”
Step #7
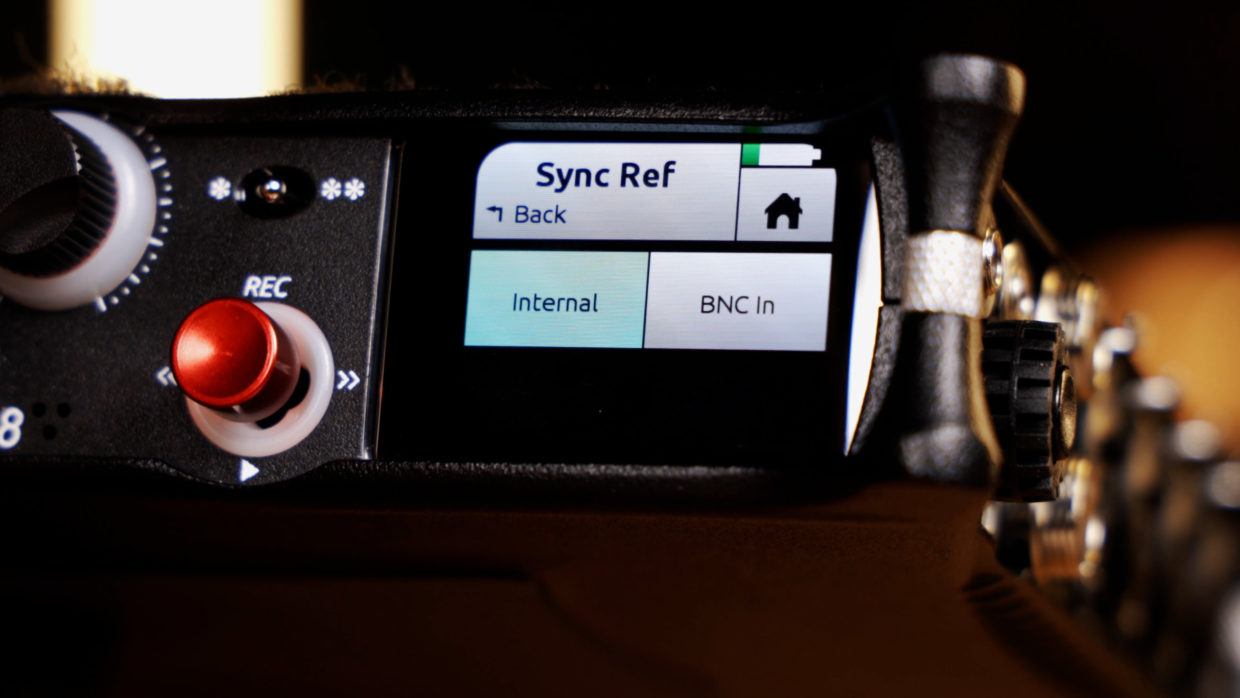
Next got to the second tab of the timecode menu and make sure your “Sync Reference” is set to “Internal.”
Step #8
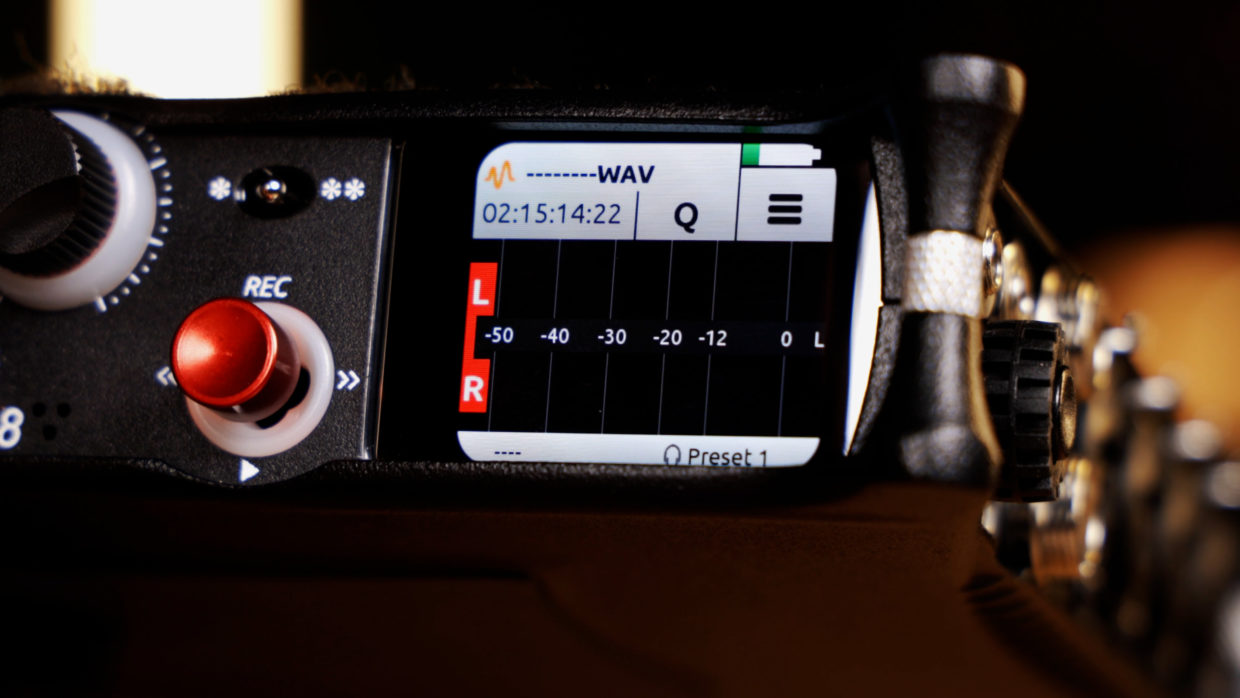
Finally, confirm that your unit is receiving timecode on the top left of the home screen.
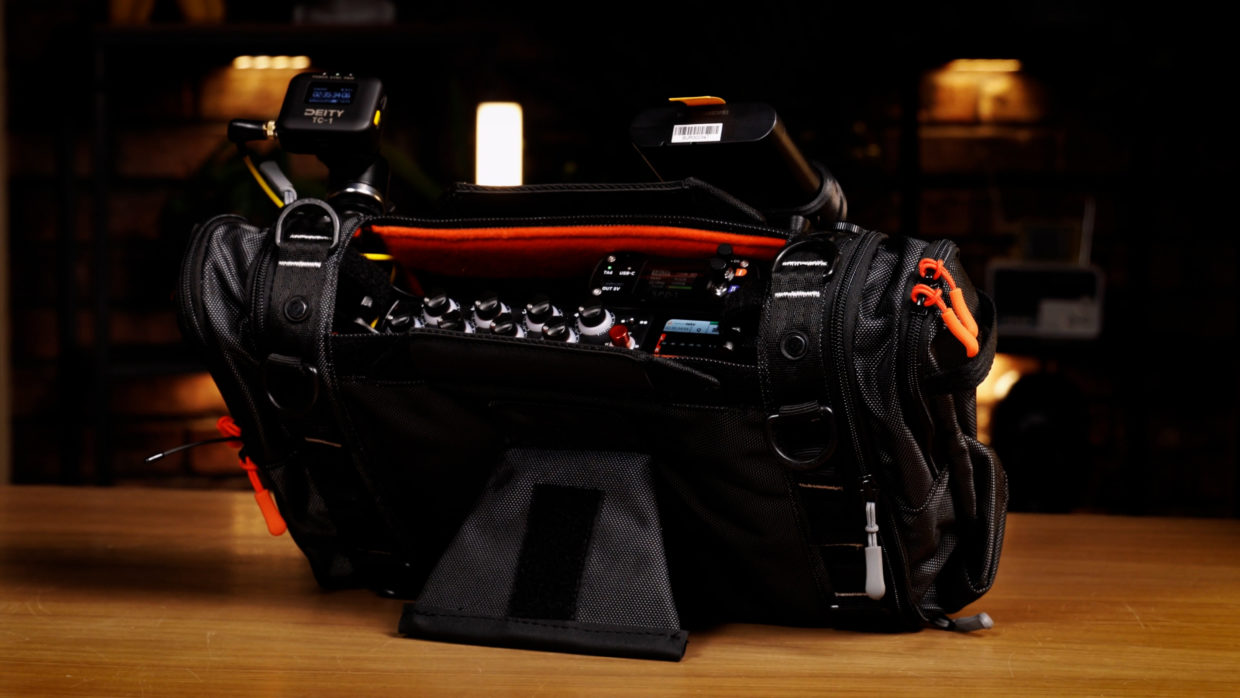
You’re Connected!
Your Sound Devices MixPre-10 is ready to be synced with the rest of your devices!
If you need help syncing your Deity TC-1 to your other Deity TC-1 timecode generators, here is a User Guide!
Connect all your devices to your phone or laptop via Sidus Audio™️. With our app, you can control your device’s settings, monitor their status, and sync all your units at once. Learn More
For the user guide to Sidus Audio™️ Click Here
Drop a comment down below if you have any cameras or mixers you’d like to see tutorials for!

