Step-By-Step User Guide
Step #1
Today, we’re gonna show you how to set up timecode on your DJI Osmo Action 5 Pro using a Deity PR-2.
We’re using an Osmo Pocket 3 for this tutorial. The menus are nearly identical, and the connections are the same.
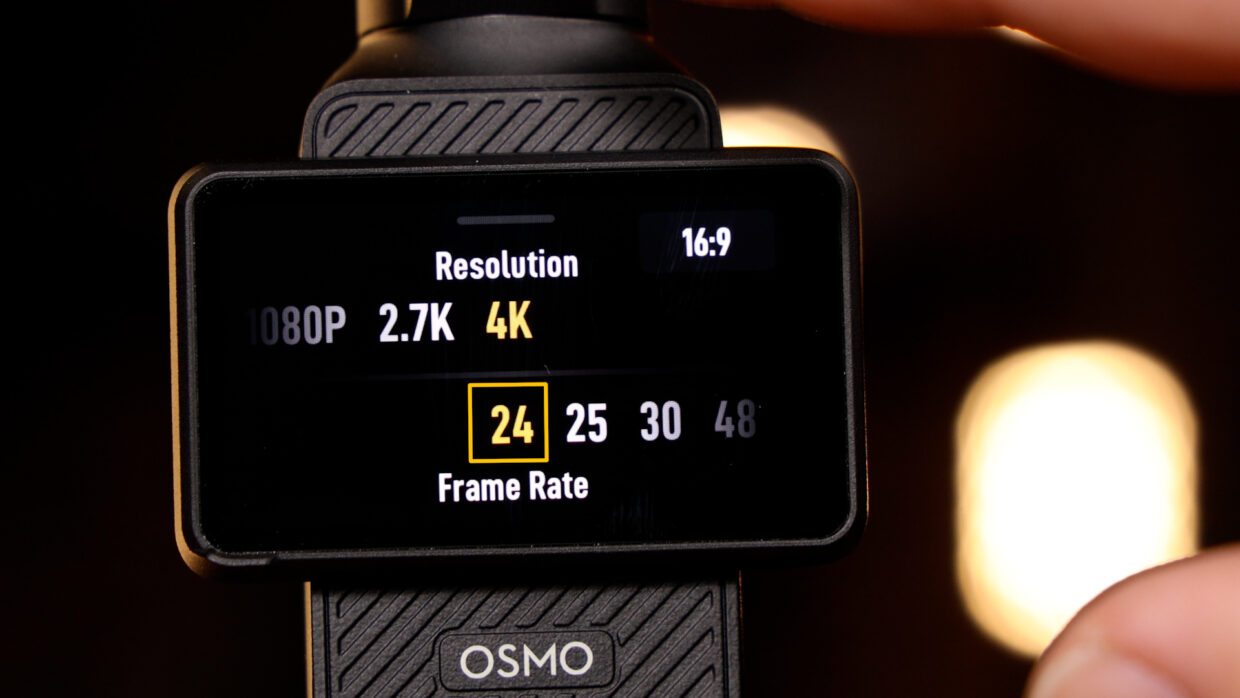
First things first, confirm your frame rate; in this case, I’m using 23.98.
Step #2
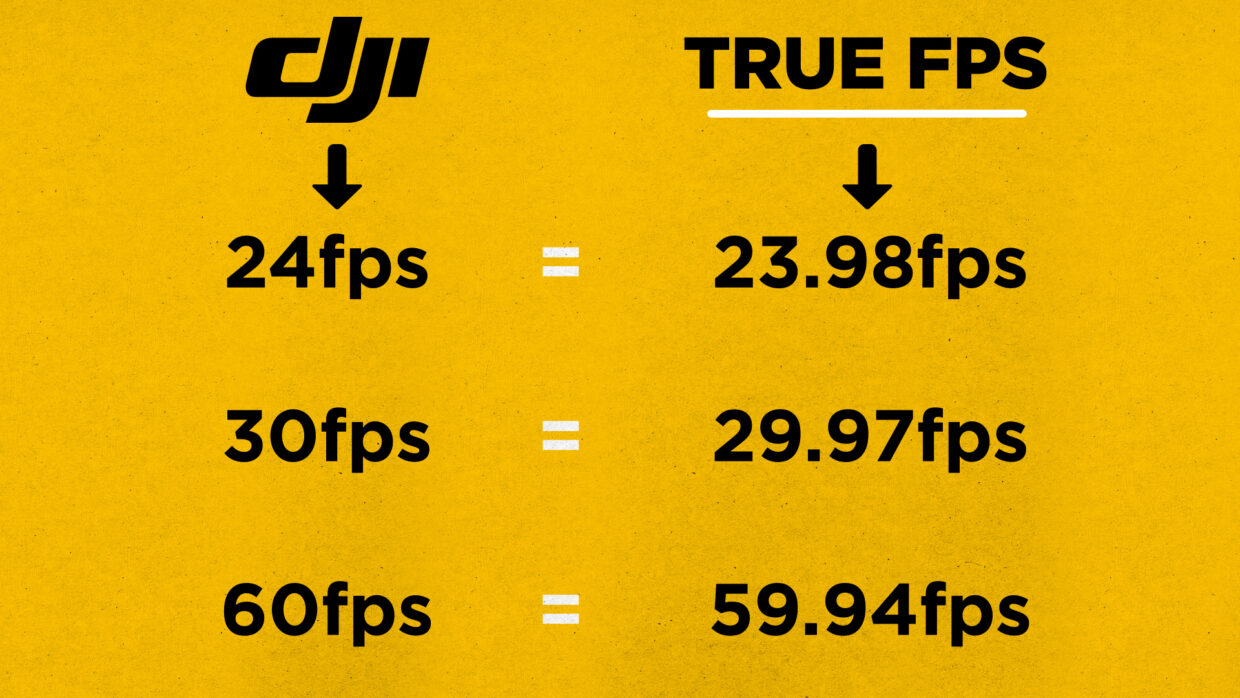
Note that the frame rate in the menu is not the true frame rate the device captures.
Here is a quick conversion chart to help you out.
Step #3
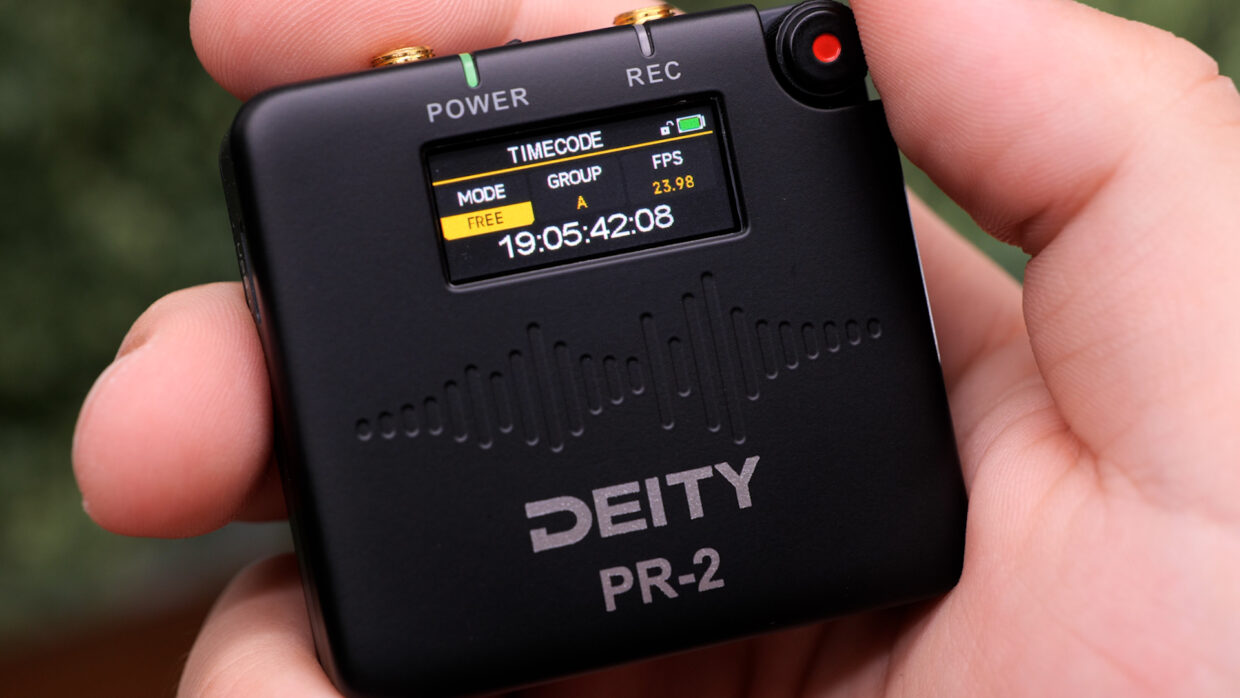
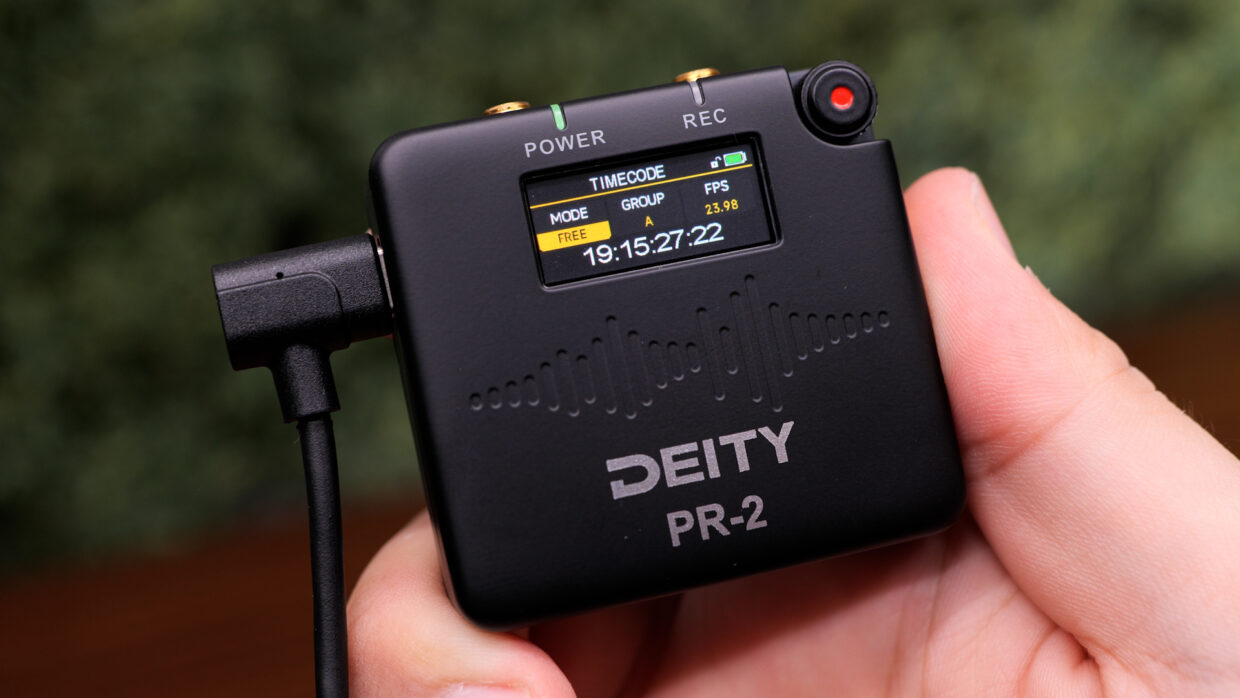
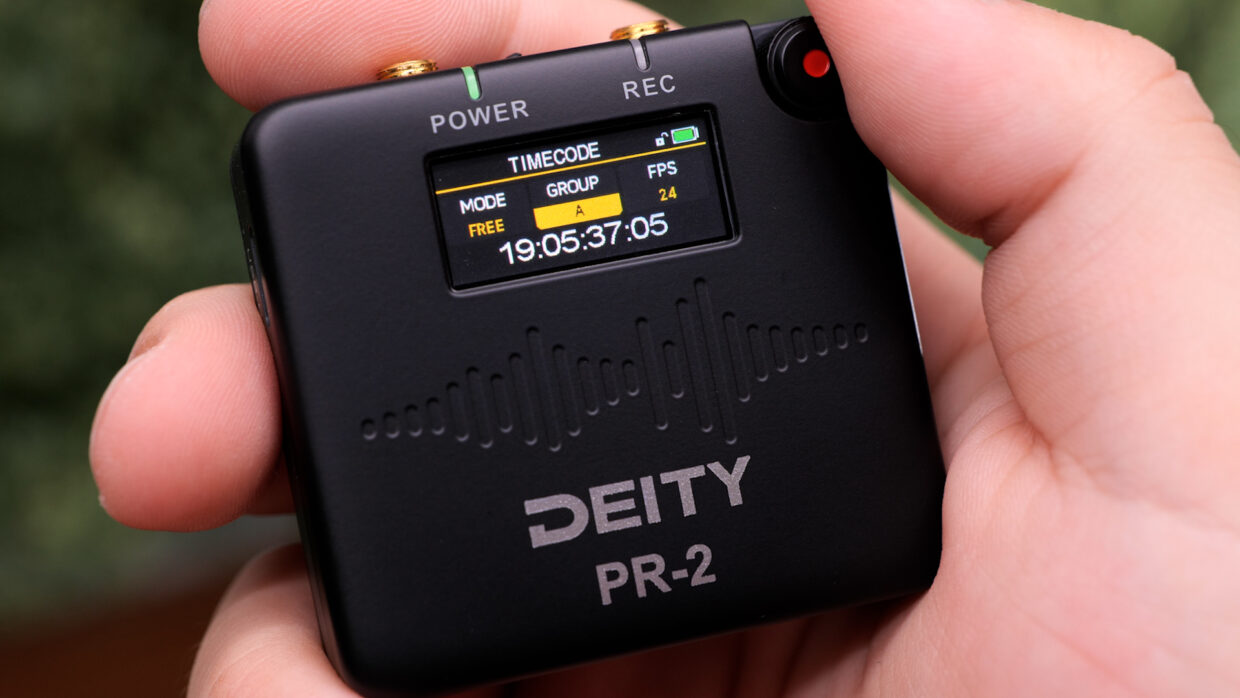
On the PR-2, short press the record button and then scroll down to the timecode menu.
Once there, make sure your frame rate matches the camera and that you are in the Free Run mode.
Step #4
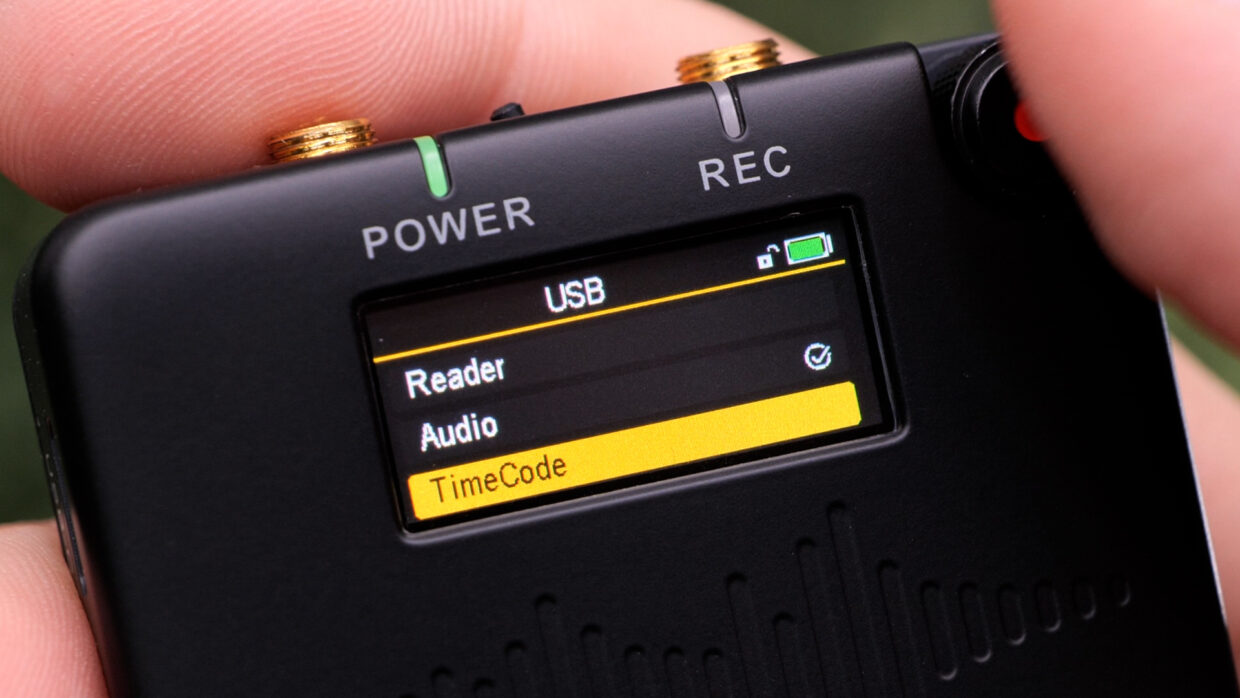
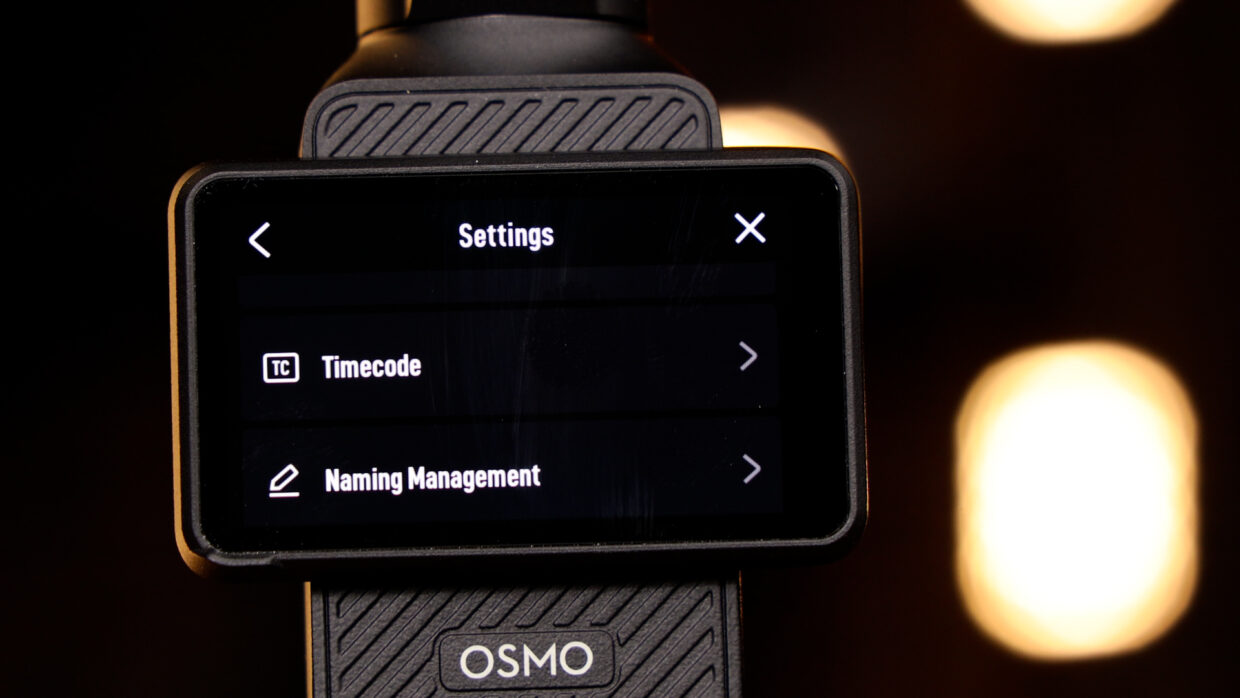
Back in the top menu, scroll all the way down to system. Inside this, select USB and then timecode.
This will prime the USB-C output for timecode use.
Step #5
Before plugging in your PR-2, swipe down on the Action 5’s home screen and select the system settings menu.
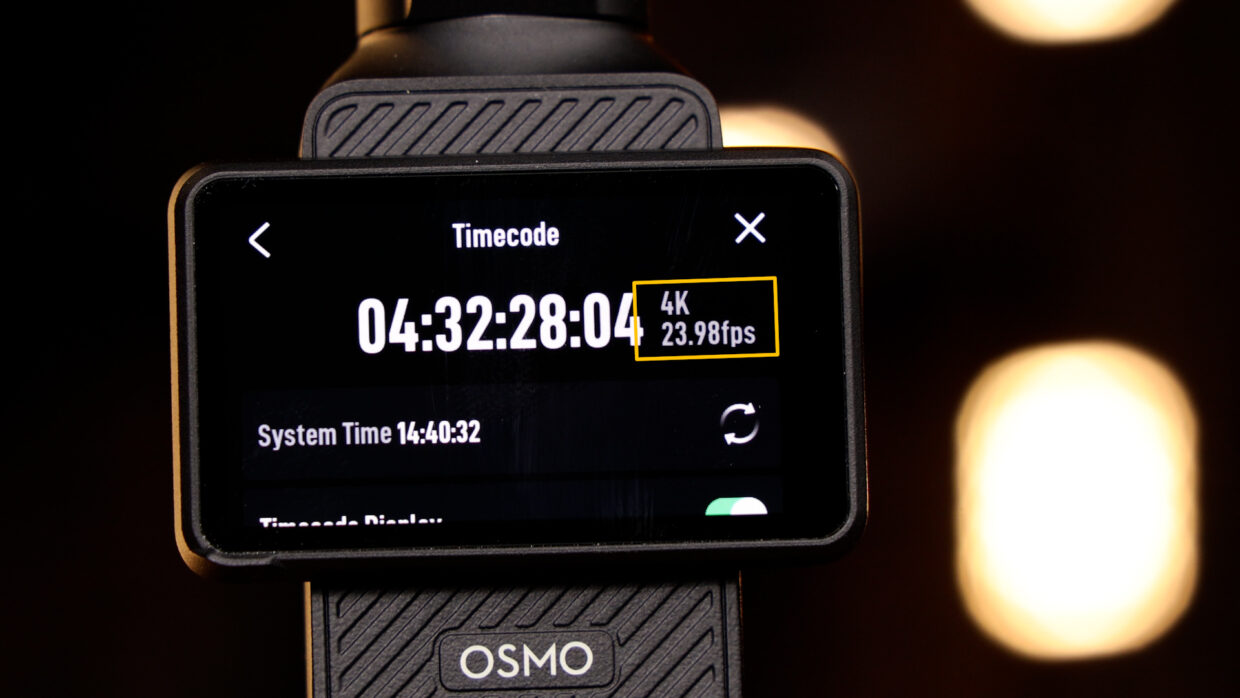
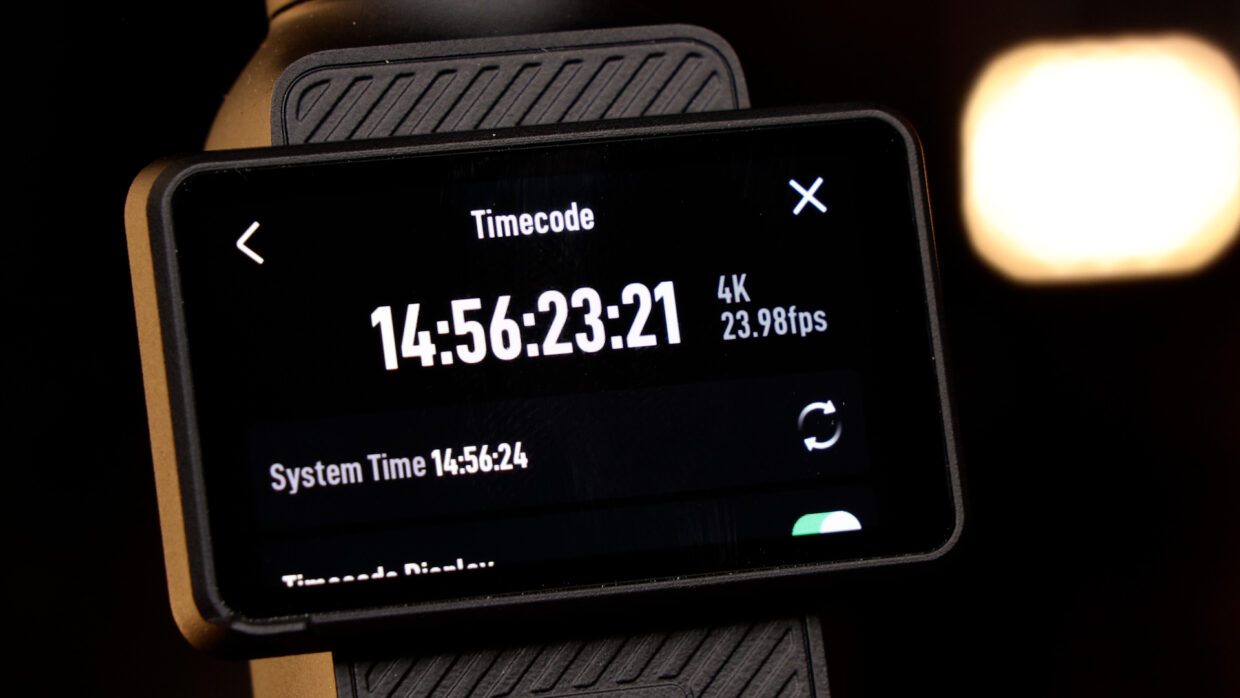
Scroll down and then select the timecode menu.
Step #6
Here, your DJI camera can accept a timecode signal.
Additionally, at the top right, you can see the true frame rate your device is capturing.
Step #7
The PR-2 can output timecode in one of two ways: out of the TRS or out of the USB-C.
The DJI is also a USB-C device, so we can use the included USB-C to USB-C cable.
Couple Notes
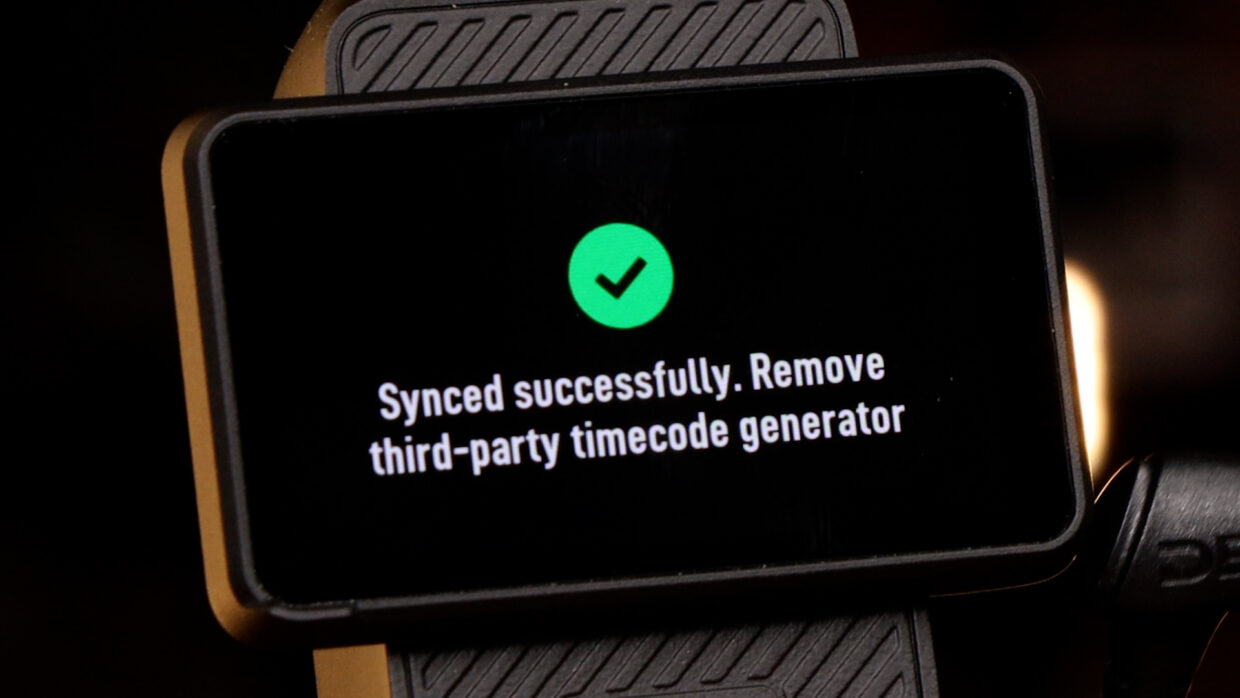
Now, connect the PR-2 to update the Action 5’s internal clock. It’ll notify you when it’s successful.
Couple Notes
Remove the PR-2 but keep it powered on, you’ll need it throughout the day.
The internal clock of the Action 5 will lose sync after a few hours so repeat the jamming process every so often.
You’re Connected!
Your DJI Osmo Action 5 is ready to be synced with the rest of your set!
If you need help syncing your PR-2 to your Deity TC-1 timecode generators, here is a User Guide!
Connect all your devices to your phone or laptop via Sidus Audio™️. With our app, you can control your device’s settings, monitor their status, and sync all your units at once. Learn More
For the user guide to Sidus Audio™️ Click Here

