A simple rule for film sets
The more cameras and recorders you have on set, the more important it is to keep them in sync and organized.
When things aren’t organized, the production loses time and money. In this article, we’ll show how to use timecode on a multi-camera production.
Roll for initiative
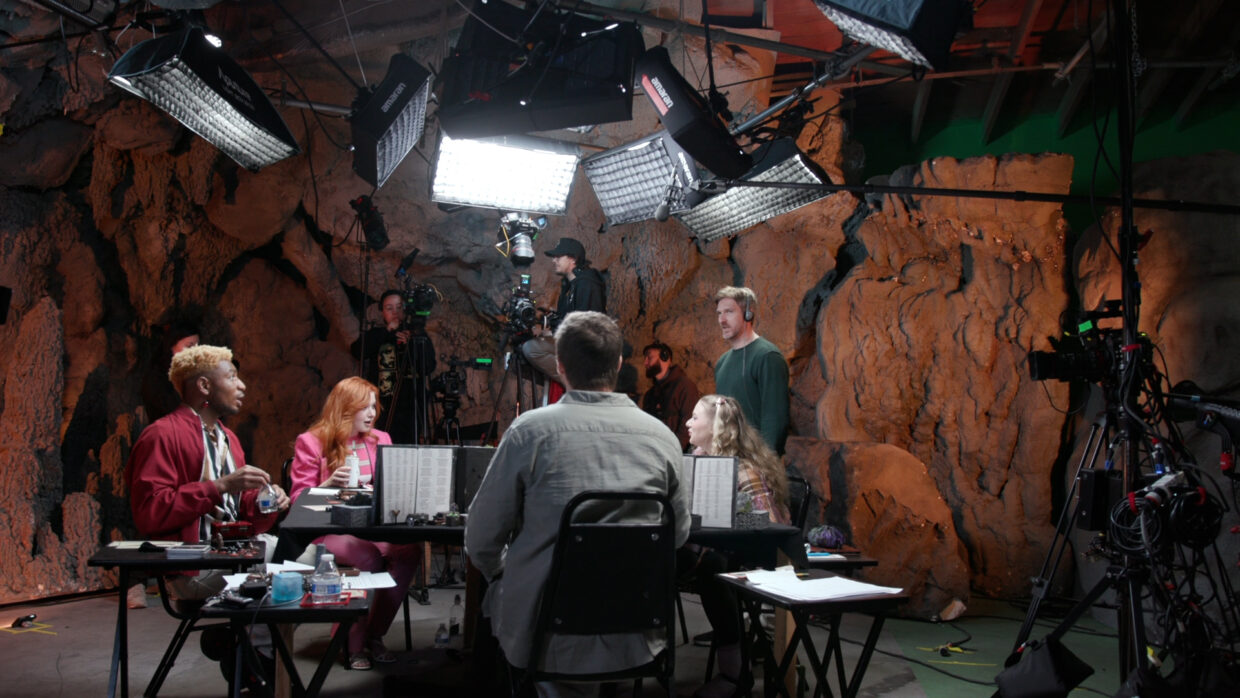
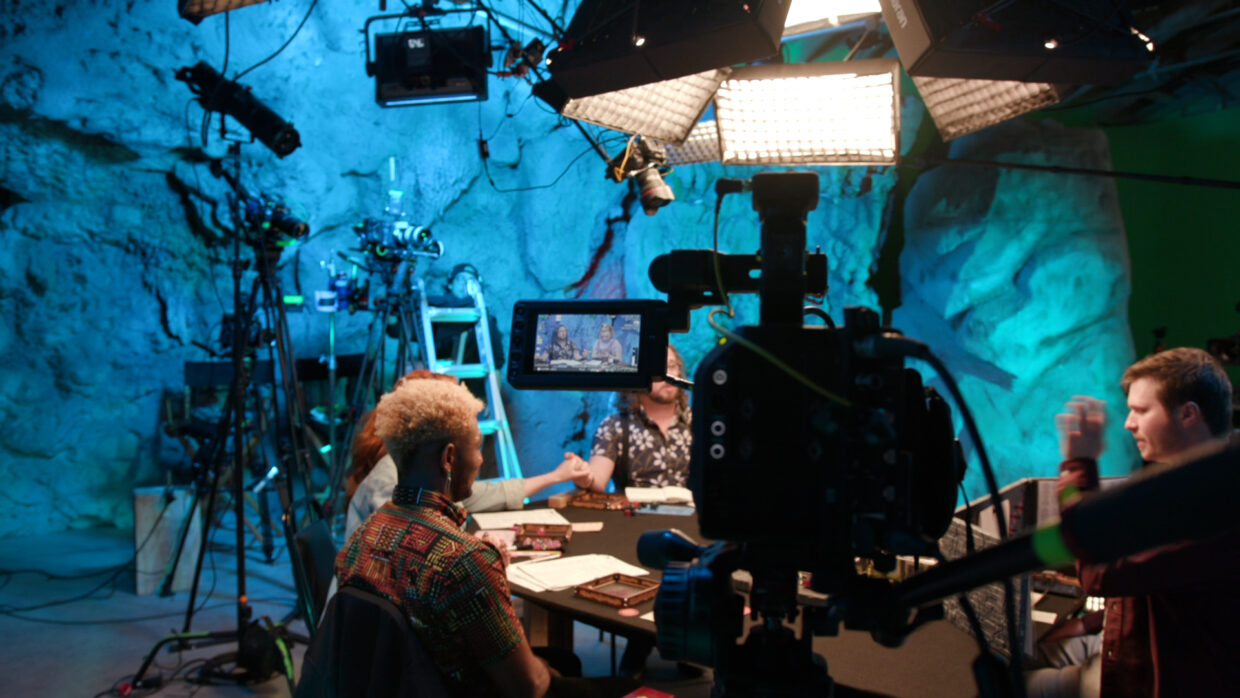
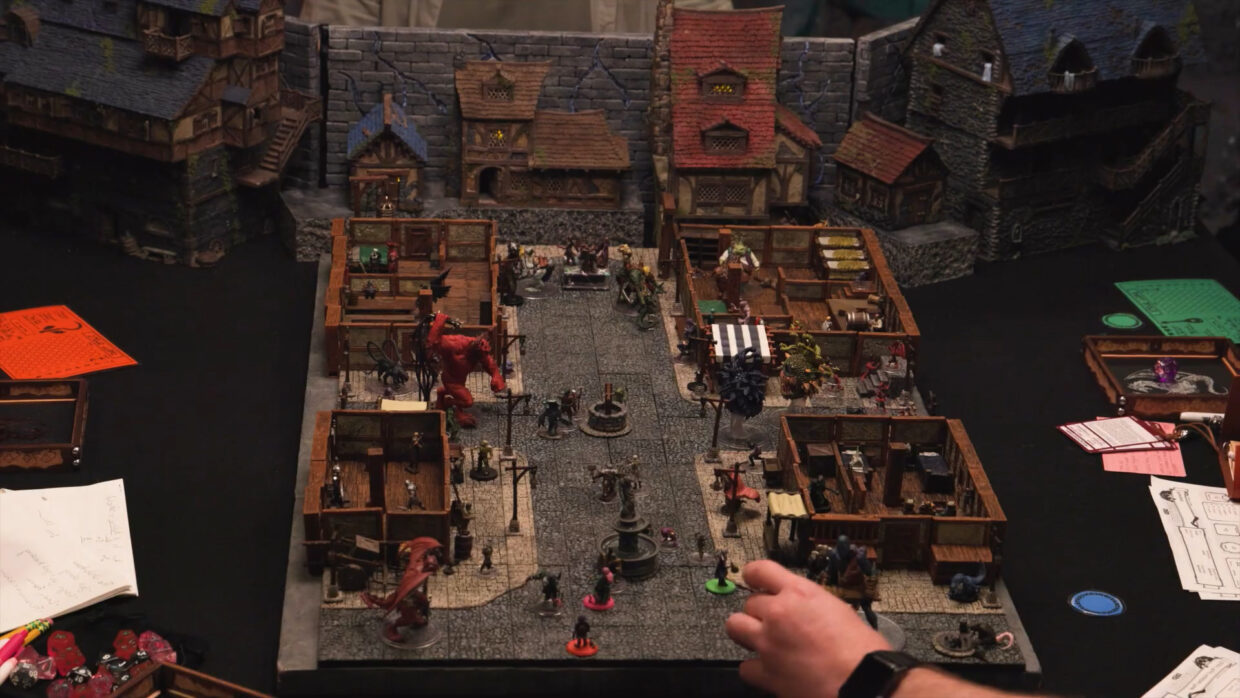
Today, we’re on the set of an improvisational D&D show called The Dice Decide. We thought it would be a great opportunity to meet their sound mixer and go over all the different ways they achieved quality sound and sync during the production.
That way, you guys can learn from it!
The challenge
Multi-camera productions offer unique challenges; primarily, there are just a lot more things to keep track of.
More cameras, more audio tracks, more data, all of it starting and stopping independently of each other.
If all these moving parts aren’t properly managed on the day, the editor will have some choice words for you after wasting hours of their time.
First step
If all these moving parts above aren’t properly managed on the day, the editor will have some choice words for you after wasting hours of their time.
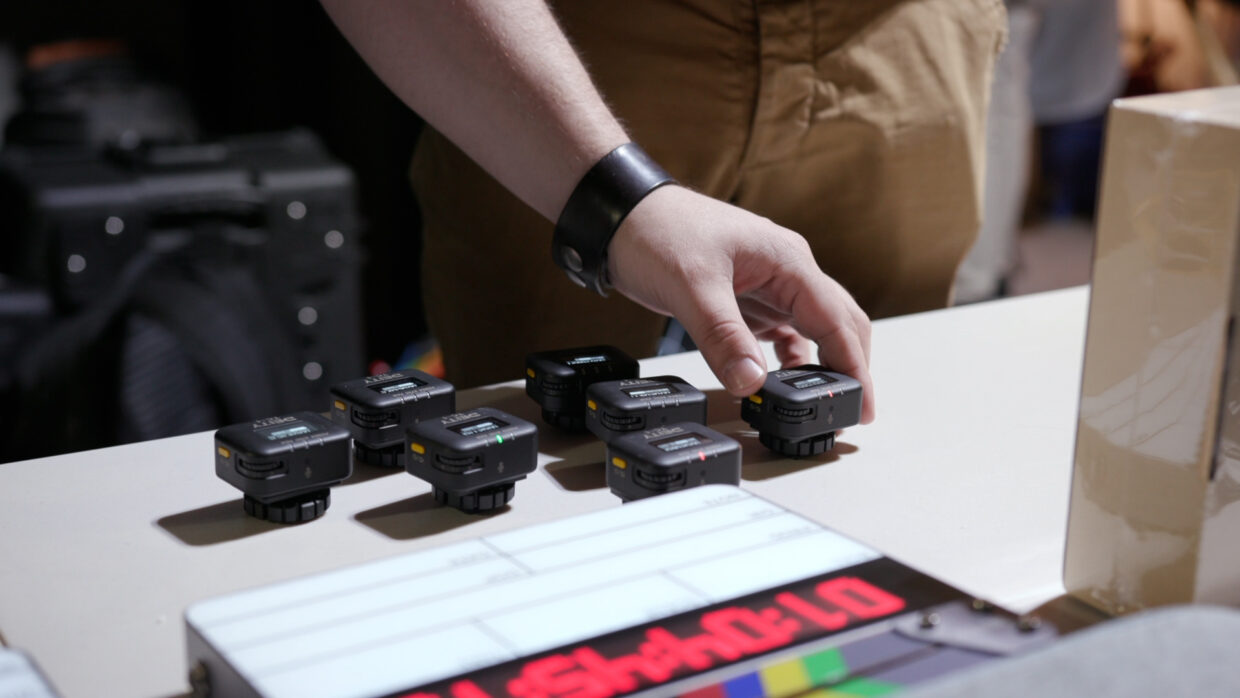
It’s imperative that your devices, regardless of brand, are on the same page, in this case, the same clock. The first responsibility on set is getting every device that needs it connected to the universal language – timecode.
What is Timecode?
We’ve explained this a bazillion times, and you can bet we’ll keep explaining. It’s that important.
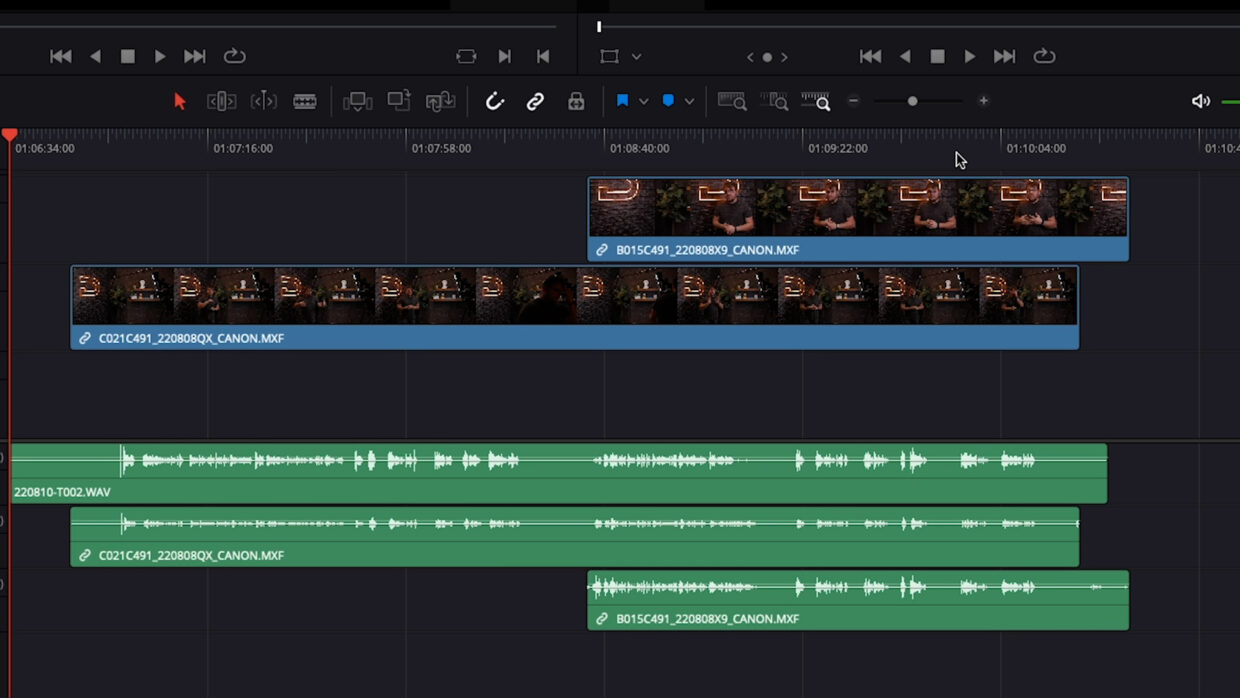
Timecode is frame-accurate metadata embedded into a file. This metadata is generated by a special type of clock and serves as the language all your devices use to stay in sync – no matter how out of whack their start and stop points are throughout the day.
Save time in post
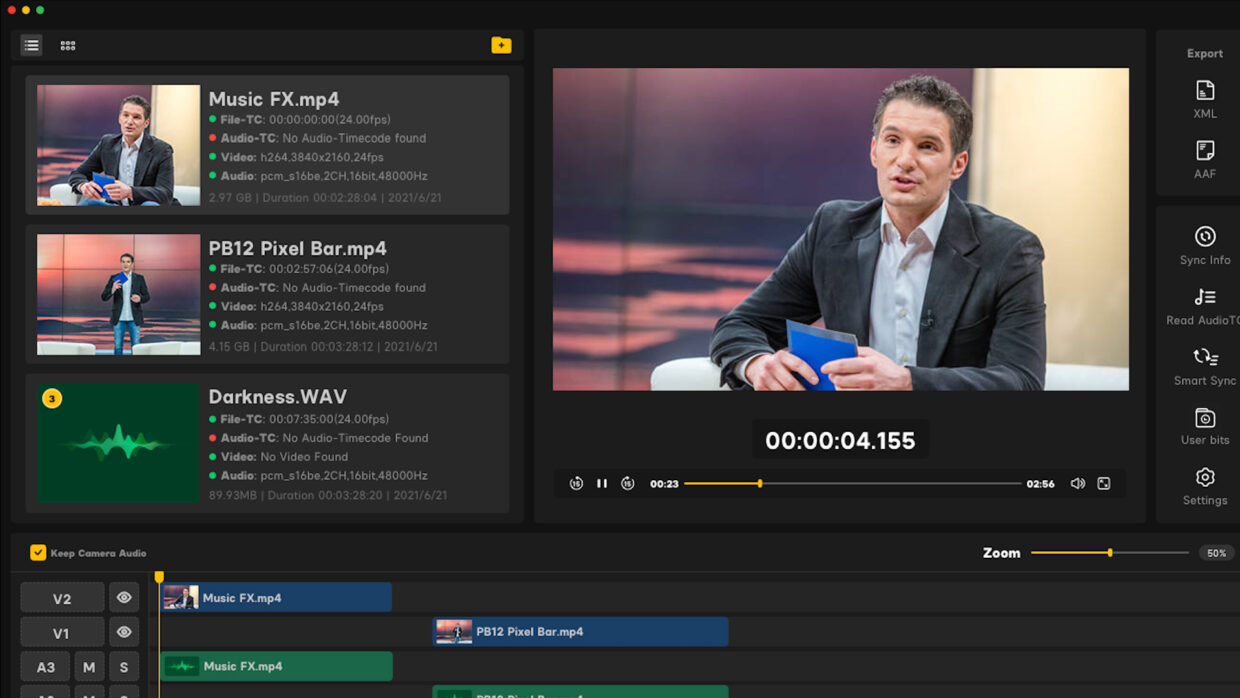
What that practically means is that your editor presses one button to sync all of your devices using this clock instead of lining everything up manually. In multi-camera edits, that translates to hours or days of saved time.
Most professional devices have their own internal clocks, but again, the clocks are isolated to the device. Worse yet, camera clocks can drift over time, making them useless for sync.
One generator per device
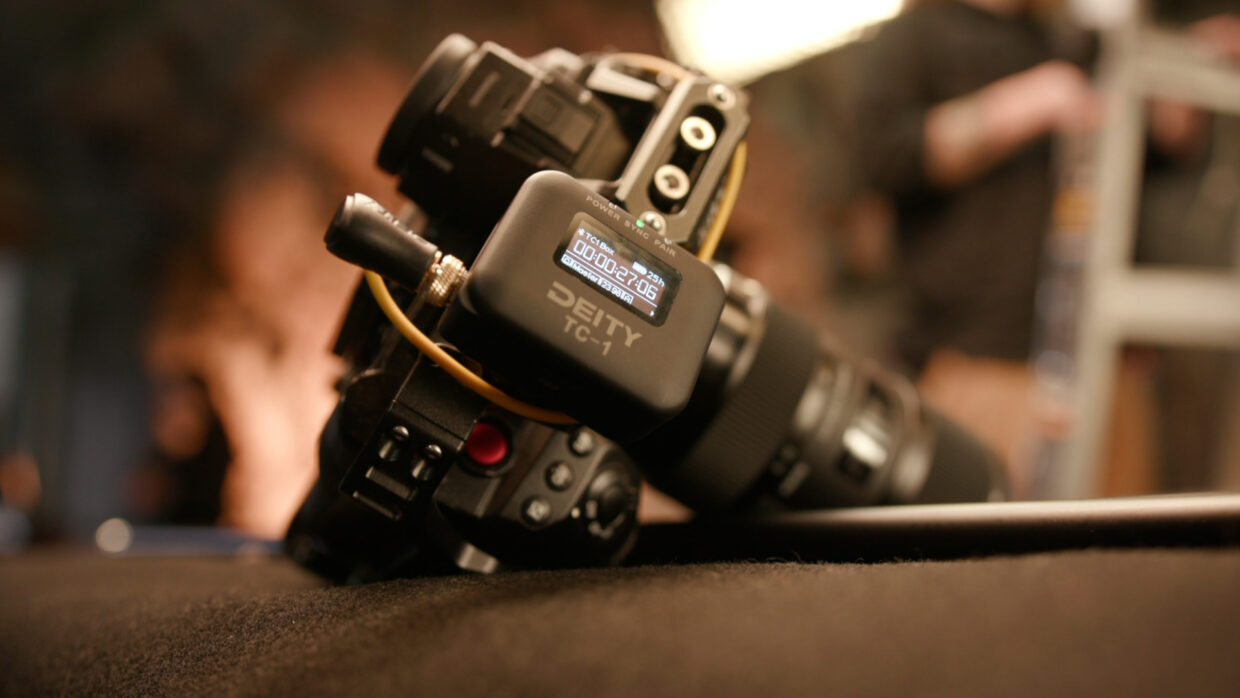
You will need an external timecode generator that stays attached to the camera and recorder and that will feed the device timecode you can reliably use.
Sadly, you can’t plug in a generator to update the device’s clock and then unplug it; it will need to stay connected to avoid drift.
The Set
So, how many devices will be used on the day?
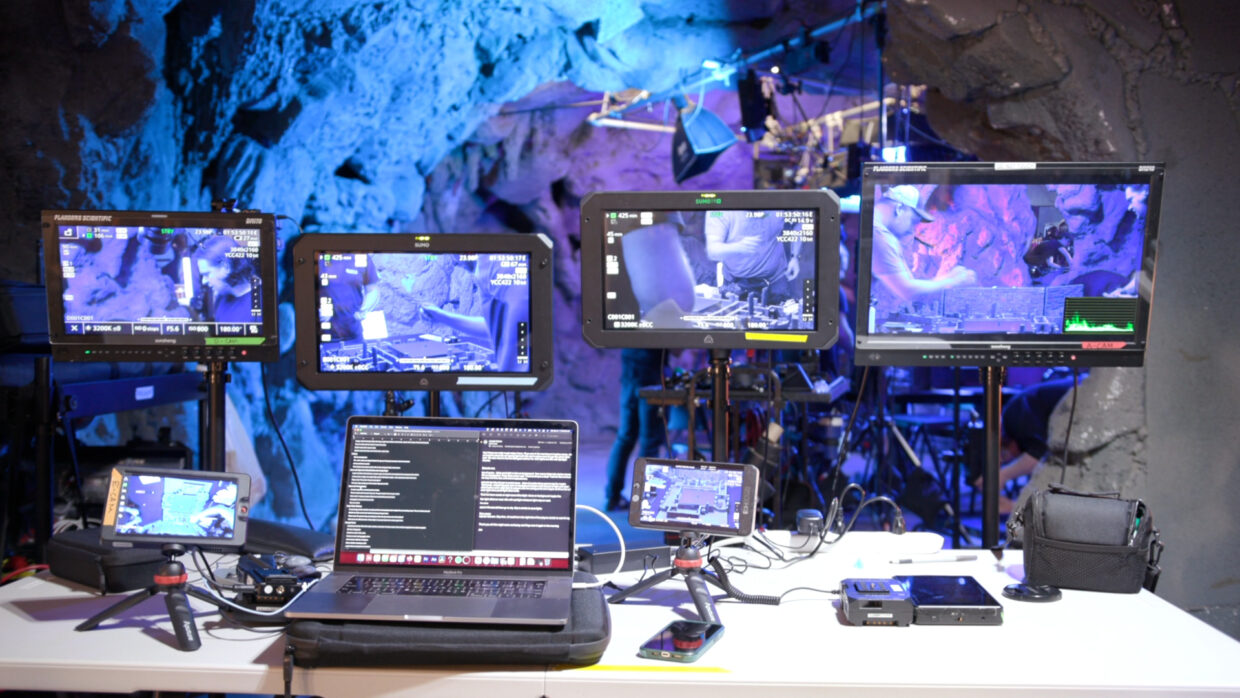
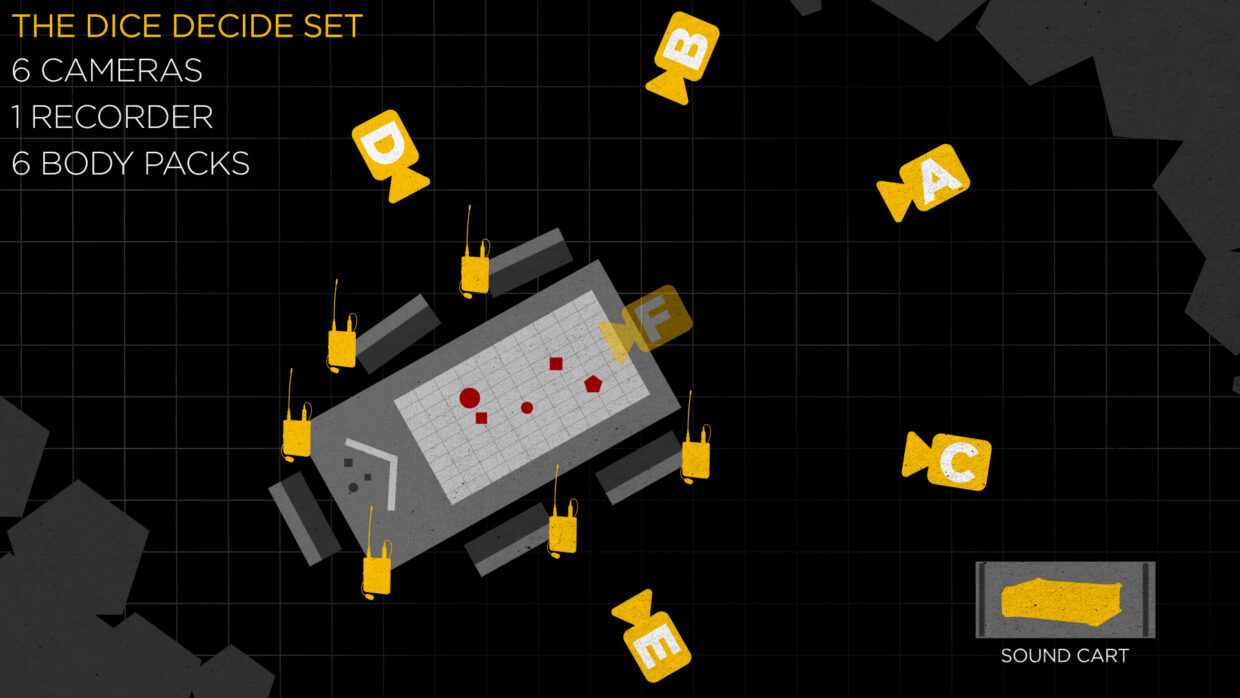
There are 6 cameras and 1 audio recorder, getting 6 signals from 6 body packs.
One of our pre-production responsibilities is to ask what cameras are being used on the day. This way, we know how many timecode boxes to bring and which cables we’ll need.
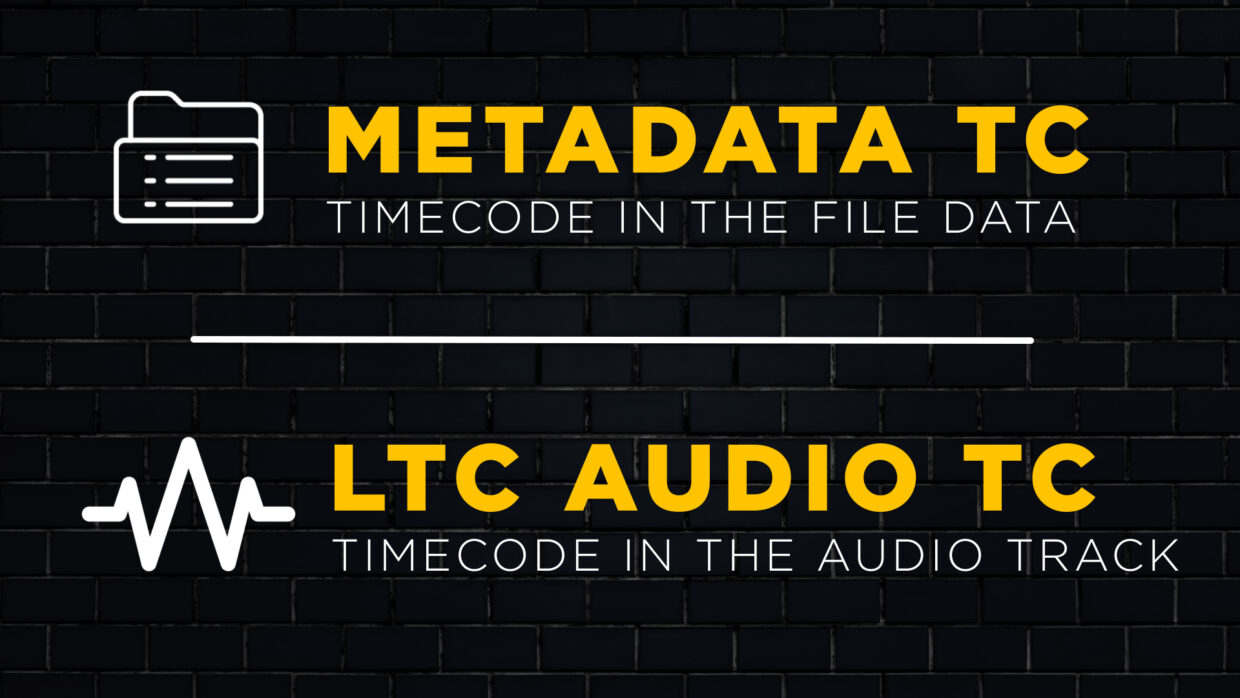
LTC Audio Vs Metadata
It’s also important to know what type of timecode those devices can use. Professional cameras usually use metadata timecode, while mirrorless cameras need to use LTC audio timecode.
This is information to put in your sound report so the editor knows what to look for.
Communicating with the camera department
Now that we know what to bring to set let’s talk a little bit about etiquette.
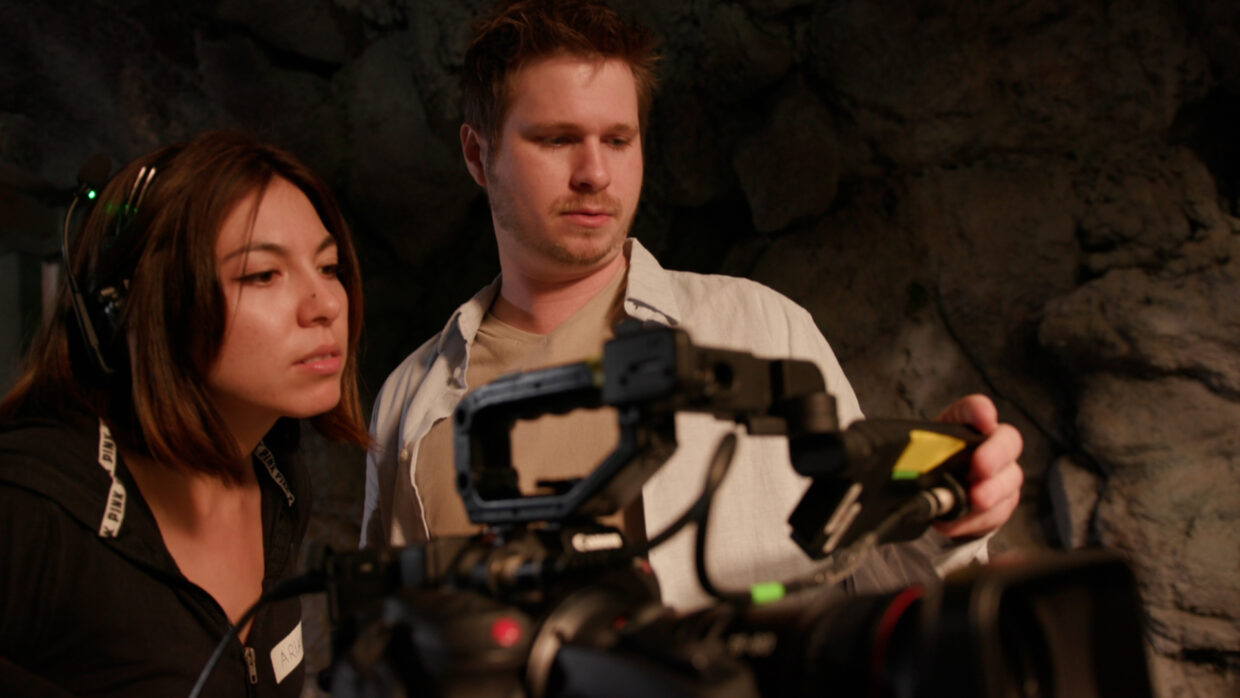
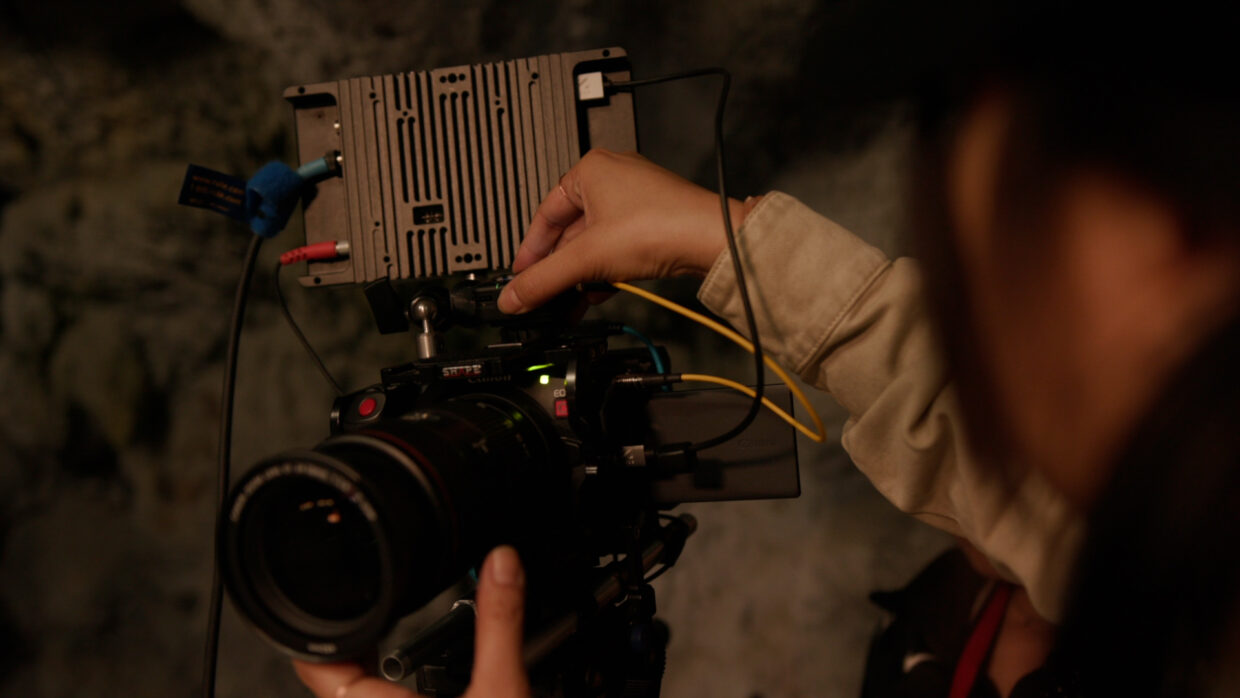
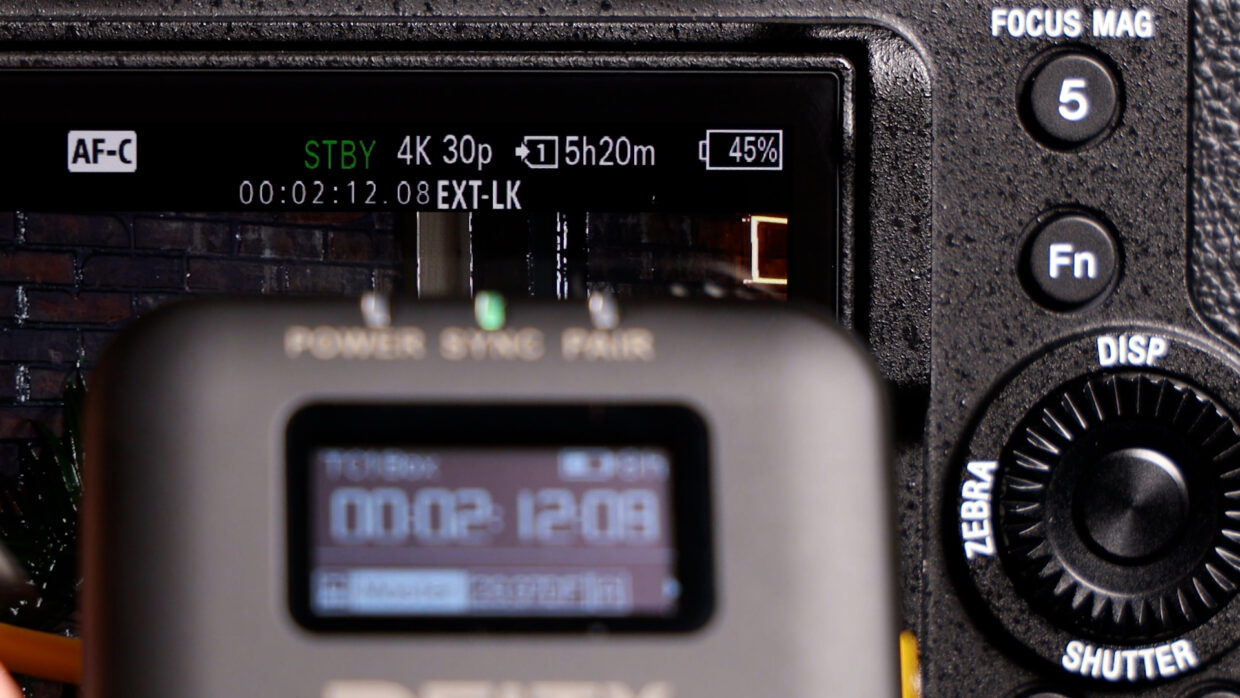
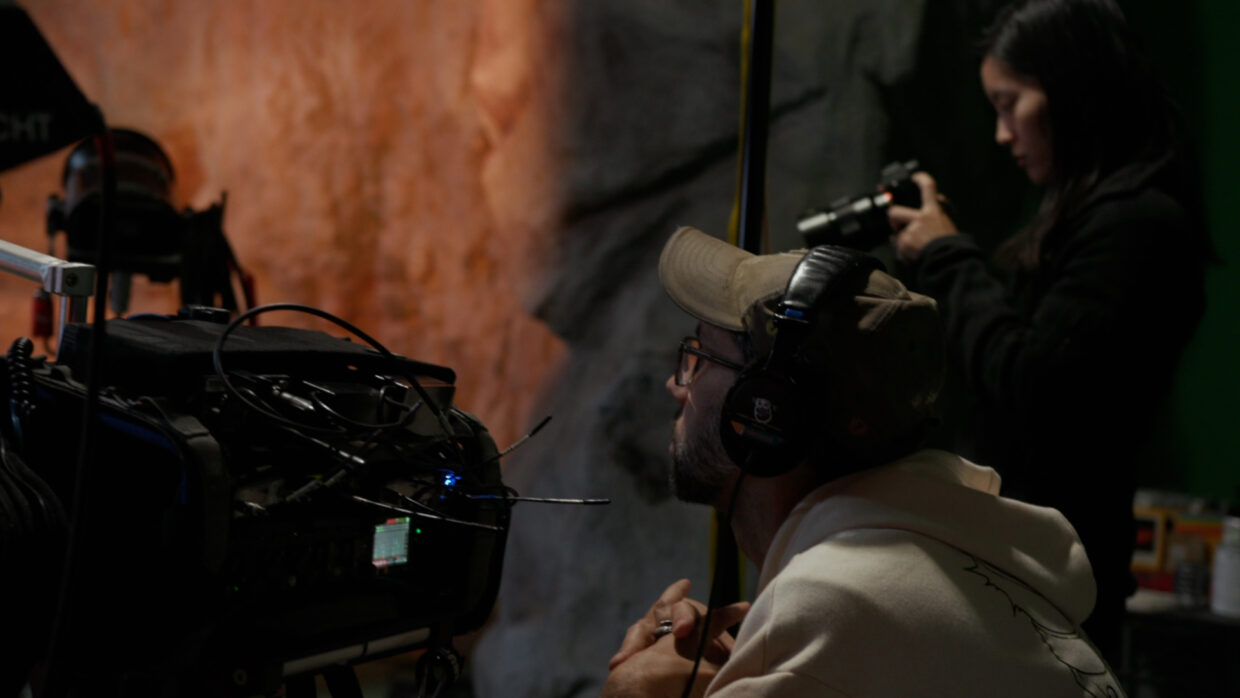
When the timecode generator is ready to be given to the camera operator, watch the camera LCD over their shoulder. If you did your research beforehand, you’ll know where to look to confirm that the camera is receiving the signal.
Don’t assume that just because the generator is connected, it’s working.
Don’t touch the camera
Also, don’t touch the camera, they REALLY don’t like that. Be open to walking the operator through the menus, though, if they don’t have any experience with setting up timecode.
We always say communication is key on set, and that holds true here.
We have a bunch of timecode tutorials for different cameras, and they’re all like a minute long, so research will be easy.
Check it again
Once all the cameras have been properly connected, we can focus on getting our recorder up and running. We want to make sure the recorder also has a generator attached because this will serve as the master clock.
Then we double-check the frame rate, and that everything is synced.
Backup recording
If you’re on a set without a centralized recorder and would rather record on a bodypack locally, you don’t have to forego using timecode.
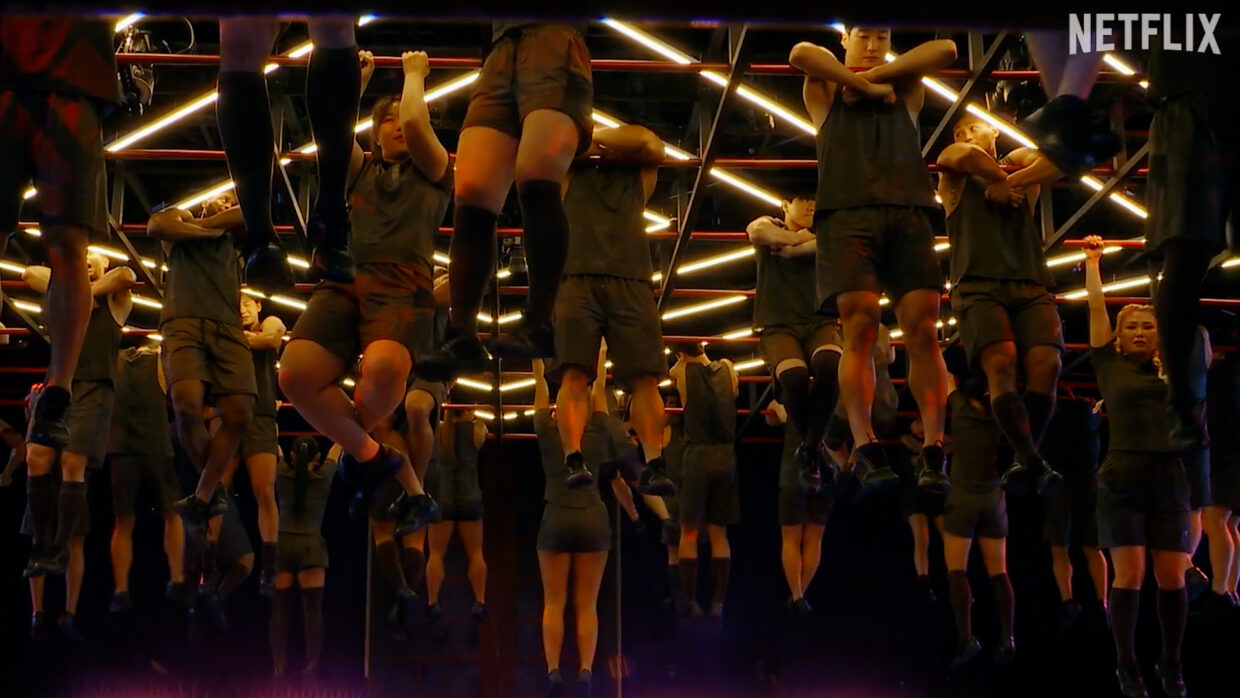
The Deity THEOS offers wireless timecode sync and records internally. This setup would be ideal for a show like Netflix’s Physical 100 where they had dozens of contestants wearing recorders.
Recorder as Master
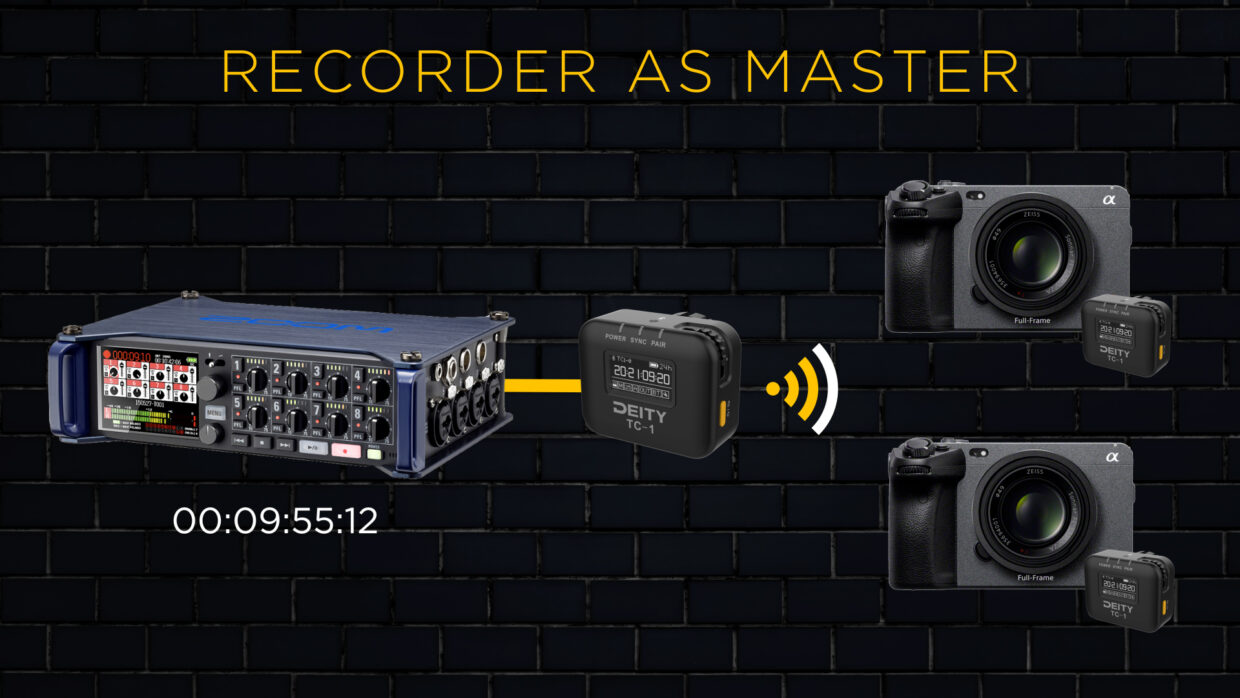
Some people like the timecode signal to come from their recorder and feed the rest of their devices.
This means the generator is receiving the timecode from the recorder and then sending it to all the other generators.
Generator as Master
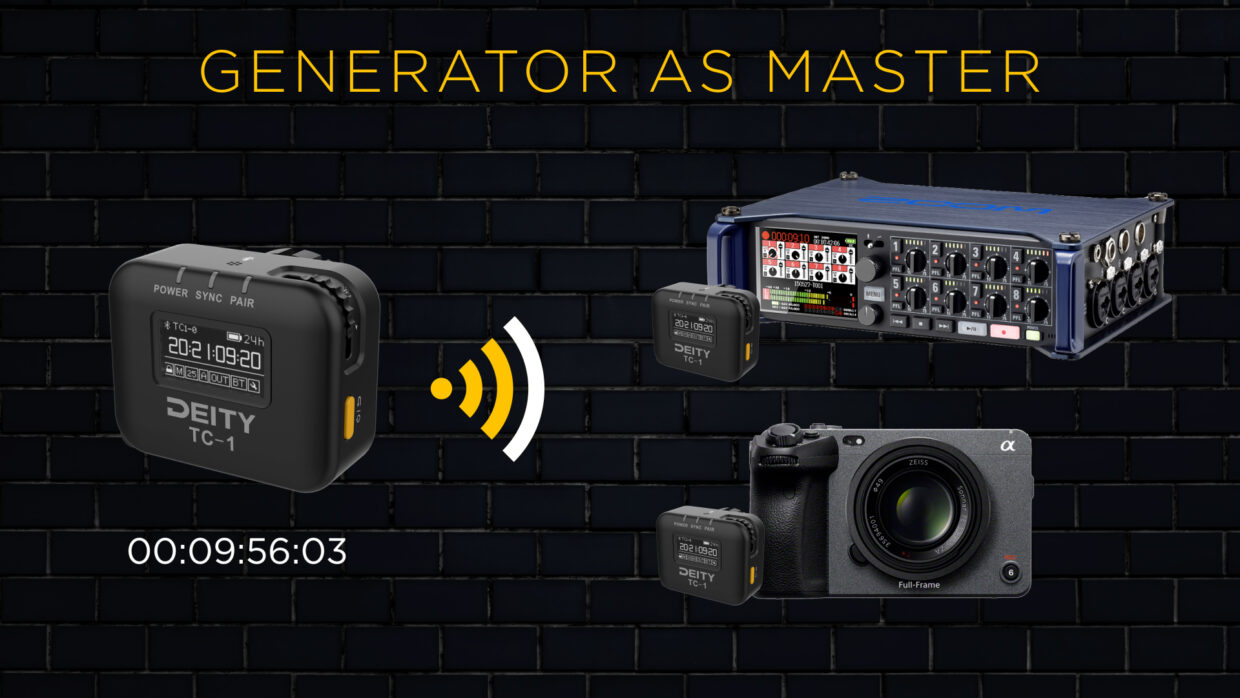
With the TC-1 you don’t need to do this, it adds a level of menu hopping and time to set up. It’s often easier and less failure-prone to feed the timecode from the generator into the recorder, just like all our other devices.
Every sound mixer has a preference on this, make a decision based on what you are comfortable with.
Have redundancies
Now that our timecode is set up, it’s good to have some redundancies in place when dealing with multi-camera setups. This is where a smart slate comes in.
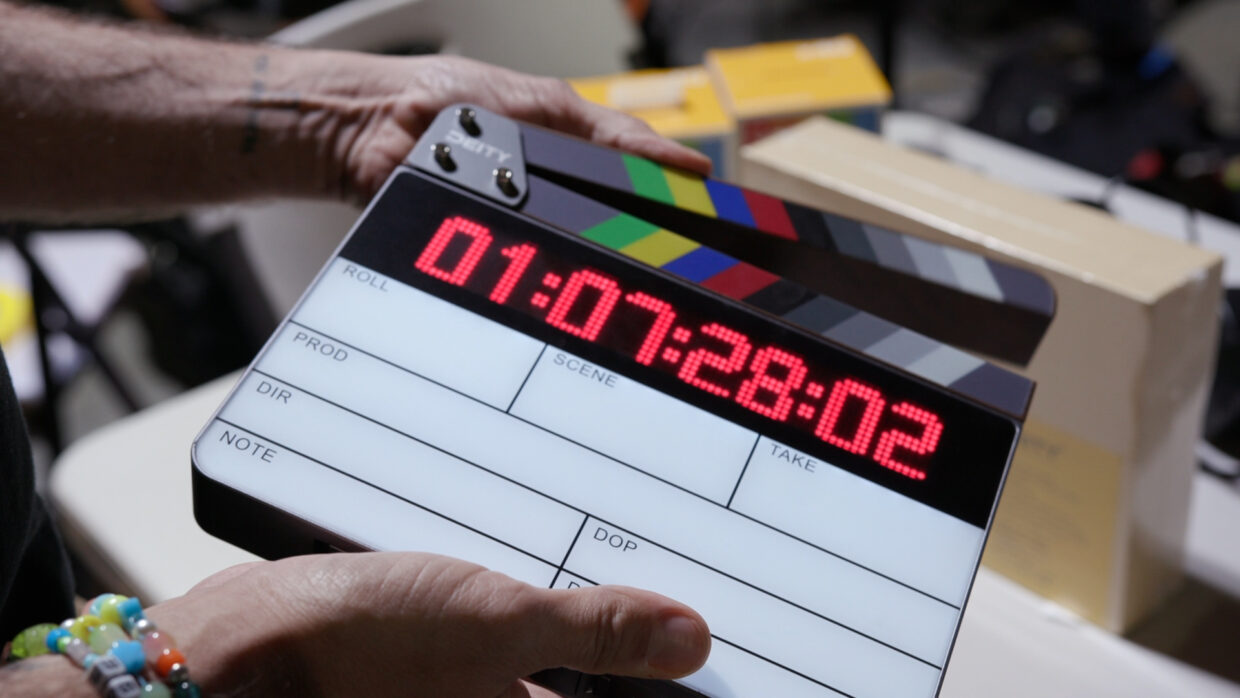
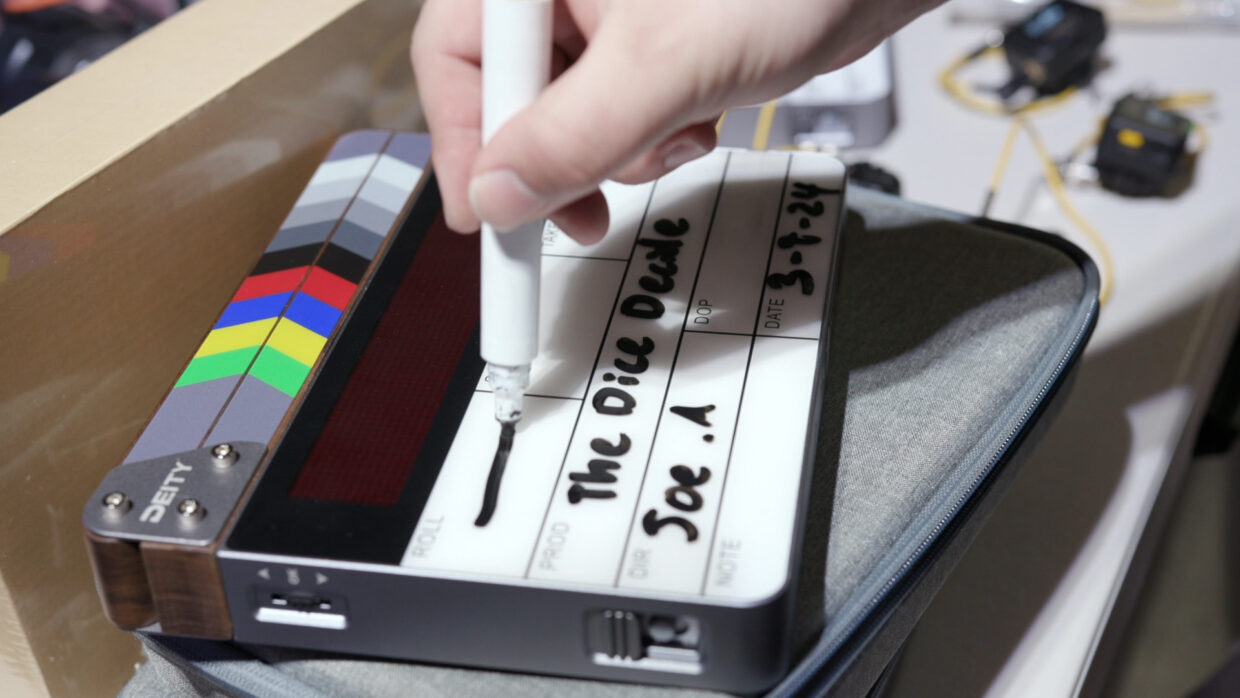
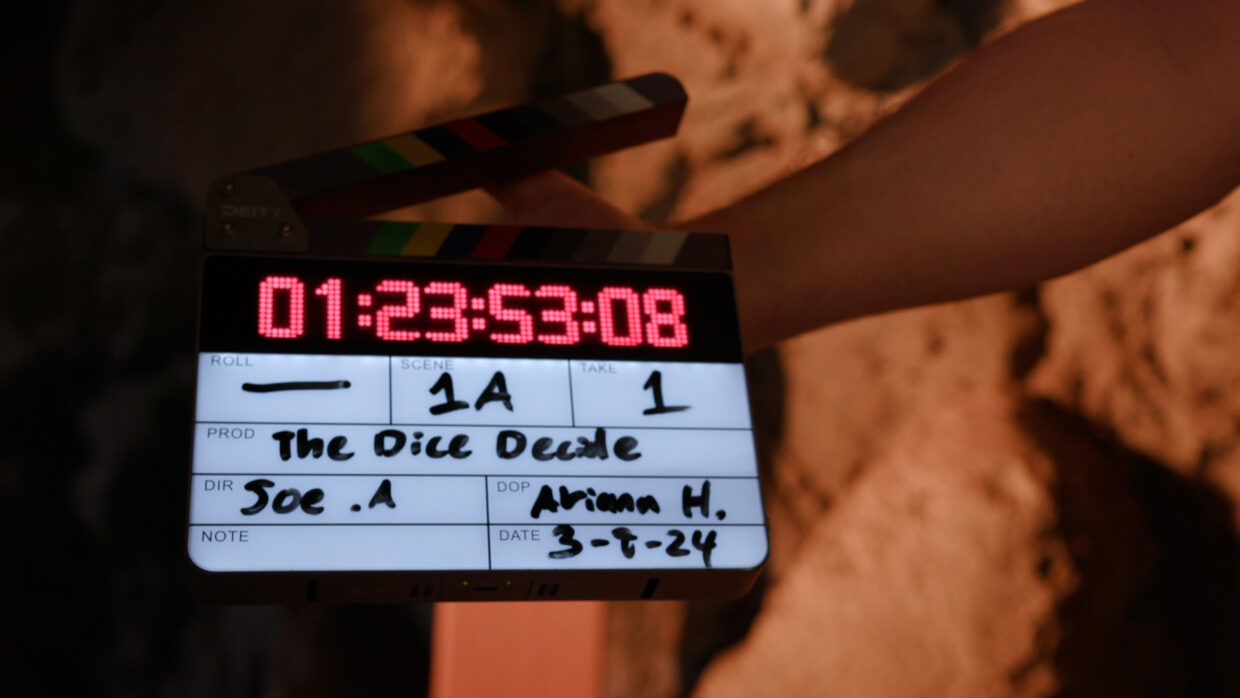
We’re using the Deity TC-SL1, which has the same timecode clock as our generators.
The benefits of a smart slate
The first redundancy is that it displays the timecode on the face plate; this way, every camera can visually see what frame the footage is on at the start of every shot.
Additionally, when we mark it, the loud sound it makes is our last resort sync point if the timecode isn’t set up properly.
Shot info
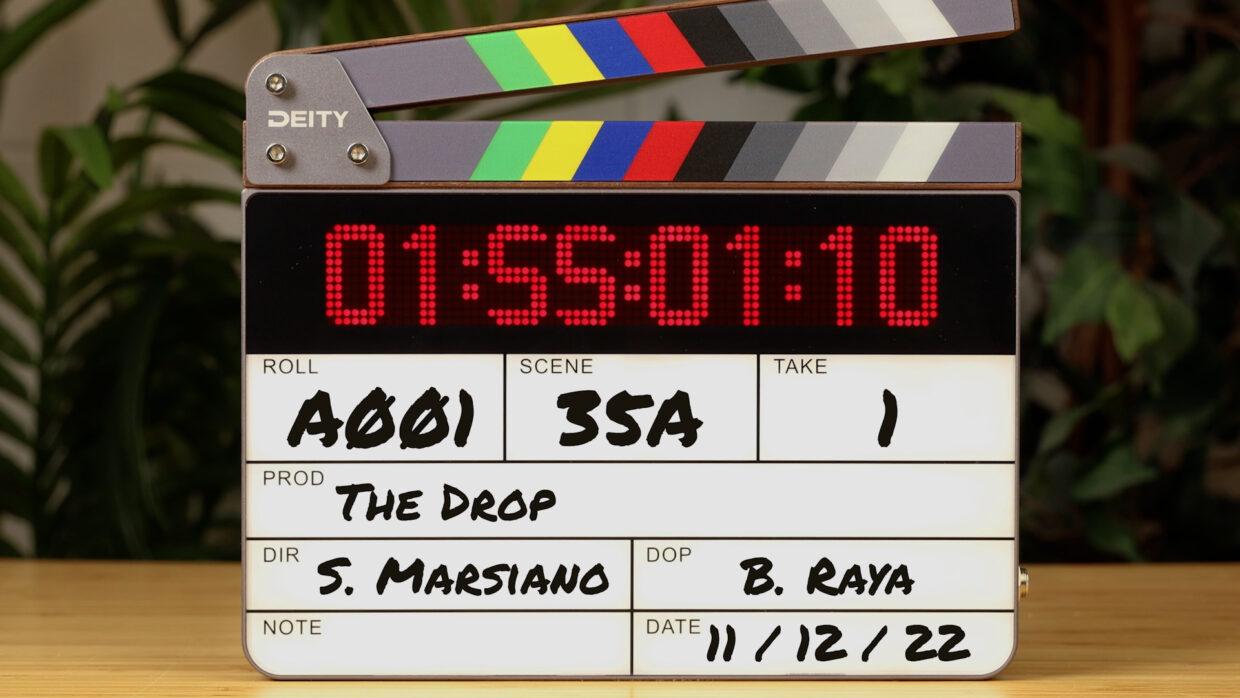
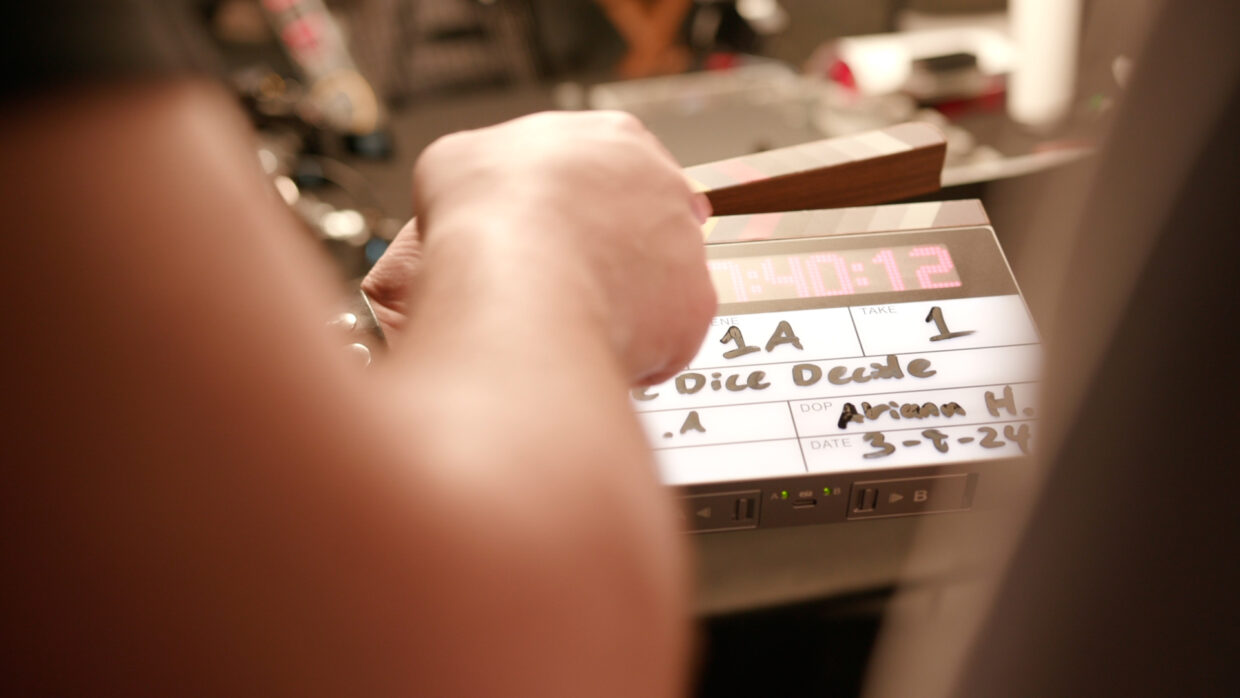
If you look at the front of the plate, there is a bunch of information relating to what take we’re on, what scene we’re shooting, and what media card all that footage is on.
It’s important to know that multi-camera productions require the slate to be marked differently than normal to accommodate the multiple cameras and their media cards. It is the 2nd AC’s responsibility to communicate with the script supervisor and make sure this information is correct for the editor in post.
Slating for multiple cameras
Handling the slate and the information on it is done by the 2nd AC, but often, the slate itself is brought by the sound department because it needs to fit in our timecode system.
We have a whole video dedicated to slating in the here, but we’ll gwalk you through how slating for multicam shoots is different.
Multiple Slates
Firstly, if you’re shooting with three or more cameras, you might need more than one slate. In an ideal world, each camera would get its own, that way it would track the information relevant to each camera.
Memory card A001 from camera A is not gonna have camera B’s footage on it.
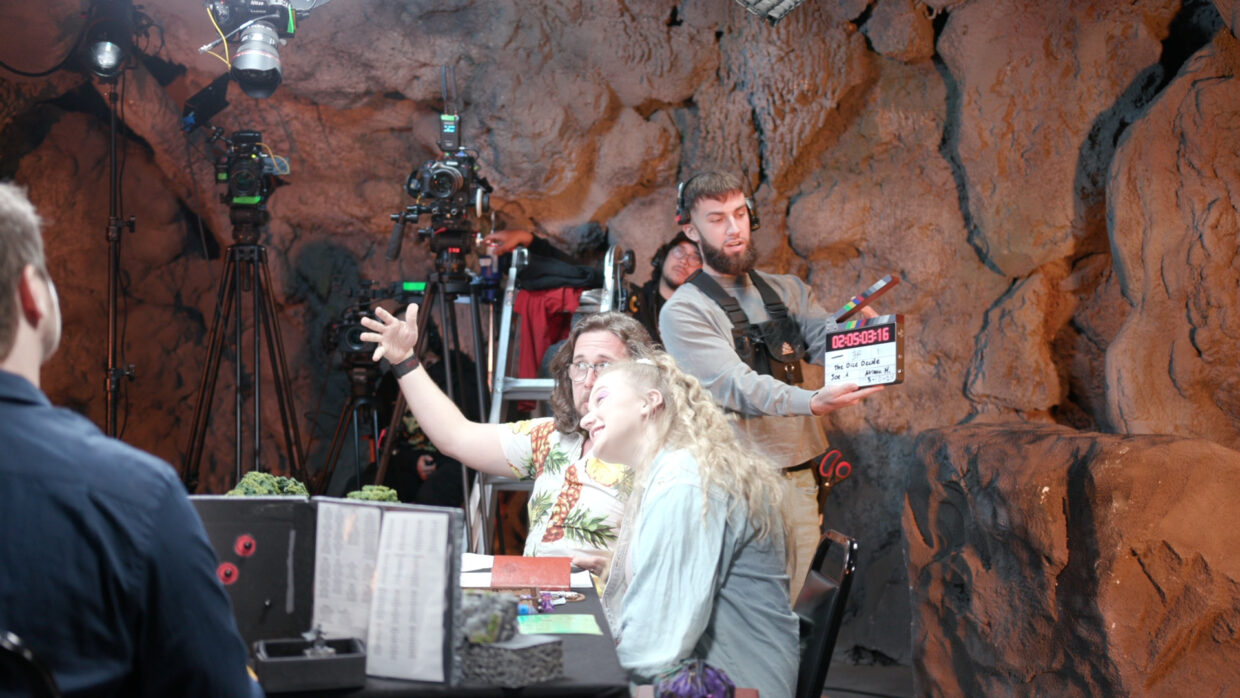
When all the cameras start rolling, each slate should already be in the shot of their assigned camera. One by one, the 2nd ACs call out the camera they are slating for and then mark it.
We call out the camera that’s being slated so the editor doesn’t confuse one sync point for another.
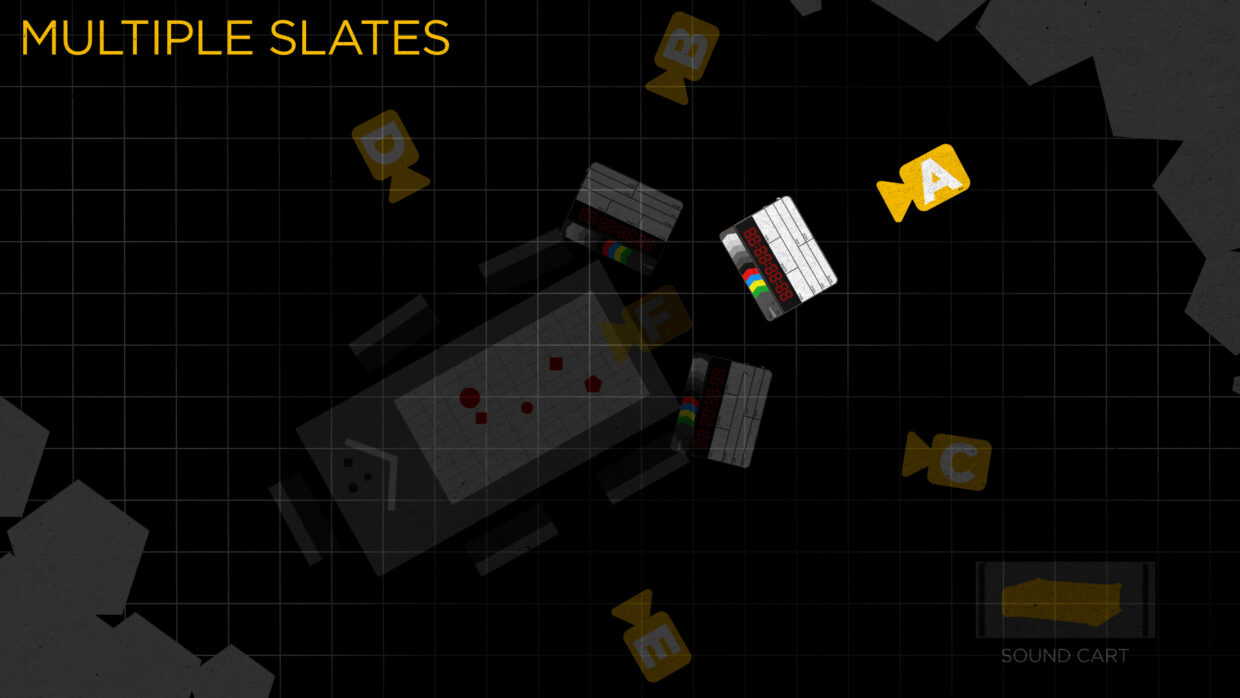
Multiple Slates (Example)
Cam A 2nd AC says, “Camera A Scene 1A (Apple) Mark”
Cam B 2nd AC says, “Camera B Scene 1A (Apple) Mark”
Cam C 2nd AC says, “Camera C Scene 1A (Apple) Mark”
Etc…
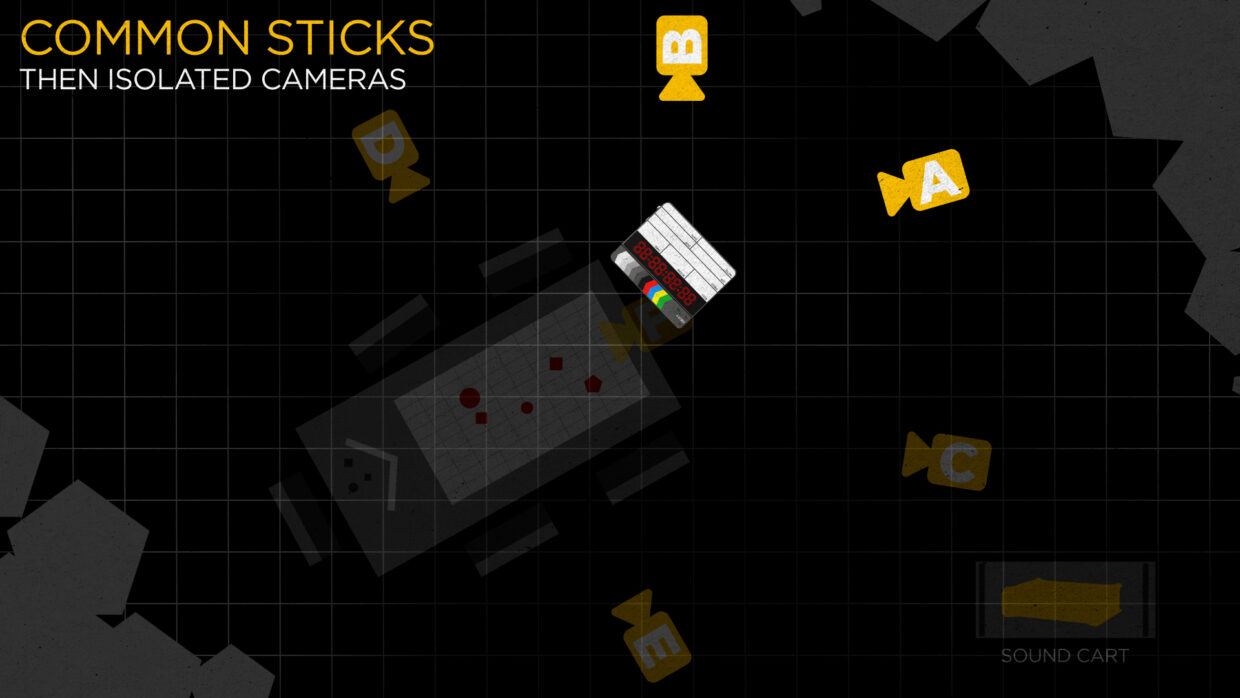
Common Sticks
Not every budget allows for that many slates, though, so 2nd ACs have developed a clever workaround to do this with only one slate and operator.
If all the cameras are looking at the same subject, have the slate at the beginning of all those recordings, this is called Common Sticks.
When it comes to tracking memory cards, you normally only list the one memory card a camera is using, but in common sticks, we display all the cards being used. The 2nd AC doesn’t say them, though, when marking because that’s a mouthful.
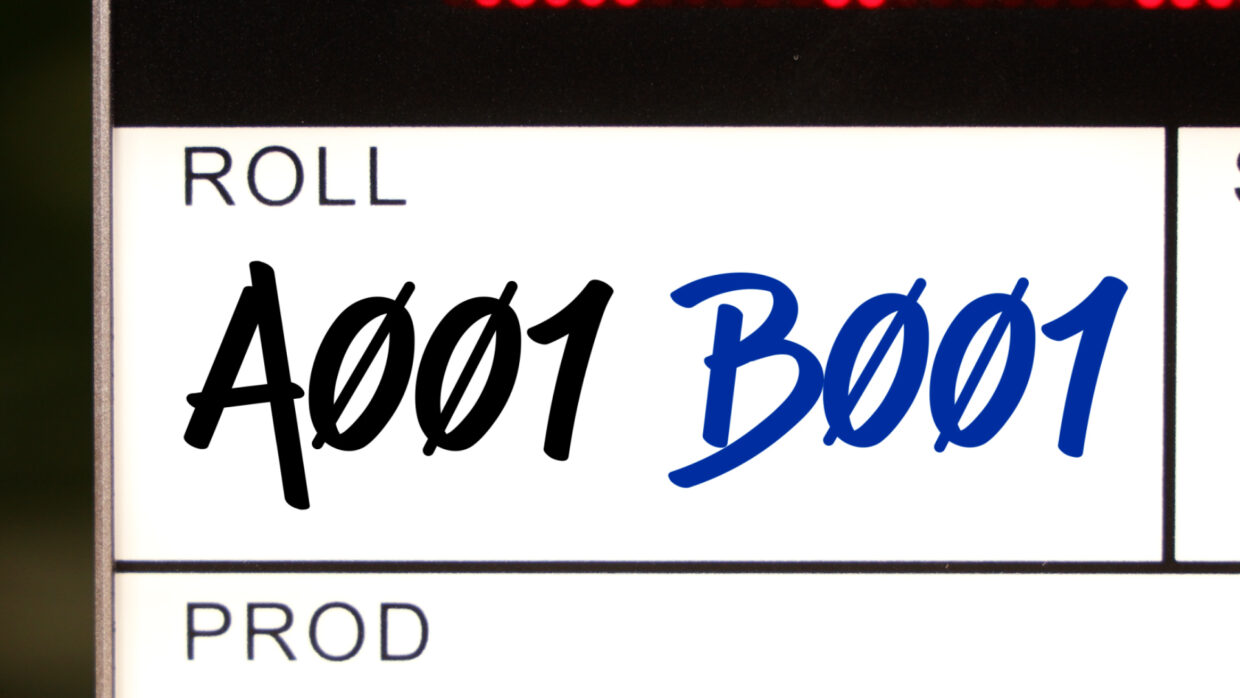
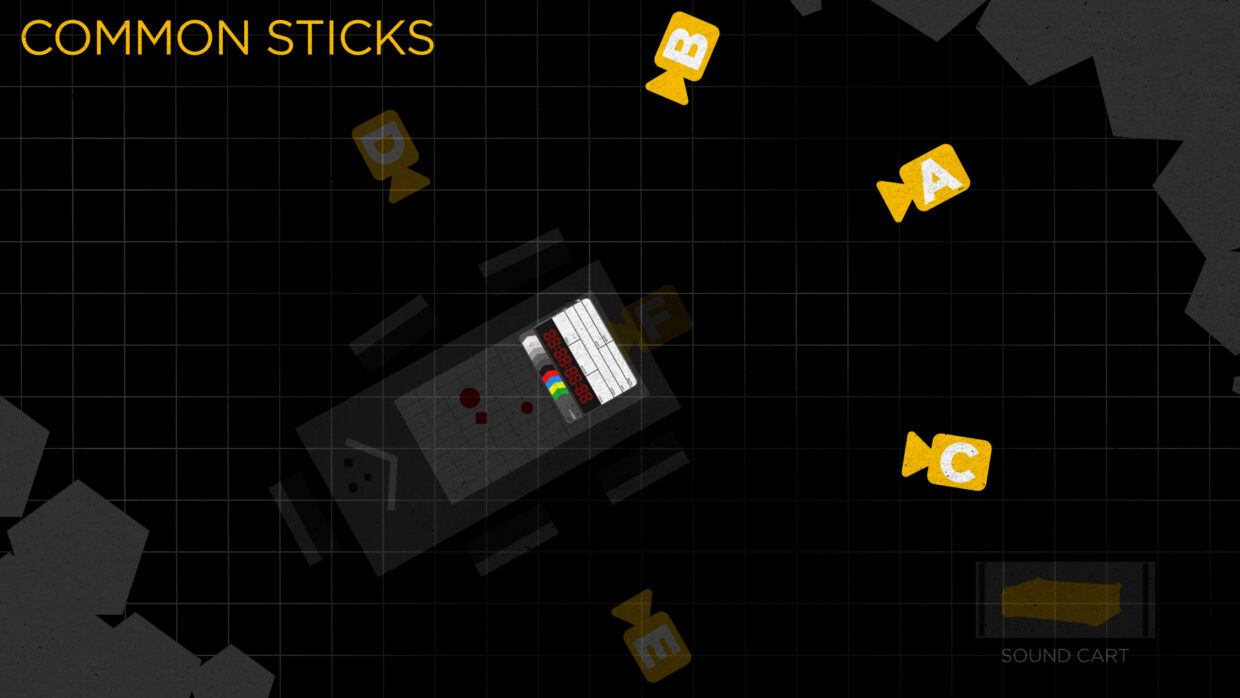
Common Sticks (Example)
2nd AC says, “Common Sticks Scene 1A (Apple) Mark”
Grouping Cameras
This system might require the camera operators to temporarily re-frame so they can see the slate, but that’s not always possible.
In situations like that, use common sticks for the ones that can be grouped and then the individual camera name after you reposition the slate.
Grouping Cameras (Example)
2nd AC says, “Common Sticks Scene 1A (Apple) Mark”
2nd AC moves to new position
2nd AC says, “Camera C Scene 1A (Apple) Mark”
Etc…
After the Shoot
After the shoot is complete and if everything goes according to plan, your editor will be very happy with you because you did your due diligence with the timecode, and if somehow the timecode failed, well, you still have slate marks in place to ensure the editor can still find the sync.
Keep learning
Timecode is just one of the many responsibilities we have as sound mixers, but you must master your gear and know how to tackle any timecode setup, especially when there are multiple cameras and recorders involved.
Do your research, communicate with the camera department, and know each audio file should be labeled for the editor.

That’s a wrap
A huge thank you to The Dice Decide team for letting us stop by and work with them.
If you wanna know more about the show, we have the first episode linked here!
Get Recording
Hopefully, this article has helped you become a more confident sound mixer!
Be sure to check out the rest of our blog which is packed with other sound advice. Happy shooting!
