Soups on!
Core concepts
There are four things to consider before filming your first cooking video.
• Cooking “Studio” Layout
• Camera & Audio
• Shot Coverage
• Voiceover (if needed)
Cooking Layout
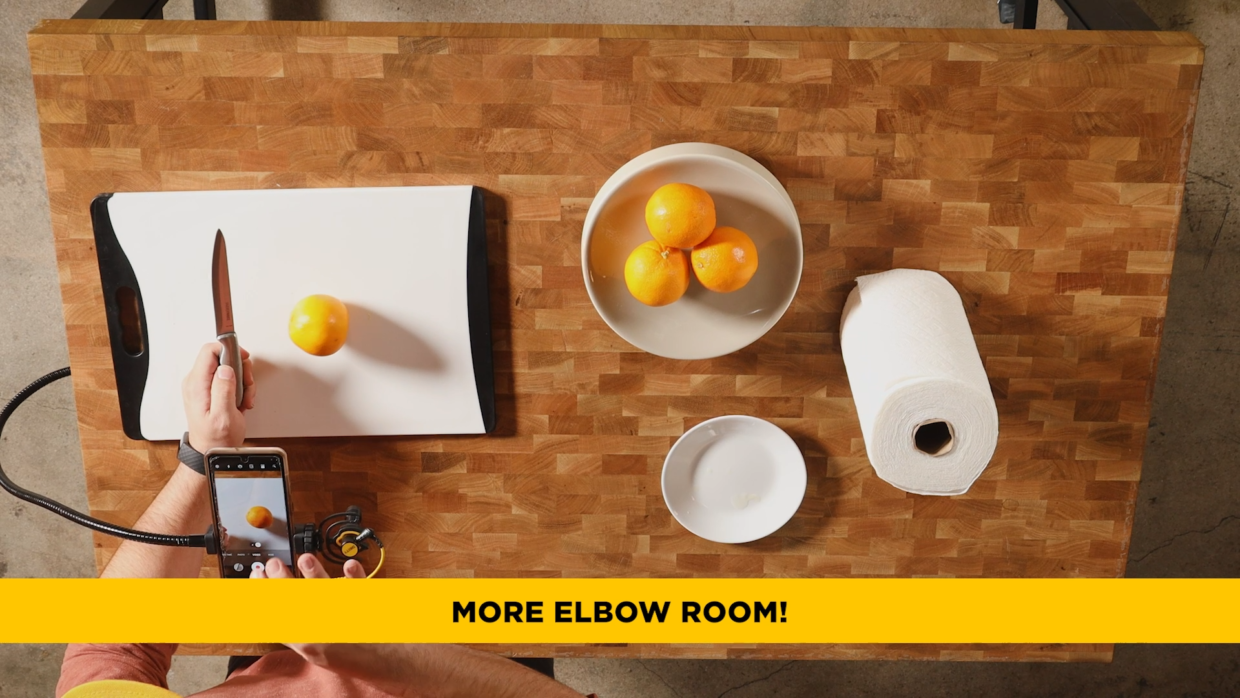
Most kitchens don’t have a big open countertop to film on.
The best workaround is to get a cheap floating island with wheels; roll it where you need it while you cook, and then pack it away when you’re done.
• Avoid reflective surfaces to remove blown-out areas
• Use an electric hot plate or propane burner to film on the floating island
This should allow you to set up all your lights and camera once, without having to move them around too much well you film your video.
Lighting
Good food visuals come from good lighting.
You could have the highest quality camera in the world but if you’re underexposed, too contrasty, or have bad color, your food will look…not great.
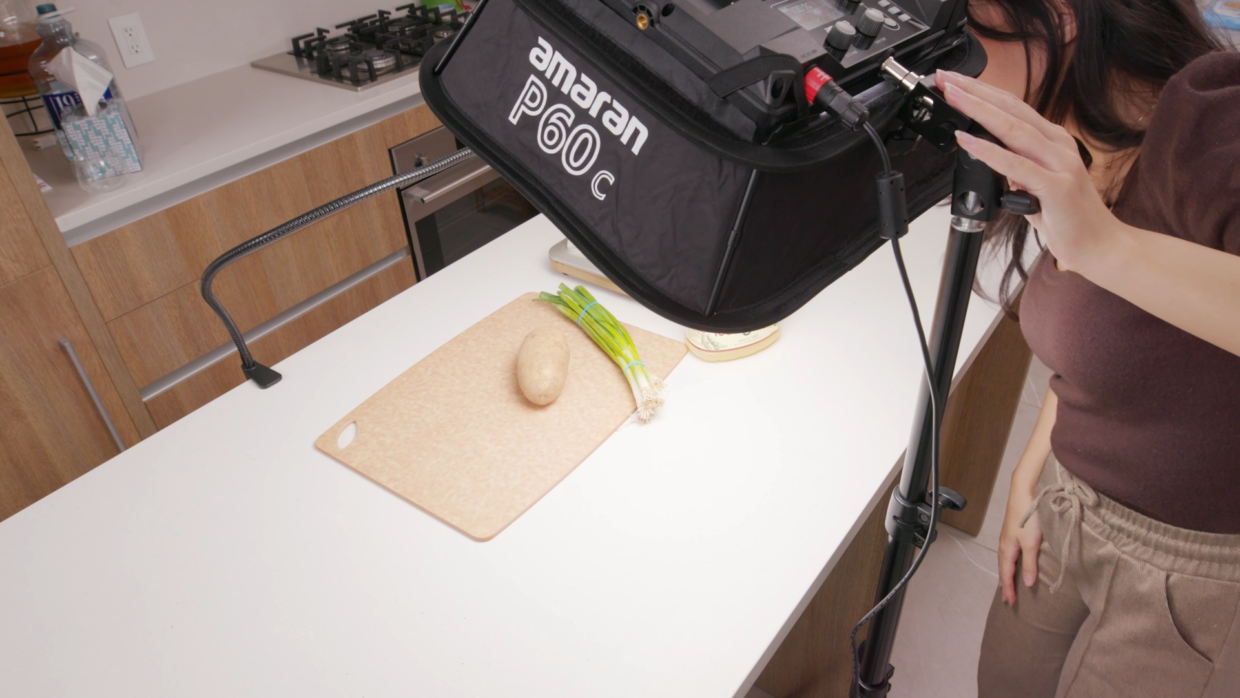
Our Setup:
• Amaran P60c w/ Softbox slightly overhead
• Cheap light stand
Know your color temperature
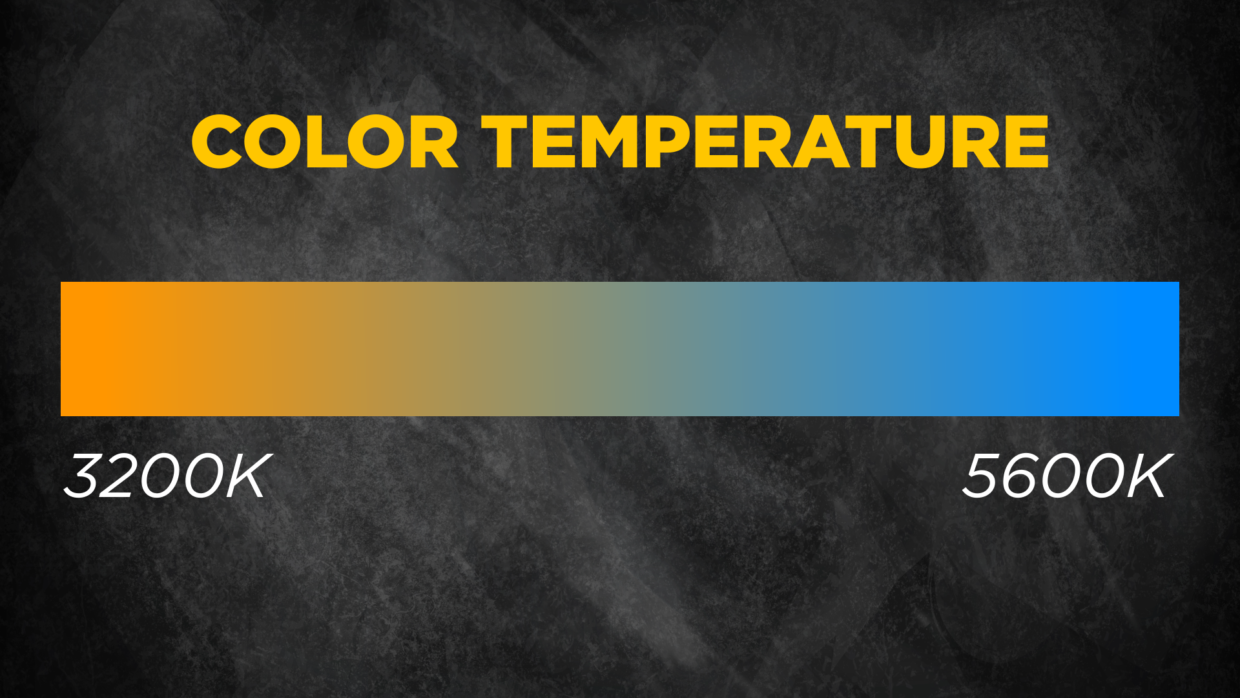
If you plan to leave your kitchen lights on while you film, make sure they are the same color temperature as your camera lights.
Some kitchens tend to have bluish lighting, while others have amber lighting. Pick a light that can accommodate this, like the Amaran P60c or P60x. If your kitchen uses fluorescence, dial in your video like to roughly 4000K.
Camera & Audio
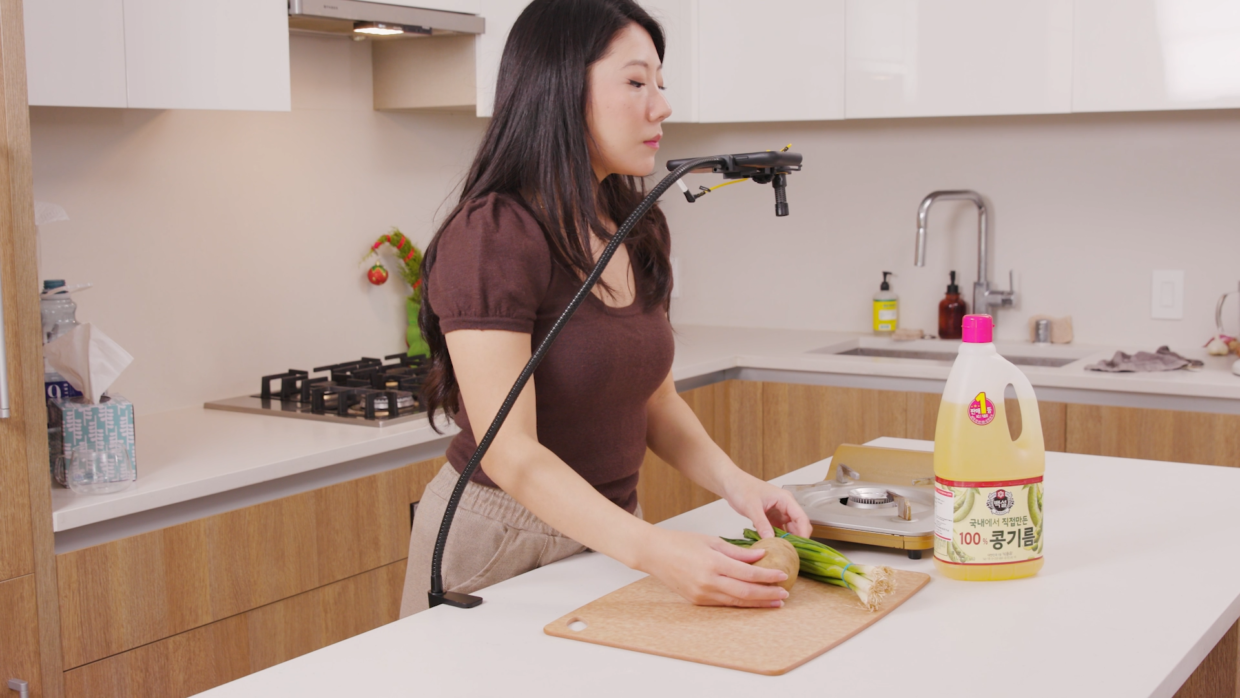
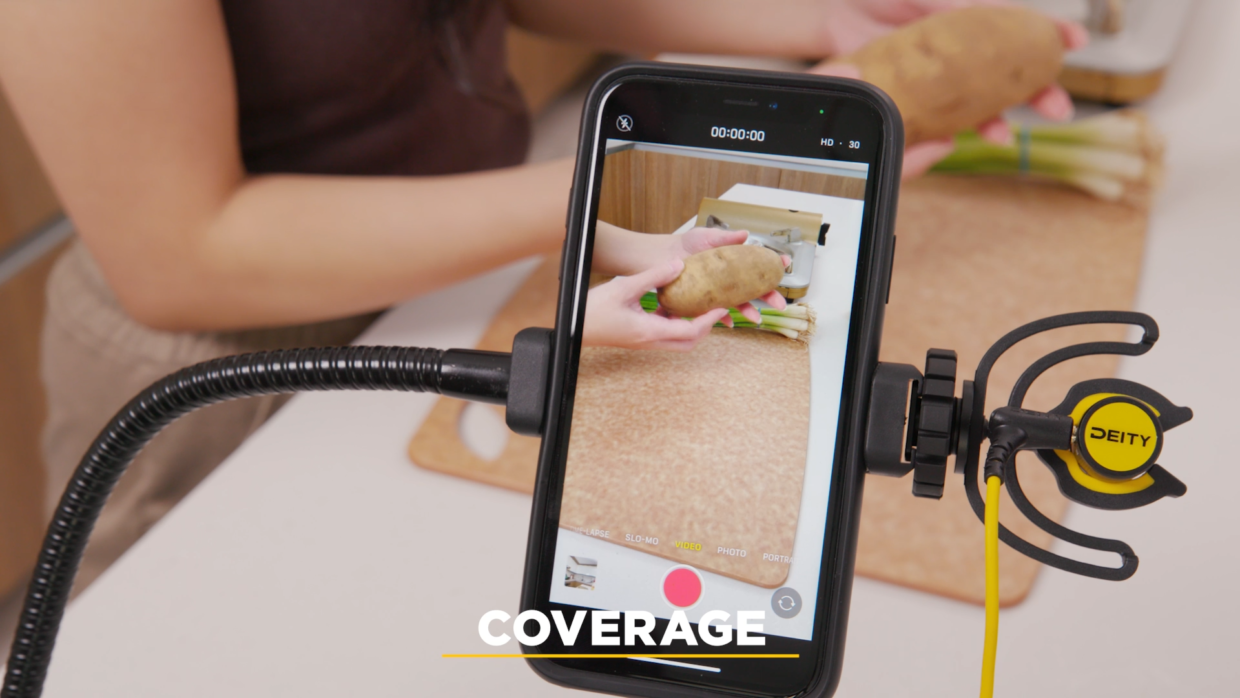
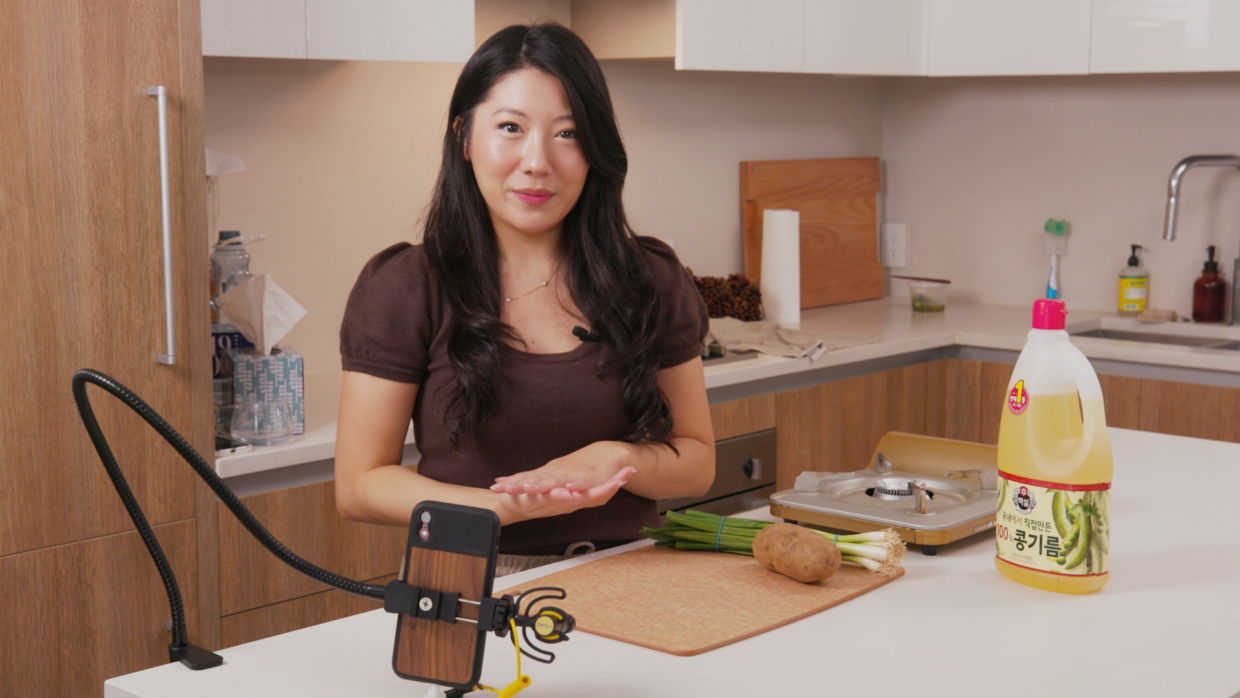
Overhead shots of your cooking area look cool, but they can be expensive to pull off. To get something similar but still pretty awesome we’re going to use a flexible gooseneck and deity phone clamp that comes in the Pocket Wireless Mobile Kit.
You can mount this setup anywhere in your kitchen that has a lip! This way, you don’t have to cook around a tripod awkwardly.
Get Coverage
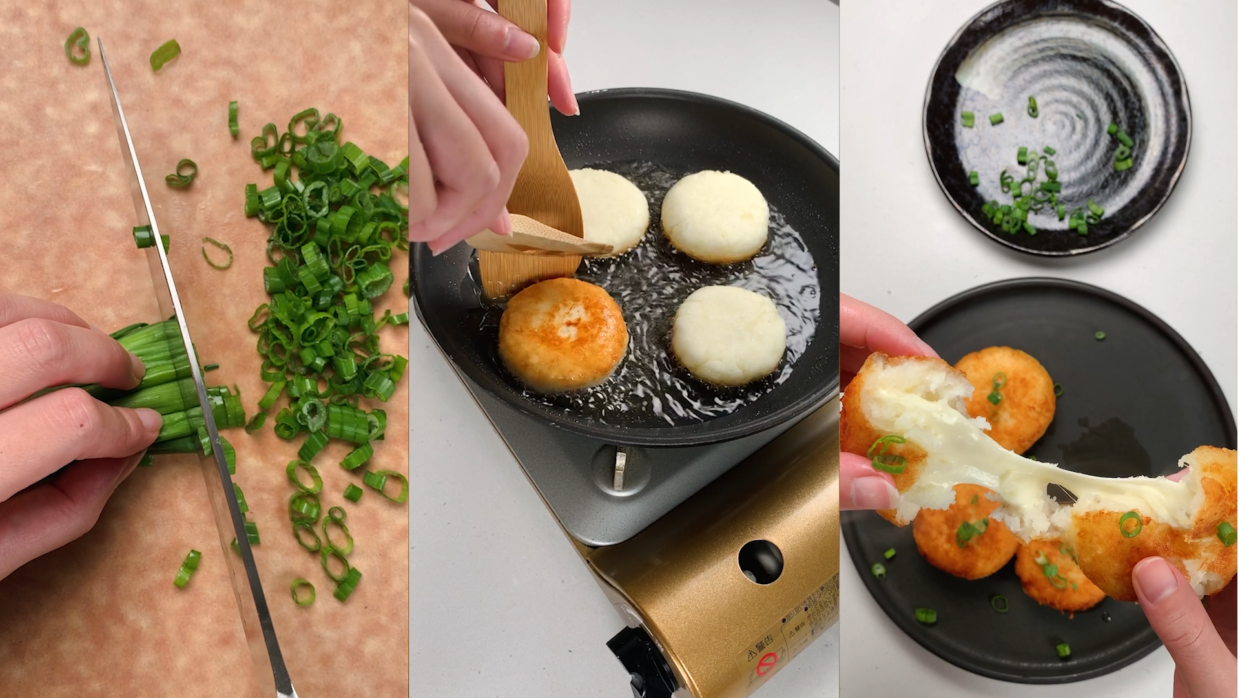
Move the camera around as you shoot. Maybe give some close-ups and different angles a try!
Our setup:
• 1x wide for every cooking step
• 1x CU for every cooking step
These shots should give you enough to work with when editing.
People love food sounds
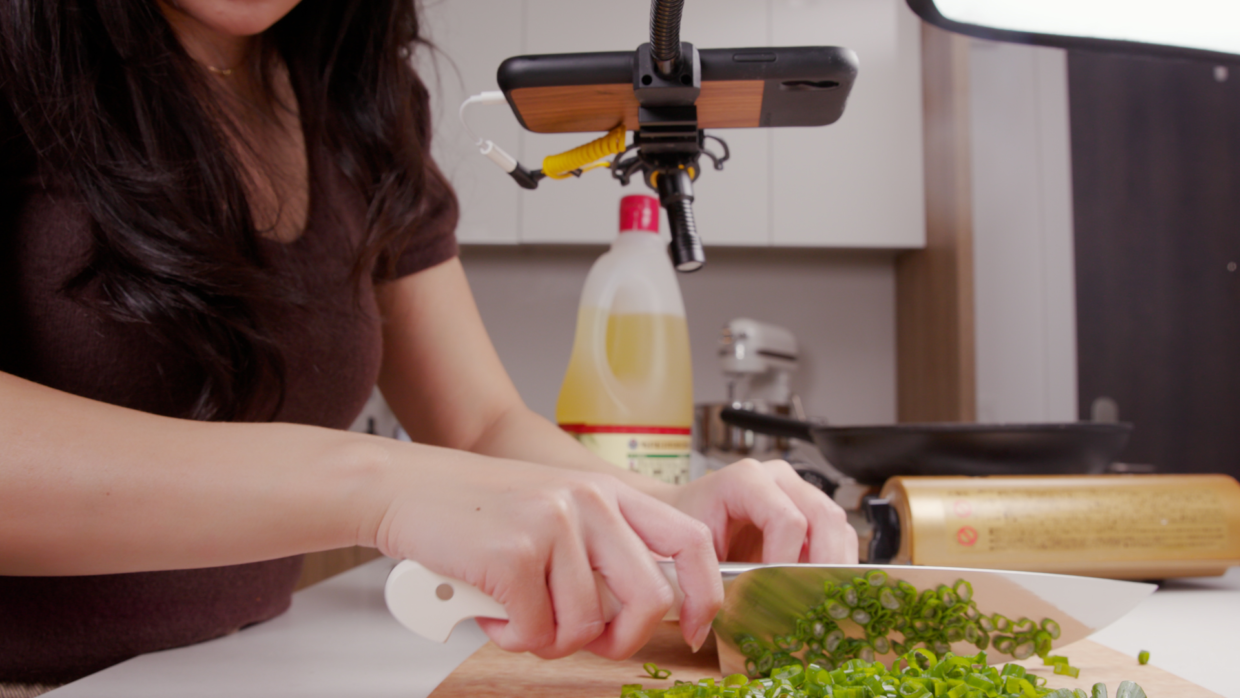
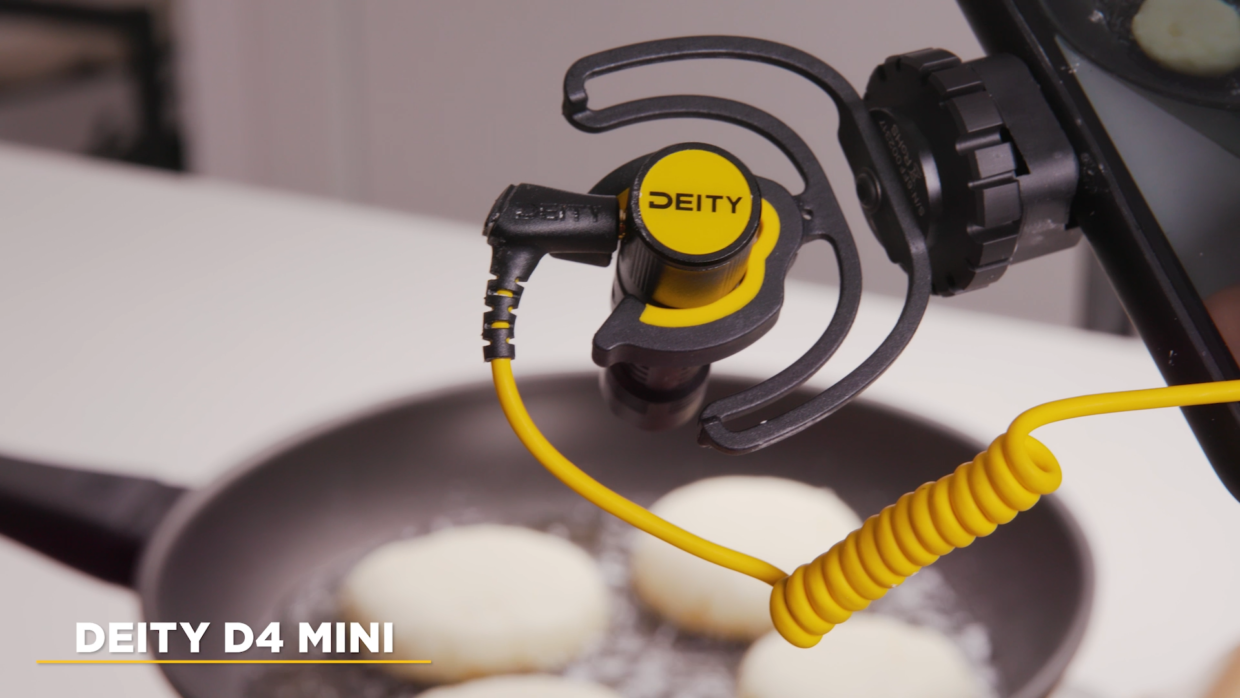
If you want your audience to listen in on all those lovely textures, the phone clamp we’re using also has a shoe mount on the side. Slap on a Deity V-Mic D4 Mini and keep it pointed at what you’re cooking. Bam, cooking ASMR!
By including the sounds of the cooking process you immerse the viewer and invite them into your kitchen to feel like they are cooking with you.
Move your microphone as you would your camera
Don’t be afraid to move the mic closer to maximize the sounds. Keep in mind that with quieter sounds you can be as close as a few inches, but be about a foot away for loud sounds.
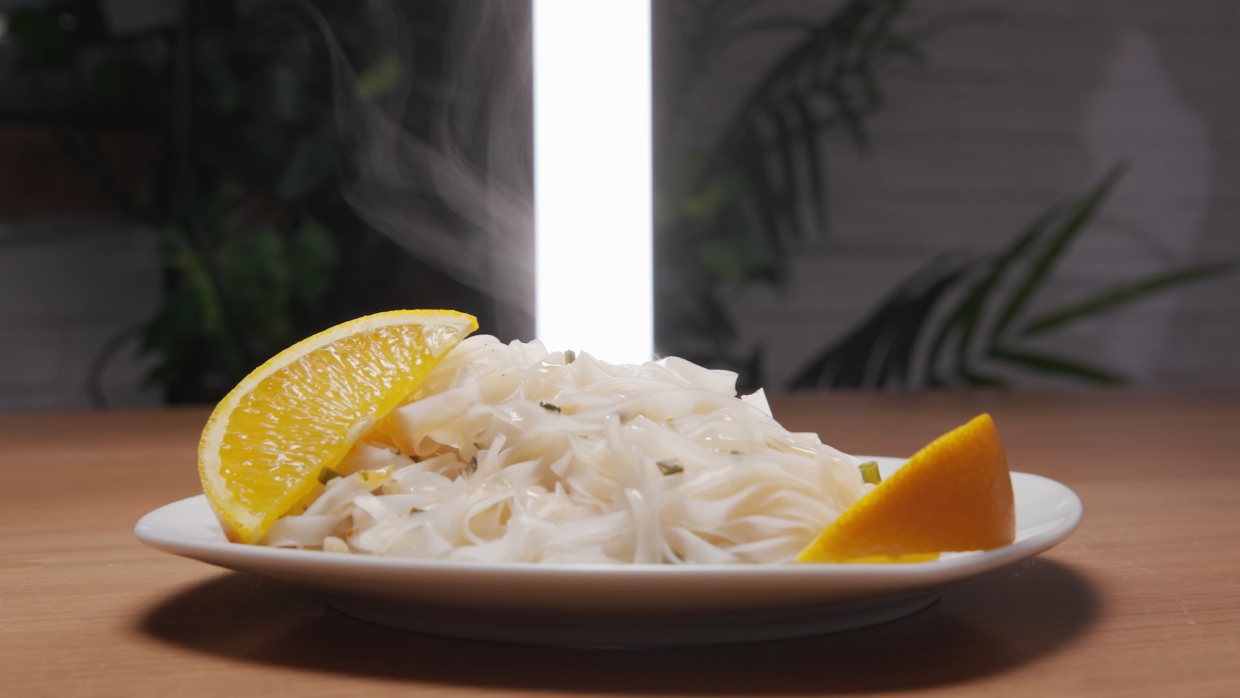
Steam is your secret weapon
To add some steamy effects to your finished plates, simply microwave cotton balls in a bowl of water.
Place them behind the food and now you’ve got fresh steam!
Topic #4: Voice Over
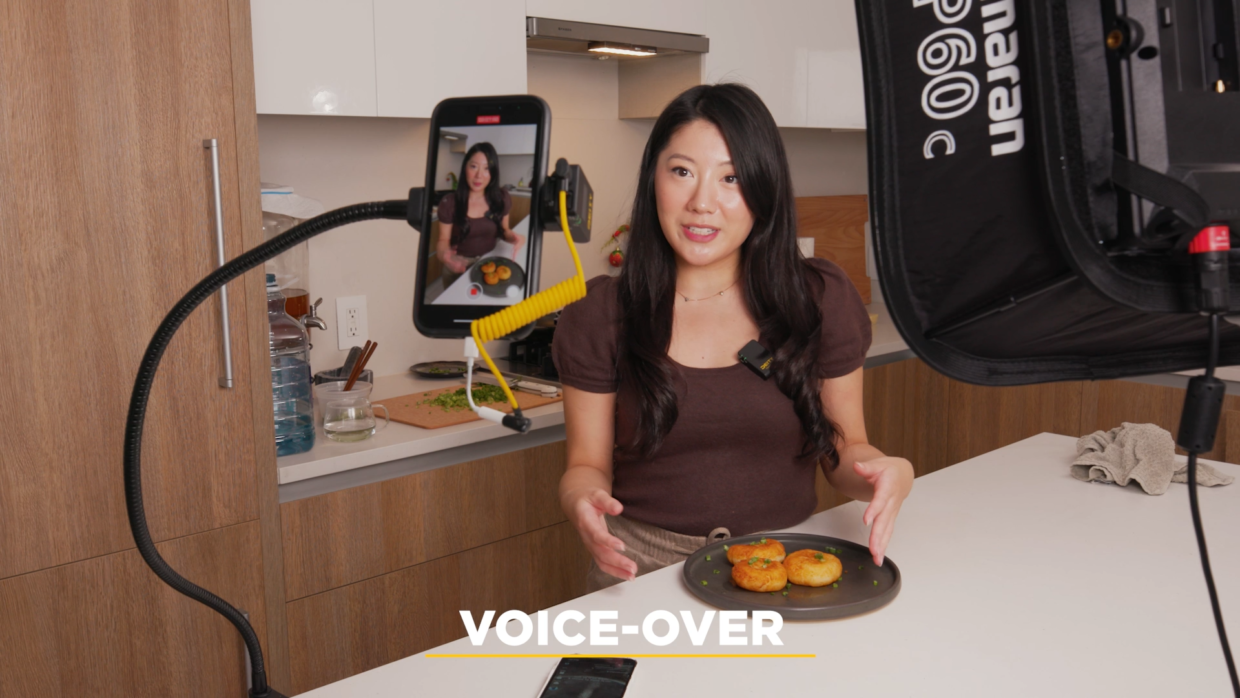
You could easily make cooking content with what we’ve captured so far, but for more complex recipes, talking to the camera with a close-up mic will do you well.
It not only allows us to clearly communicate our steps but it allows us to utilize another important element, our own personality.
It’s all in the script
Prep a script before recording. Describe your steps, your thinking process, inspirations, and especially the goofs you had along the way. Be honest about your story.
Like a home-cooked meal, your video has to have Heart to it.
Get shooting!
With that, you’re ready to shoot your first-ever cooking video! Now excuse us, we desperately need a snack.
Happy shooting!