Re-Creating The Sound Of Se7en
Setting the scene
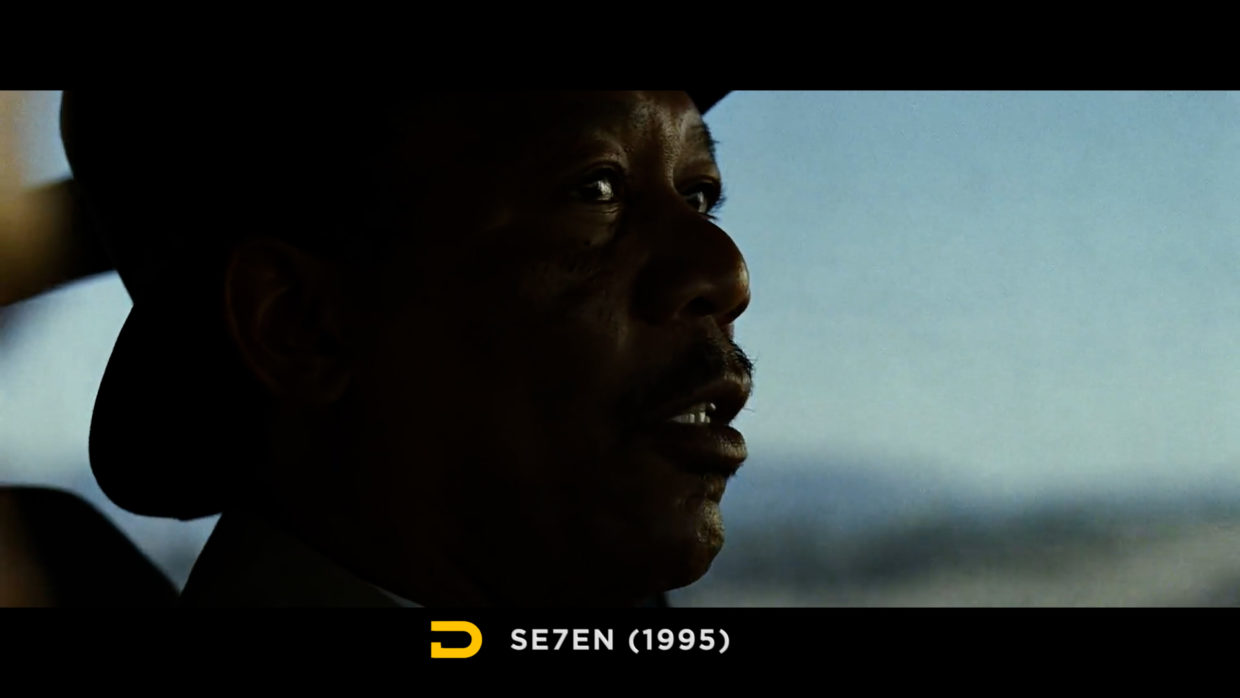
The scene we’ll be re-creating is the car conversation from David Fincher’s Se7en.
There are three actors in the car:
⚫ Detective #1: In the driver’s seat.
⚫ Detective #2: In the passenger seat.
⚫ The Convict: In the center back seat.
Topic #1: Blocking & Mounting
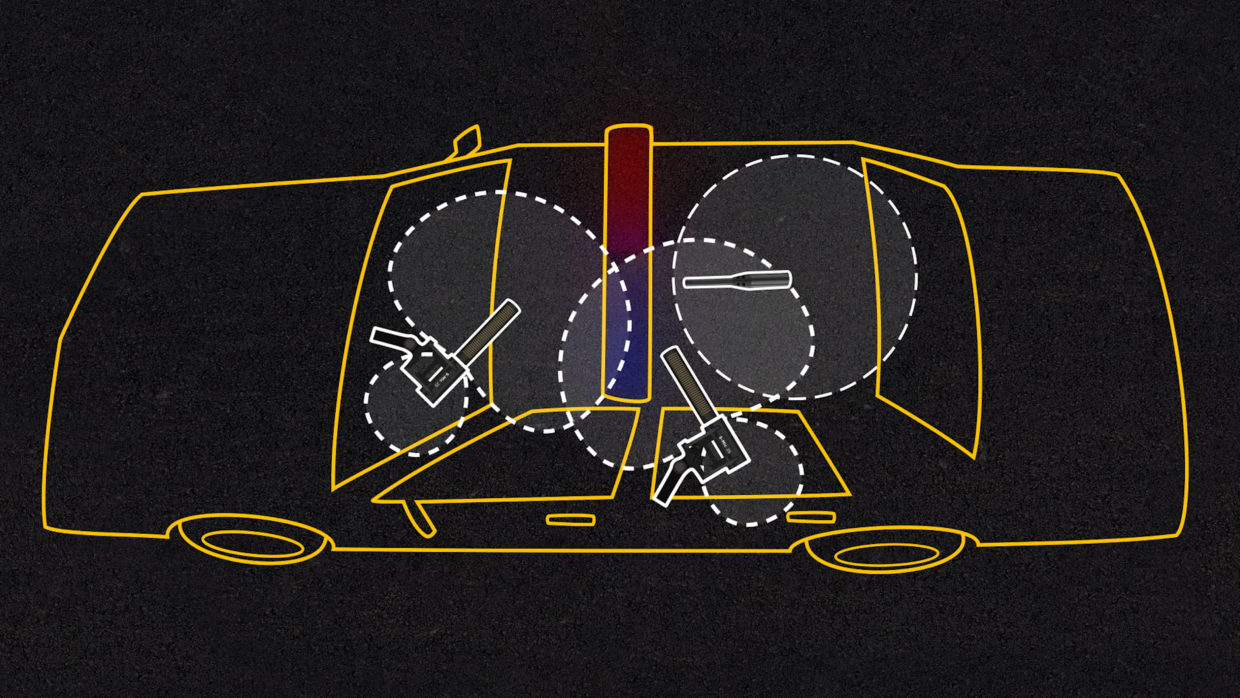
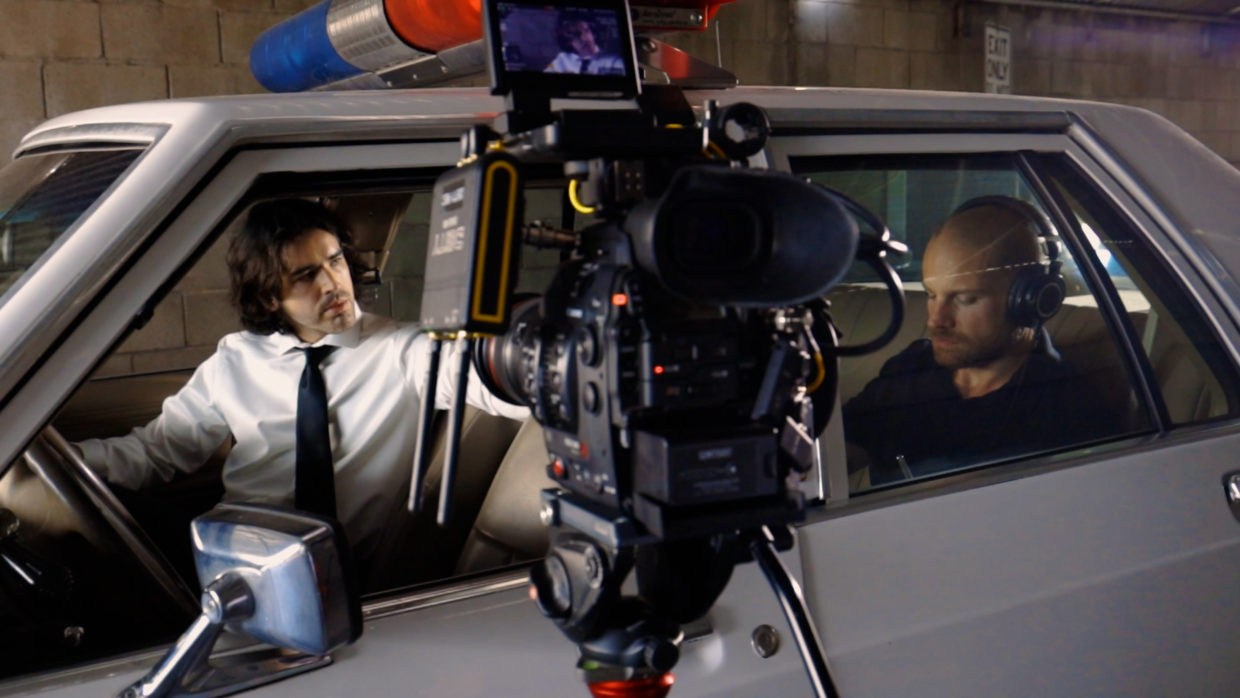
Where do people talk in the car? The answer dictates the number of mics you will need and their placement. In this case, we have 3 actors, so 3 mics it is!
Other things to keep in mind:
⚫ Ideally, the mic shouldn’t need to be moved between takes.
⚫ Mics can cover more than one person as they turn their heads.
Detective #1
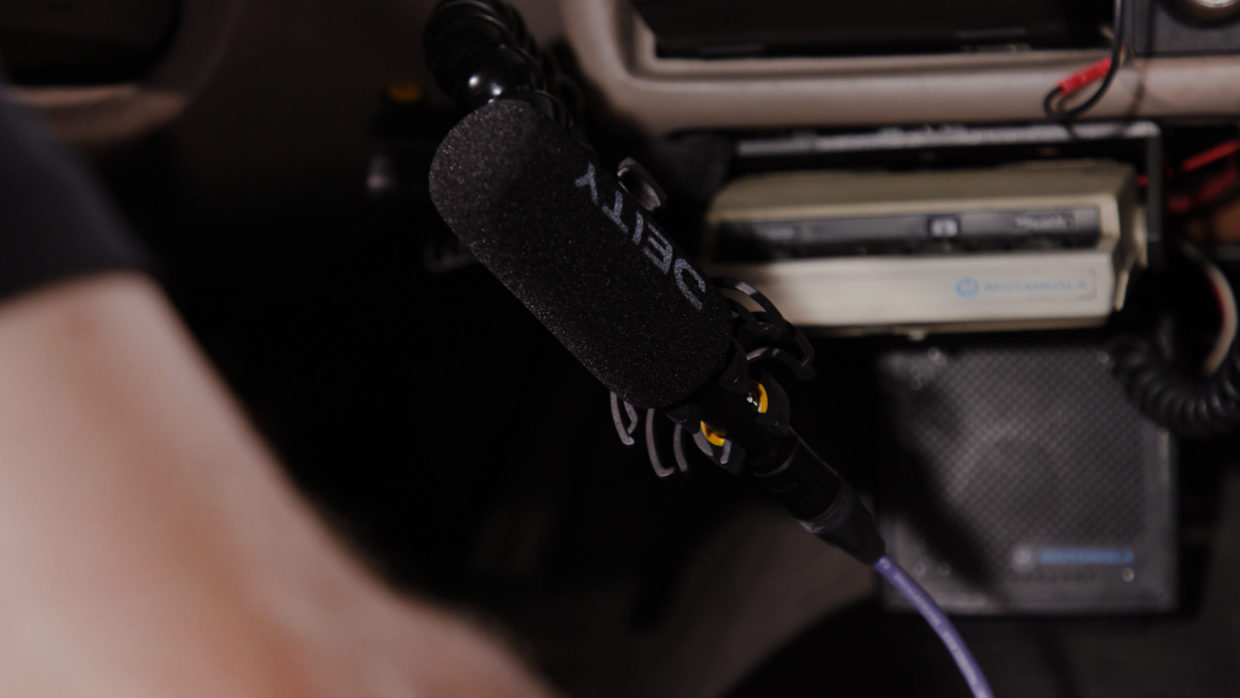
Our first detective is in the driver’s seat, luckily there is a lip on the center console which is perfect for a GoPro clamp and shock mount adapter.
The low-angle placement of the mic will keep it from being in most if not all shots on the day.
Our Setup:
⚫ GoPro Clamp w/ shock mount.
⚫ Deity S-Mic 2s recording into an HD-TX.
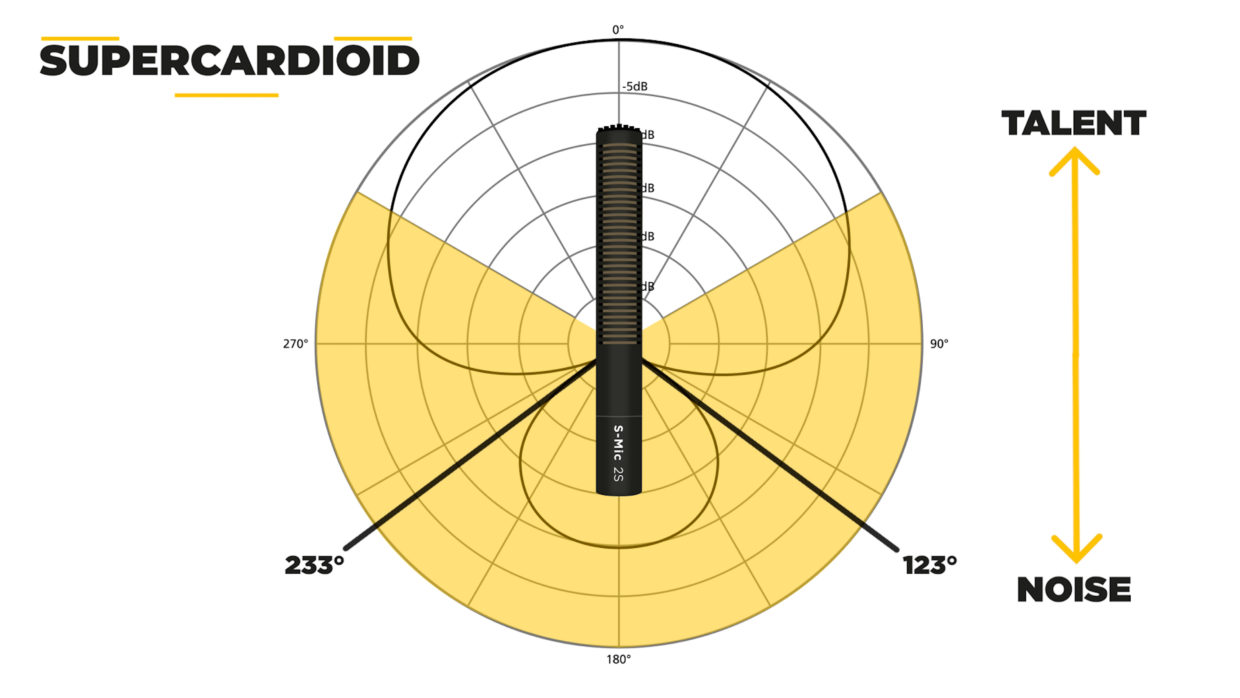
Notice that the microphone is pointed away from the engine to avoid noise.
Detective #2
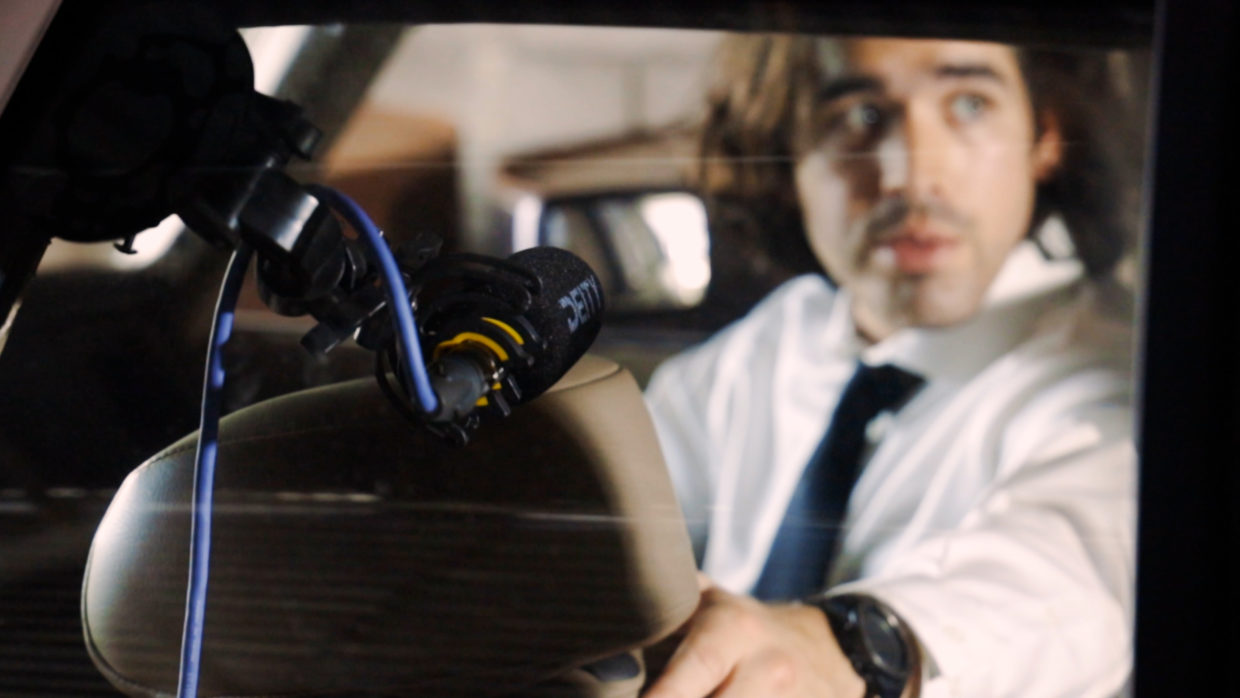
Our second detective is in the passenger seat. His head is pointed at the convict for much of the scene we will need to cross-mount the mic to capture him.
Using another GoPro accessory, we suction cupped the microphone to the back seat window.
Our setup:
⚫ Gopro suction mount w/shock mount.
⚫ Deity S-Mic 2s recording into an HD-TX.
As Detective #2 turns his head, he can be captured on both his dedicated mic and on the off-axis of our first setup.
Convict
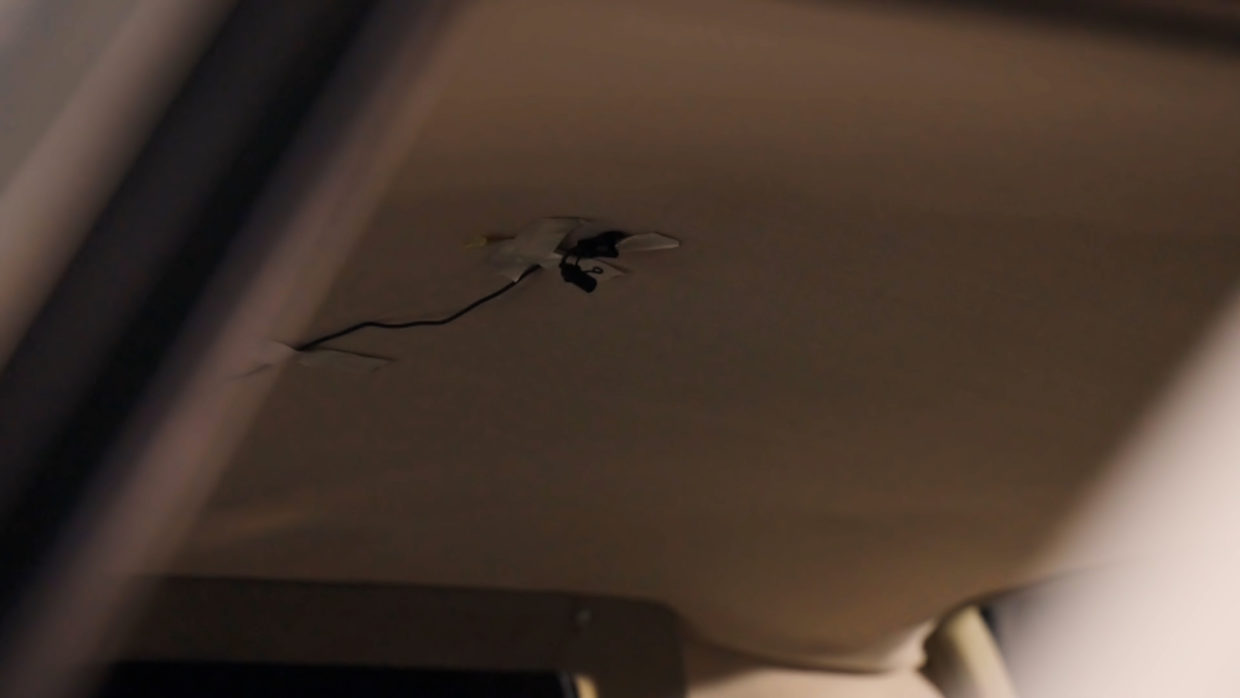
The final actor is in the center back seat, making capturing his audio quite difficult without seeing a mic in other shots.
Our solution was to tape a W.Lav to the ceiling using good ole’ paper tape to avoid damaging the car.
Our setup:
⚫ Paper tape, with touches of Joe’s Sticky tape.
⚫ Deity W.Lav Pro recording into a BP-TRX.
Being an Omnidirectional microphone, it will also be a good backup mic for our other two actors.
Topic #2: Mixing & Monitoring
A couple of options are available to you depending on your scale and budget. At the pro level, the car would be on a “Process Trailer” which could accommodate lights, cameras, and people.
Most just don’t have access to that, so here are our go-to options.
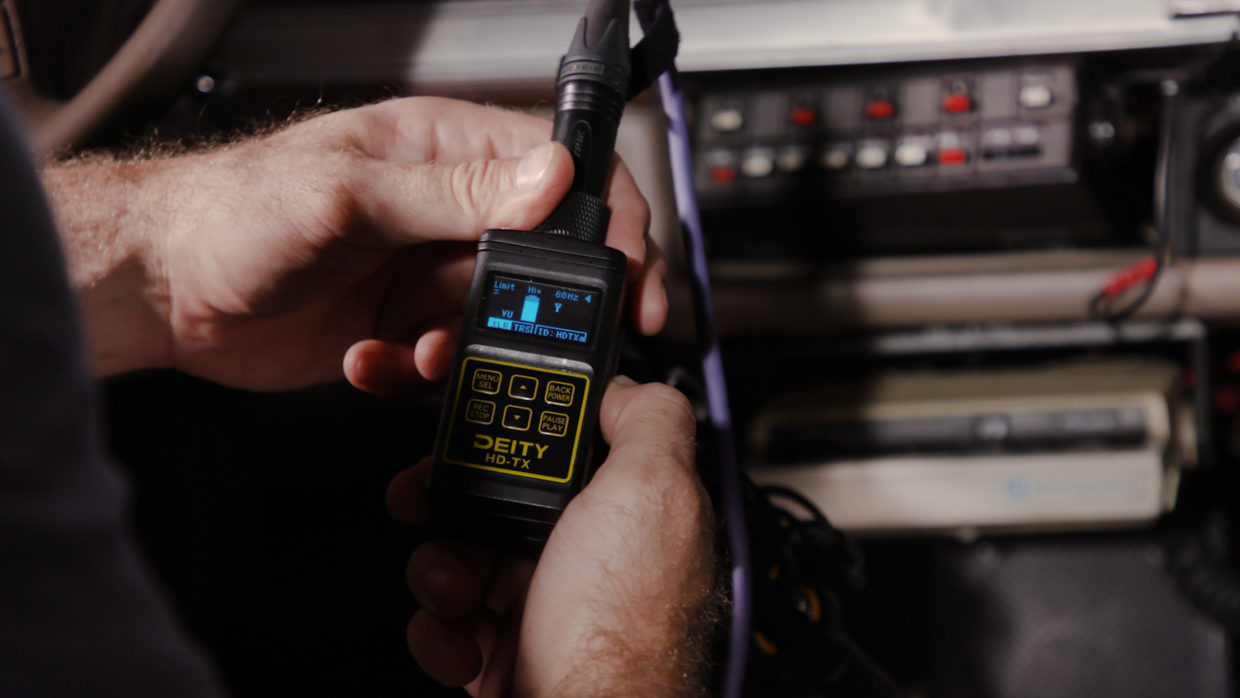
Leave the audio bag
It is unsafe for you to be in the trunk, but your sound bag will be perfectly fine. Set your levels and stash the sound bag where it can’t be seen on the car floor, back seat, or trunk.
Our setup:
⚫ We set levels and recorded them directly into our transmitters.
Use a FM transmitter and follow car
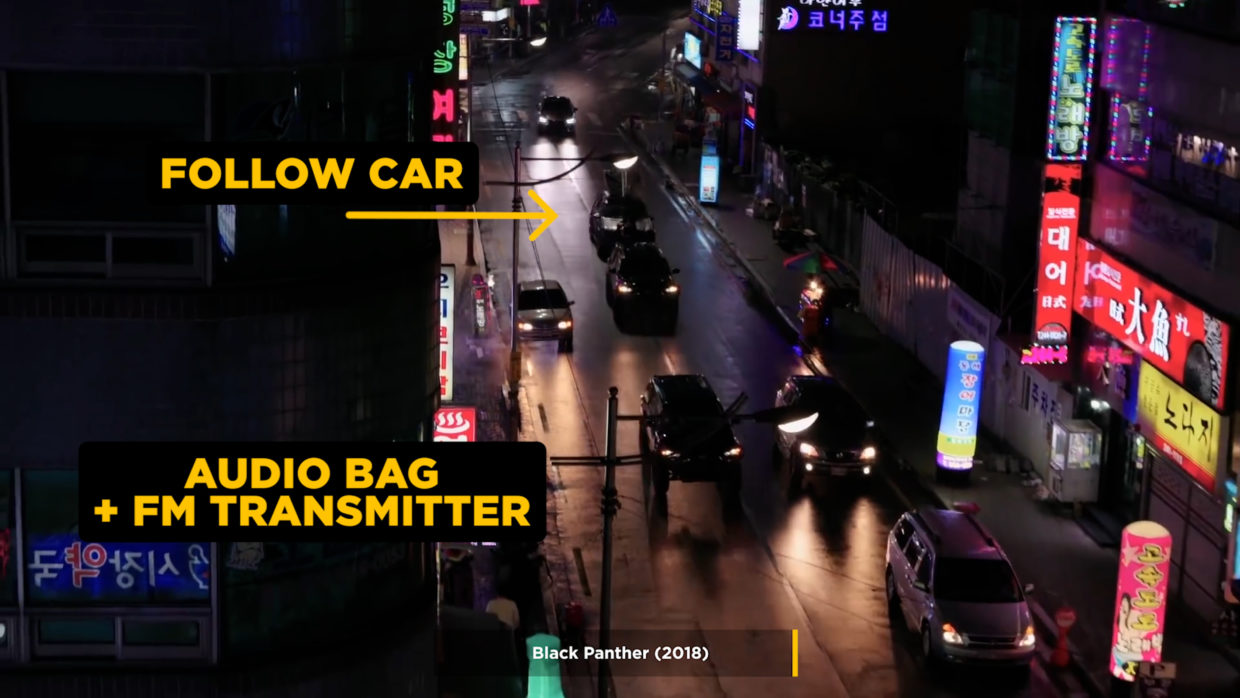
Another option is to follow the picture car and use an FM transmitter to live listen in the follow car. Allowing you to mix and monitor issues.
Simply plug your sound bag into the transmitter, set a radio frequency, and then dial the following car’s radio to that frequency.
Topic #3: Dealing with unwanted sounds
Filming in a car presents a clear challenge, the sound of the car itself. To combat this, lean on the rear axis rejection of your mics to minimize the sound of the engine.
If you need to roll with the windows down, ADR is your best bet. You not only encounter wind noise but the constant pressure changes would make your recording unusable.

Safety is king
One last thing to always remember is that a film, even if it stars the wonderful Brad Pitt, is not worth your life.
Never get in the trunk of the car to monitor sound. Ever.
Camera rolling!
With that, we’re ready to shoot our scene re-creation and you should have all the tools you need to tackle your next big car scene.
Happy shooting!
Drop a comment down below if you have any topics you would like us to cover!