Core concepts
There are three phases to recording a podcast, all of which will be explored here!
• Before Recording
• Setting Up Your Recording
• During Recording
The post-process will be explained in another article.
Phase 1: Before recording
Before you even press record, there are a couple of things you need to prepare. Have an outline and pick the ideal recording environment.
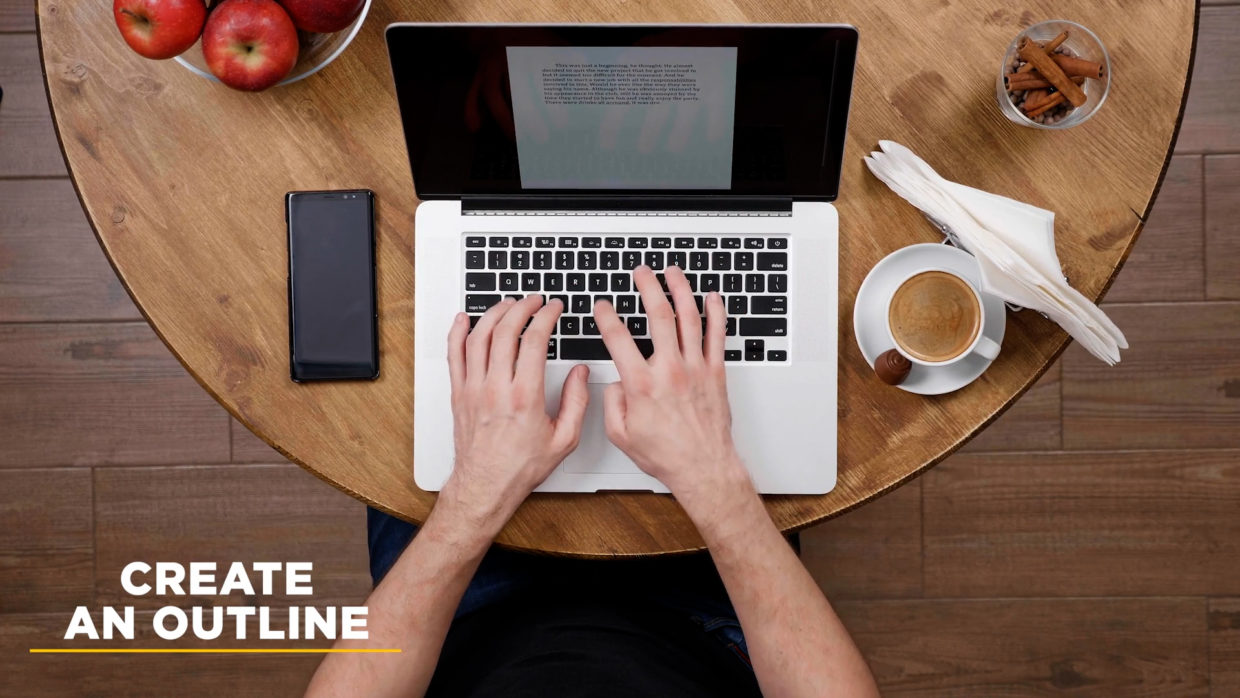
Outlines are key
Whether it’s narrative, interview, or even improv, your podcast should have a general outline. What is the structure of the episode, what are your talking points, and how long do you stay in one of these segments?
Knowing this ahead of time will ensure that your podcast actually has content to it and that you have a checklist to hit during recording.
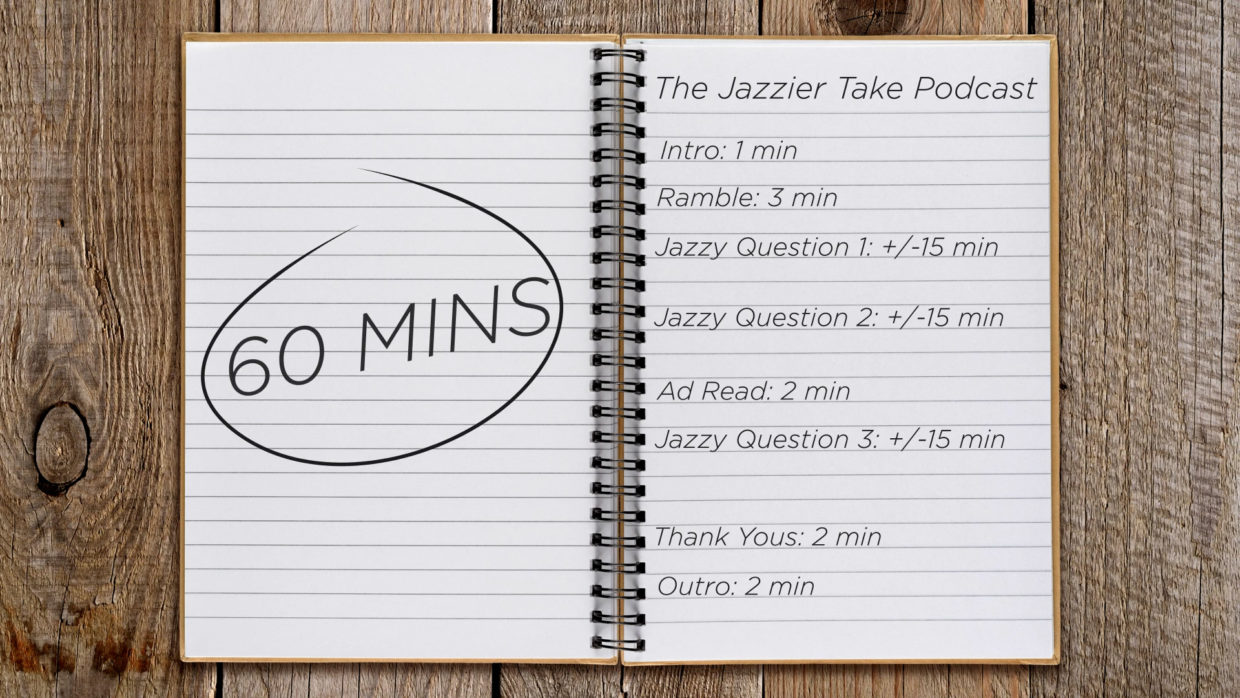
Example outline
Here’s an outline for our totally real interview podcast, “The Jazzier Take Podcast.”
Once you have an outline, send it over to your co-host in advance. This way they can properly prepare and give you concise answers and interesting performances.
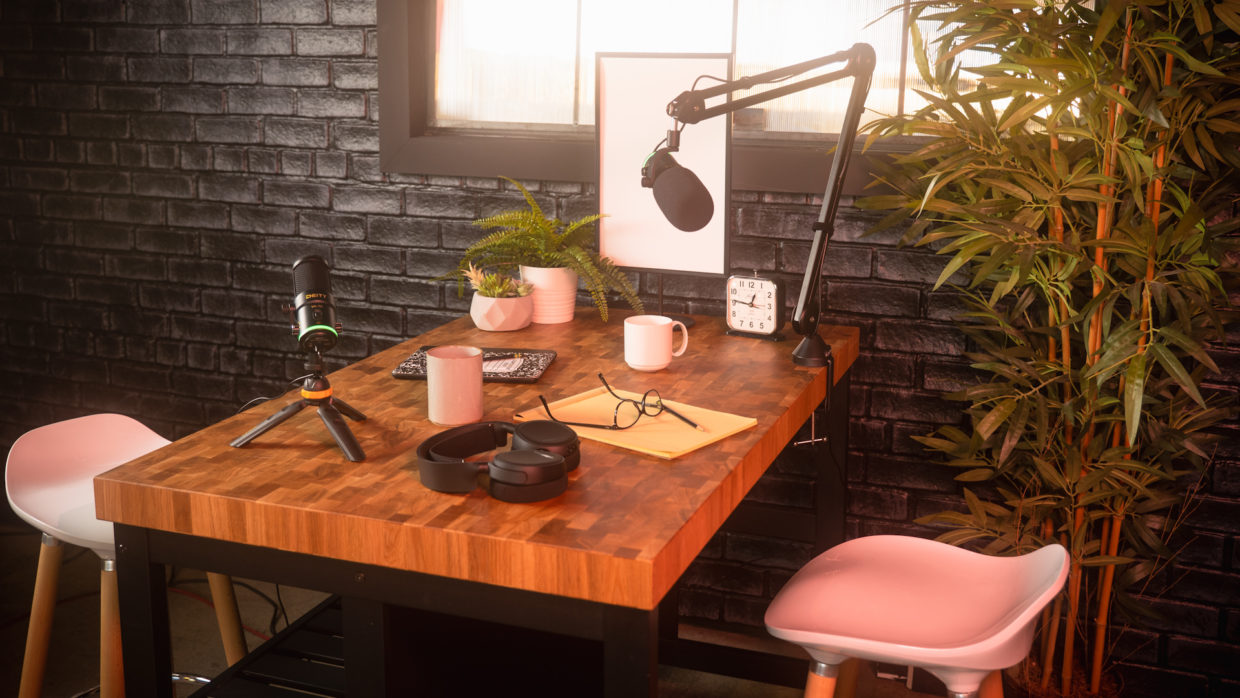
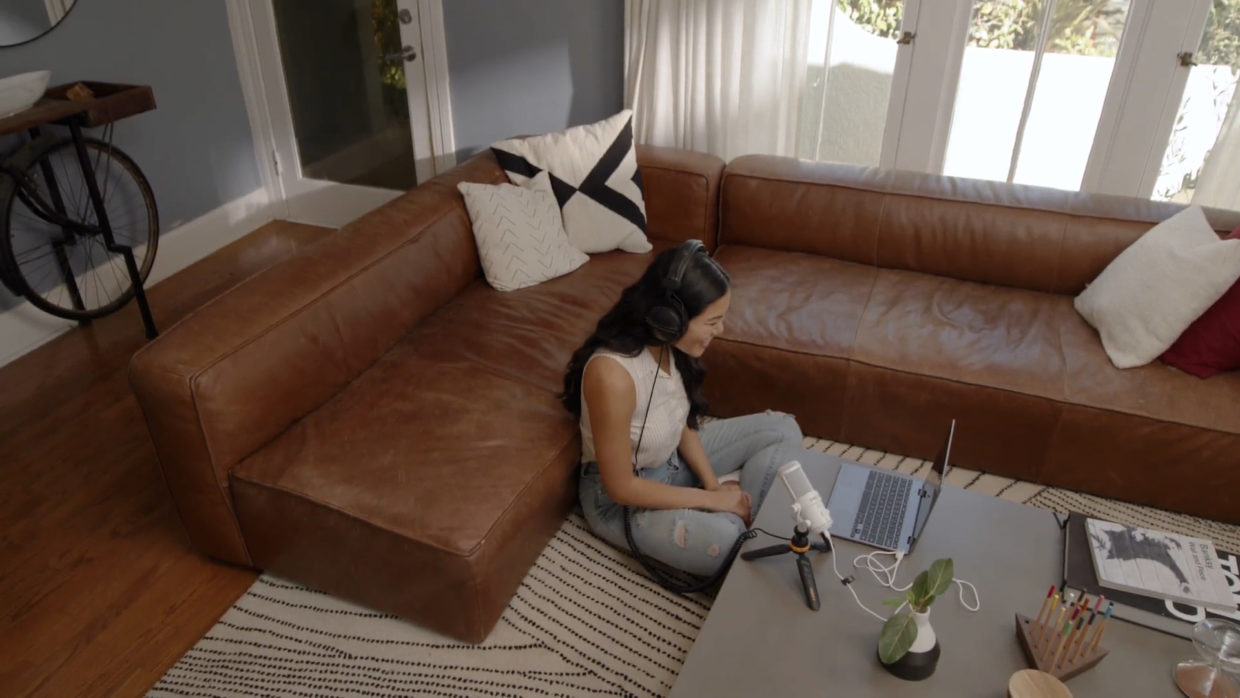
Ideal recording environment
You and your co-host should be recording in spaces with carpeted floors and low reflective surfaces.
Bookshelves are great for breaking up the reverb. You can also always hang up a moving blanket in front of a wall for a similar effect.
Additionally, pick a recording time that avoids busy traffic outside, and if you have roommates find a time when they’re out of the house.
Phase 2: Setting up your recording
Once your environment is ready you’ll need to pick a cloud based recording software and set up all the relevant settings.
Cloud based software
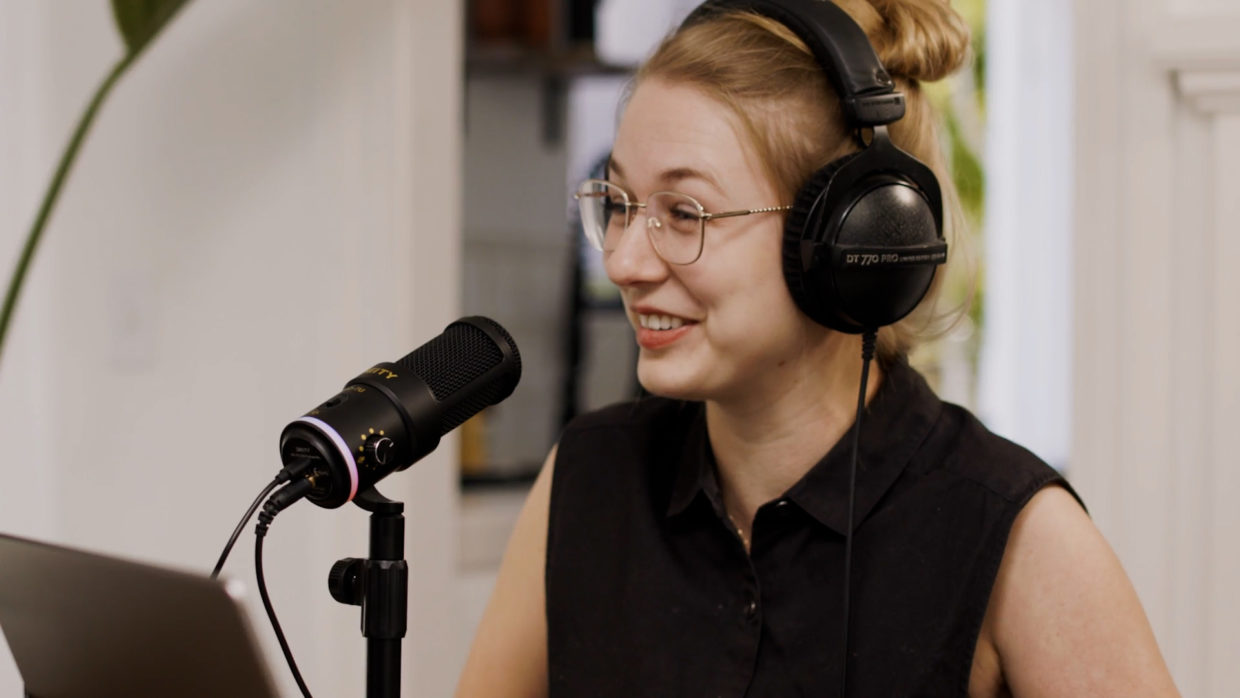
We usually use Cleanfeed for this because only one person needs an account and our guests will not need to be knowledgeable in recorders or software to participate. They just accept the link and join with their own USB mic like the VO-7U, simple.
If you’re looking to do a cloud video podcast, check out something like Riverside, and let us know if you’d like to see a tutorial because that’s a whole other beast.
Cleanfeed and the Deity VO-7U
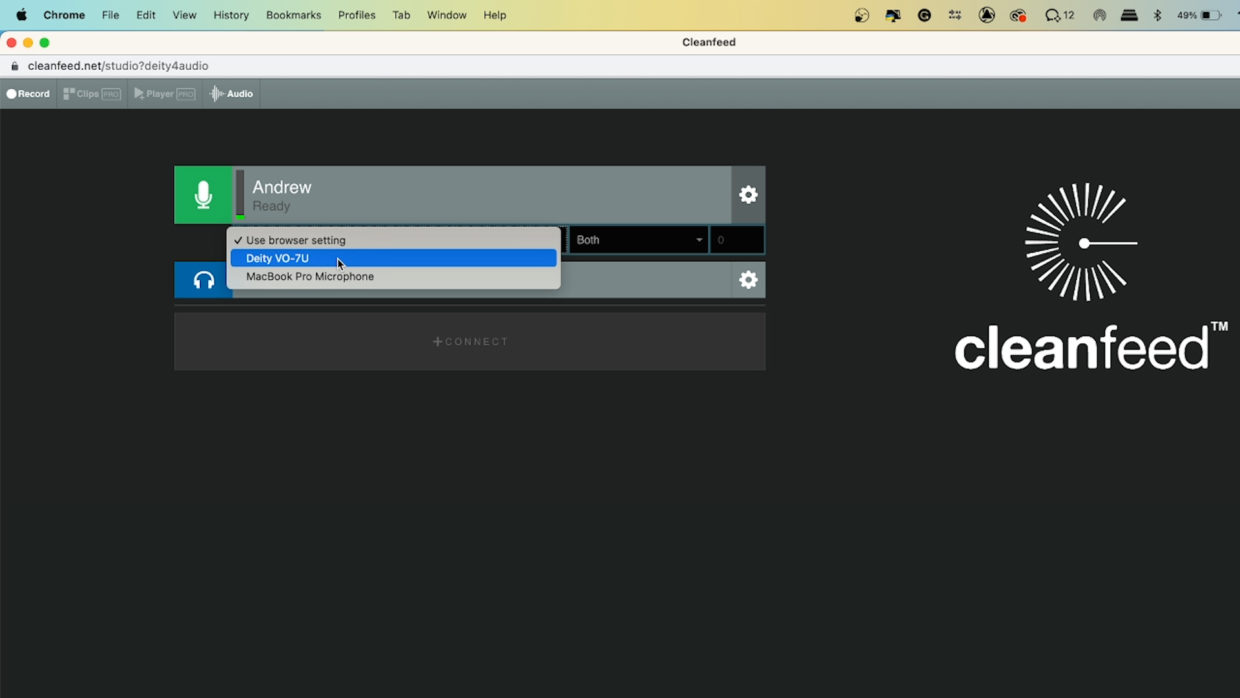
Once the account is set up, we need to get Cleanfeed to recognize our VO-7U and adjust levels.
• We’re using a USB connection. No audio interface is needed.
• Plug in the mic and select the drop-down, inside this pick the VO-7U.
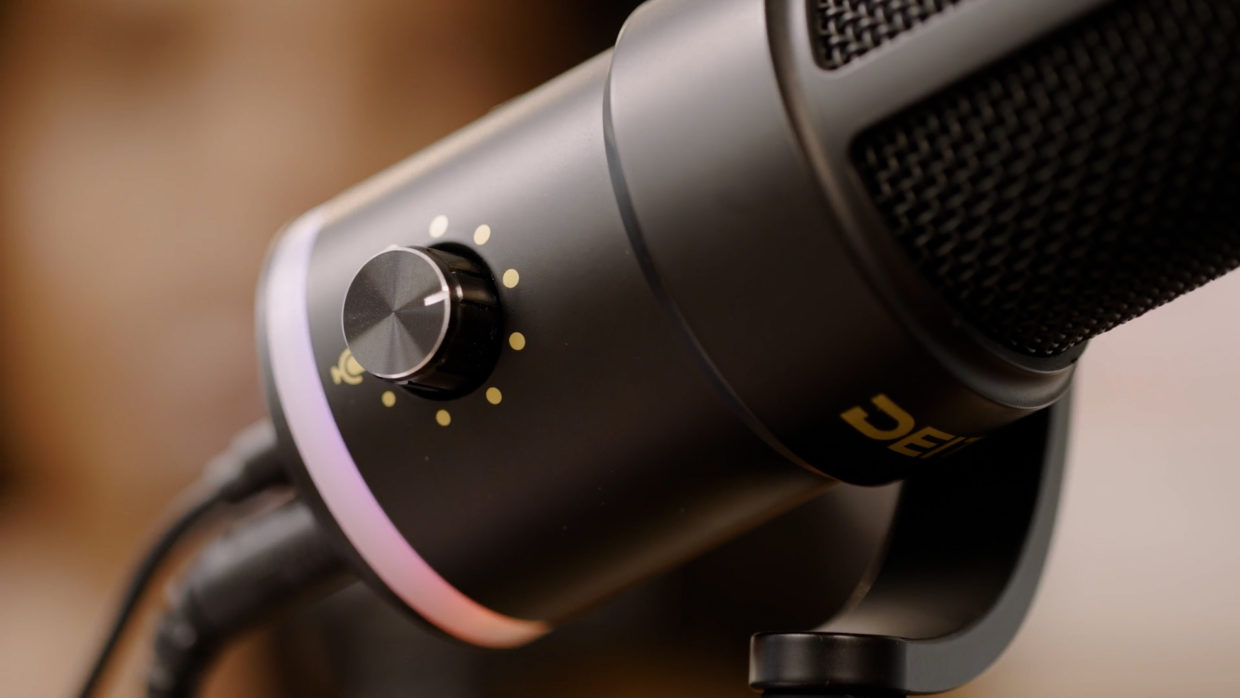
• Adjust the gain knob until your levels are bordering on yellow. Cleanfeed clips at the yellow mark.
• Try some loud laughs to see if you clip.
Recording settings (Part 1)
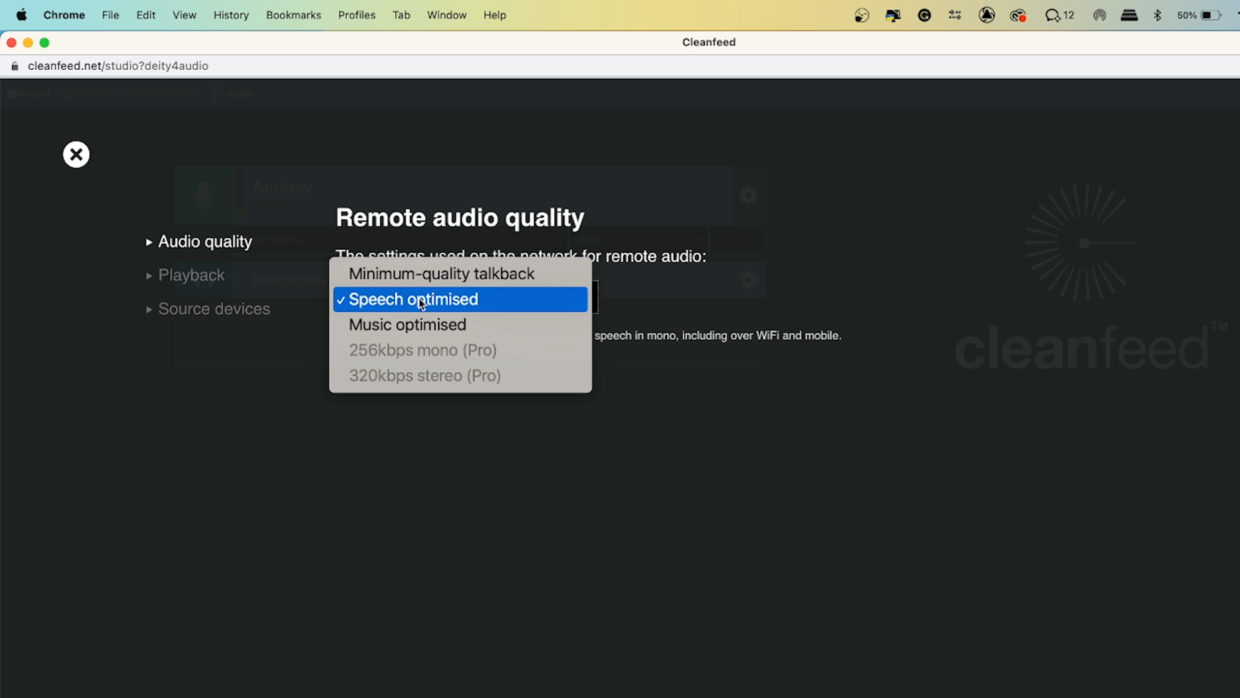
Now that the microphone is connected, let’s go into the Audio tab and pick our recording settings. This isn’t for individual channels, this is for the final recorded file.
• Speech Optimized: you want the highest quality voice recording.
• Playback device: the free version allows you to monitor audio through your computer’s default output.
• There are more settings to choose but you’ll need to invite your co-host before accessing them.
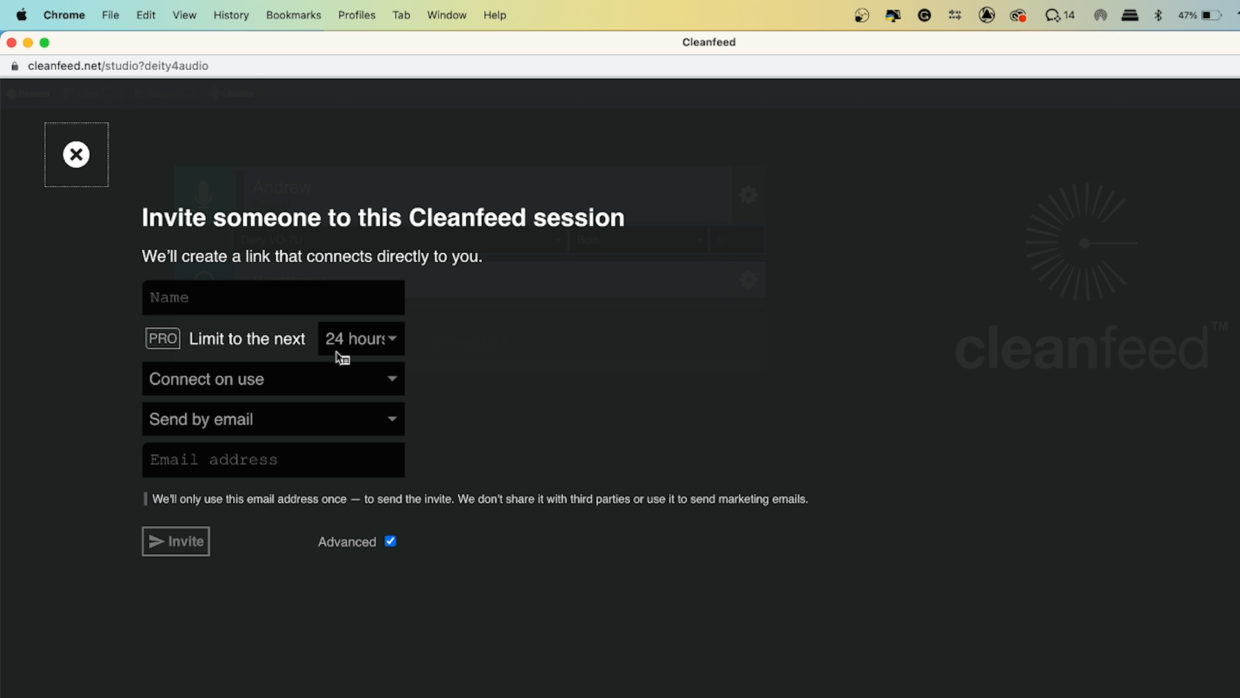
Invite your co-host
• To invite someone to the call, “connect to guest ” + “connect.”
• Type their name and their email address.
• Once they open this email, they’ll be brought into the session with the microphone they have plugged into their machine.
• They can also join the session with just their phone.
Moments away
We like to talk with our guest a little before recording to get us both loose. This is especially useful if this is our first time meeting them.
We once more touch on the outline and then open the record tab.

Recording settings (Part 2)
Inside of the record tab:
• Name the file
• Check the “Add day and time” box for file management.
• Pick your recording mode. We use “everyone” to capture all tracks as one combined file. Premium allows you to record individual tracks.
• Hit Record!
Phase 3: During Recording
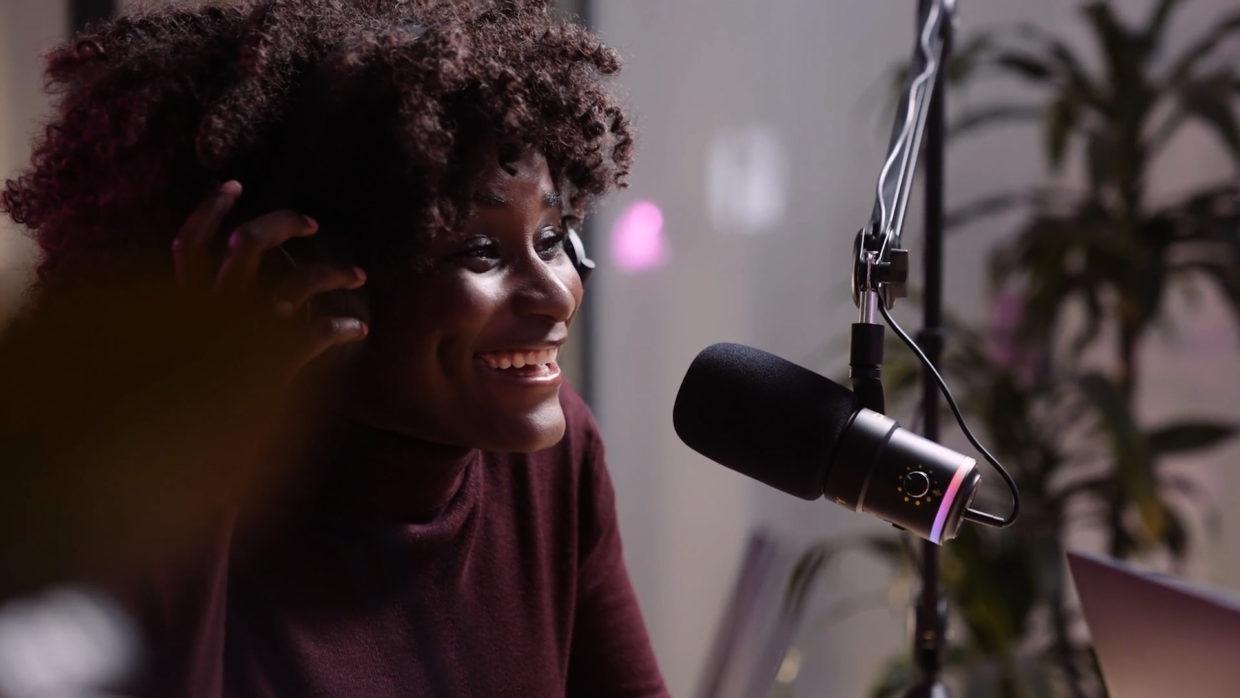
You’ve set the scene and done your homework, now is the time to record those laughs!…or scares…or reports… any podcast subject really.
Recording settings (Part 2)
• Monitor while you record. Always be listening for general audio problems such as plosives, audio drop outs, and general noise
• Next, watch the dB level, stay in the green range of your audio meters throughout the podcast. Sometimes we get louder as the conversation becomes more engaging. Adjust your gain to compensate.
Get clean takes
• Try not to talk over each other. If the editor needs to isolate your voice for any reason, this will make it easier. Plus, it’s rude!
• Understand that 99% of podcasts you listen to are edited. Don’t be afraid to get a second take of an important question or moment with more clarity.
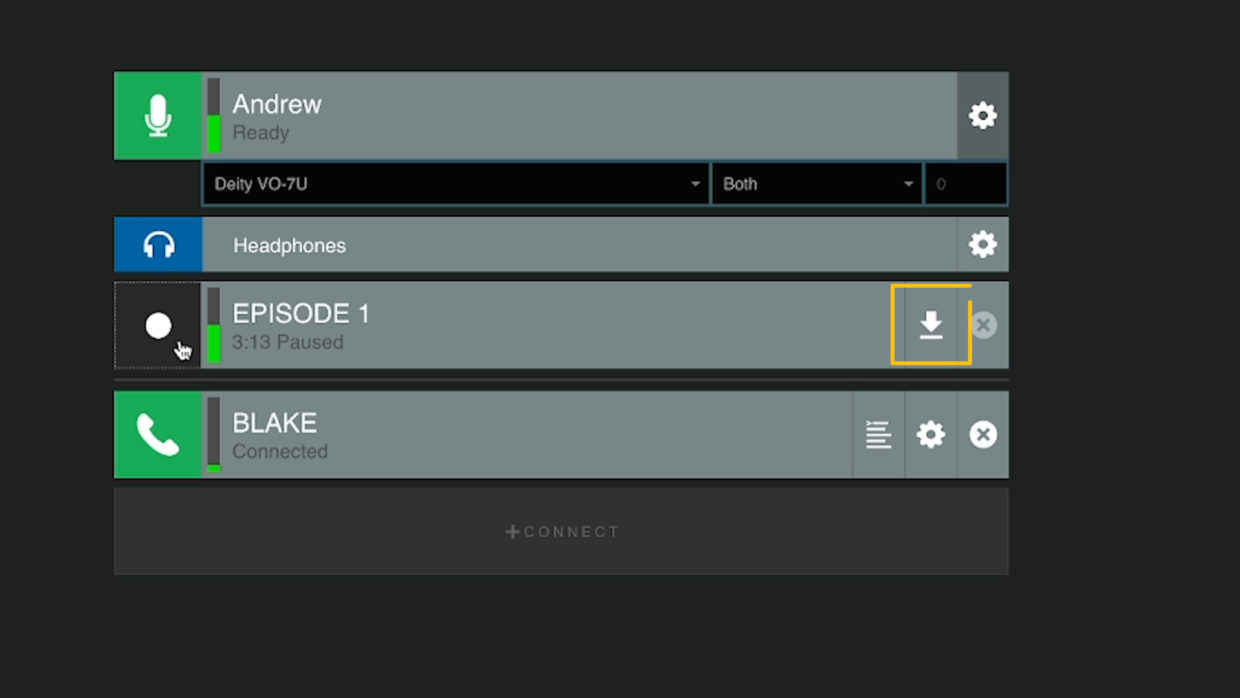
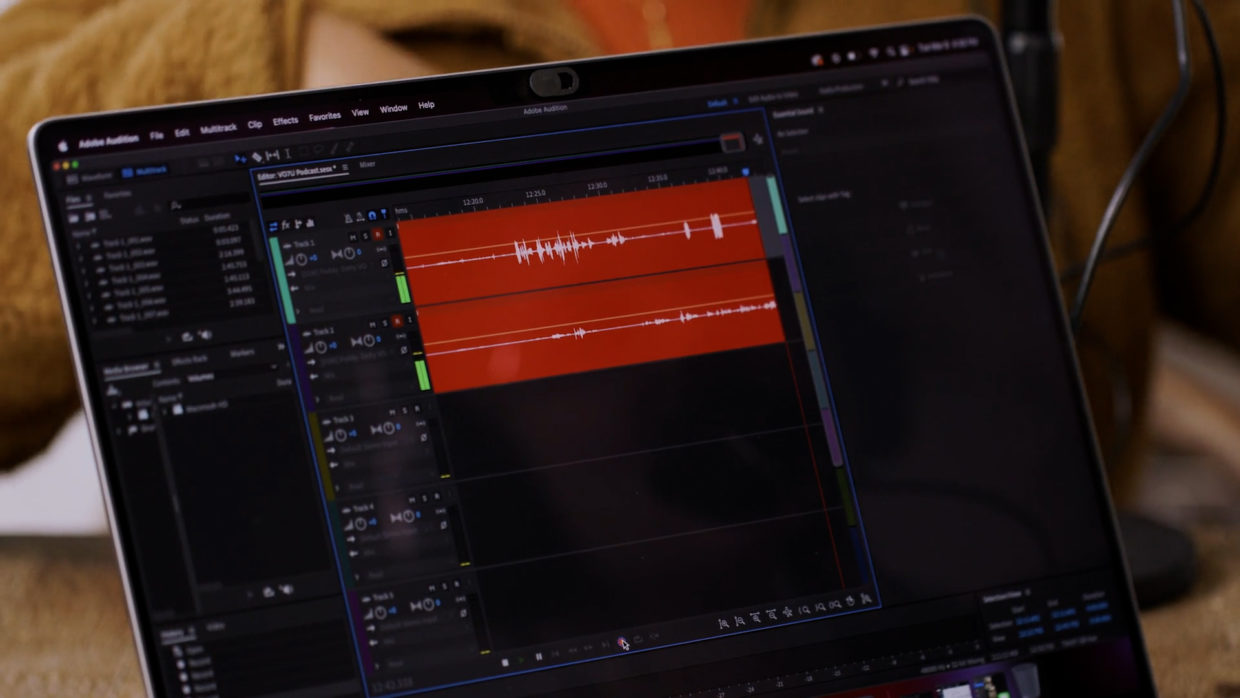
Download the file
• In your Cleanfeed session, click the download icon on your recording track and then pick the file path to create a WAV file.
• You are now ready to trim out the boring parts and add music. Make sure to subscribe for the next episode when we tackle that!
Get Podcasting
With that, you’re ready to record your first-ever podcast!
Join us next time when we tackle podcast editing!