The Problem
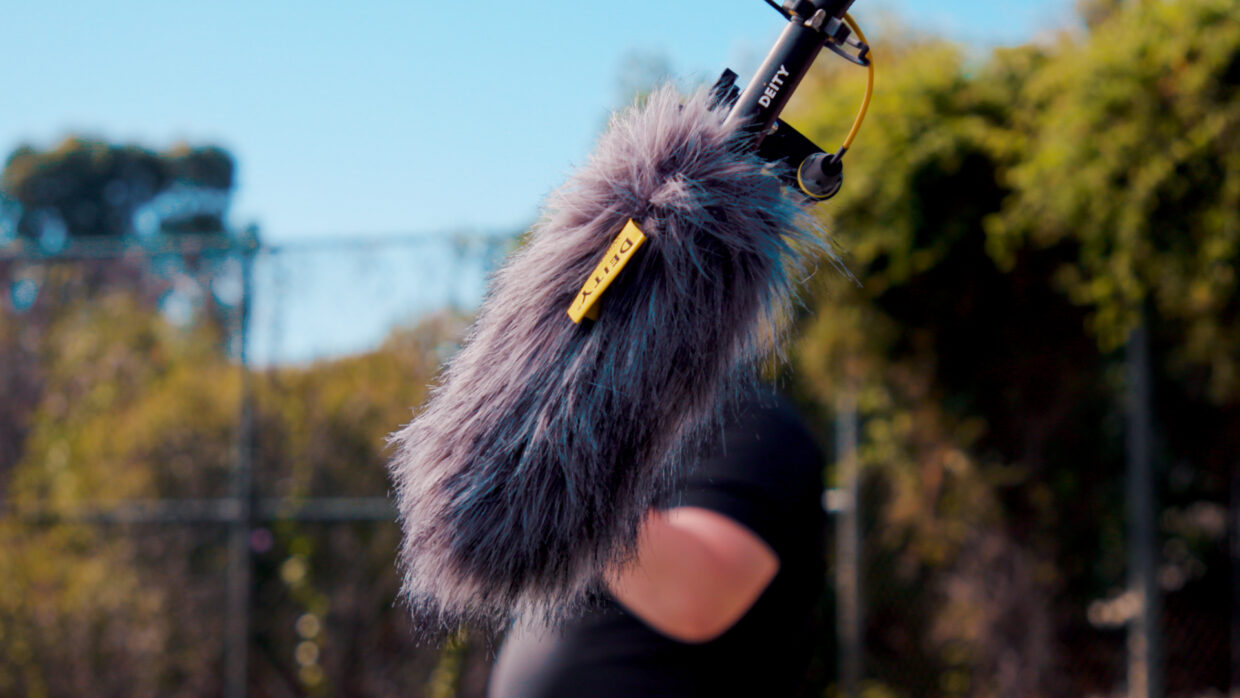
While on set, a boom has found its way into every shot.
With the help of Clinton Jones (Pwnisher), we go shot by shot to show you how we saved each of these shots!
Note: You will need a basic understanding of Adobe After Effects to follow along with this tutorial.
Pwnisher
Clinton is a Director, 3D, and visual FX artist who has been in the online filmmaking game for over 15 years.
He’s worked with powerhouse channels like Corridor, RocketJump, and has created his own awesome short film and 3D animation channel.
Needless to say, he’s the perfect guy to help us out today!
Clean Plates
Before we dive into fixing our shots, Clinton will explain what Clean Plates are and why you need them for this task.
“A Clean Plate is a clean version of your shot. Just the background only, no actors, no camera, no sound guy. Just the background.”
This is a critical asset to shoot if you know you will be painting out something later.
Recording Clean Plate Tips
– Do not move the camera or change settings
– Record it immediately after each main shot
– Record your clean plate as a separate shot
– Should be the same duration as the main shot
Shot #1 – Medium Close-Up
Our first shot is a medium close-up of the actor as a boom dips in the top right corner of the frame.
The immediate problem is that they didn’t film a clean plate – nobody plans to dip during a take.
Clint, you’re up!
Shot #1 – The Easy Fix
“Anytime you have the boom dip into frame, the first thing you’ll do is punch in if possible.”
This means to scale up your footage to crop out the boom dip. This is often the fastest and easiest option.

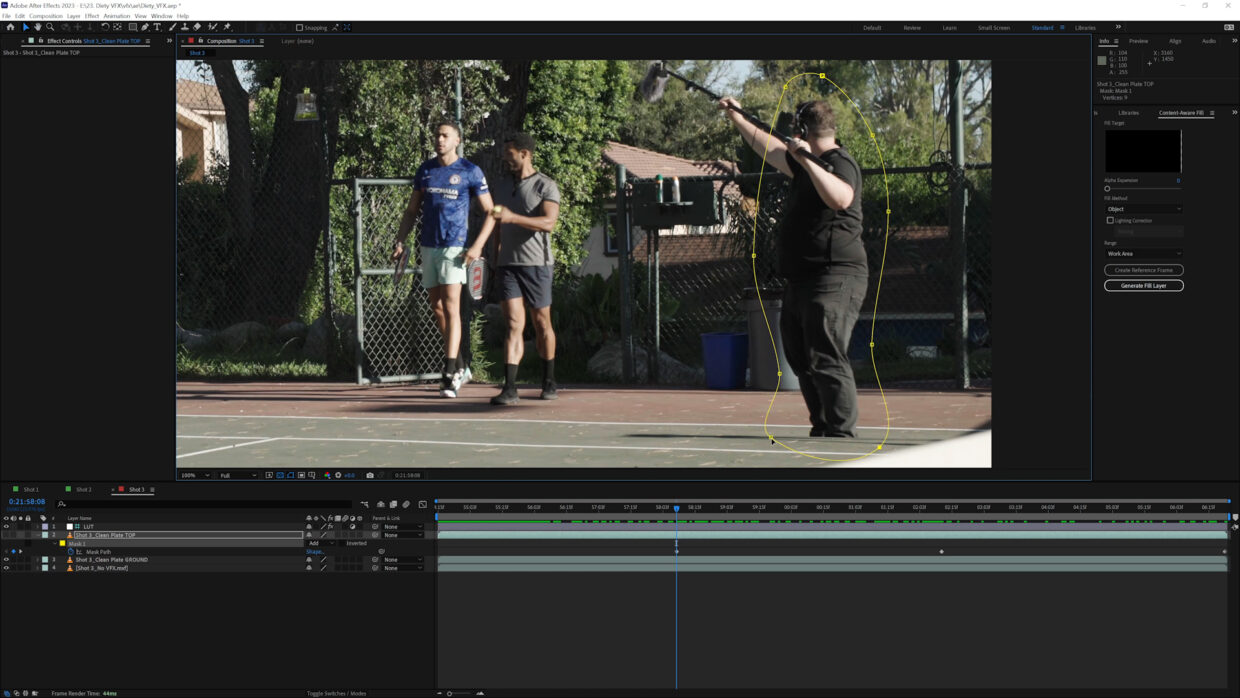
Shot #1 – Content-Aware Fill
“If you can’t punch in, here’s how you fix it.”
– Draw a mask around the boom, animate it to move with it
– Press “Subtract” to remove it from the shot
– Go to the Content-Aware Fill window and press “Generate”
– Feather as needed
“Content-aware fill will look at those empty pixels (created by the subtract mask) and fill in the space based on the footage.”
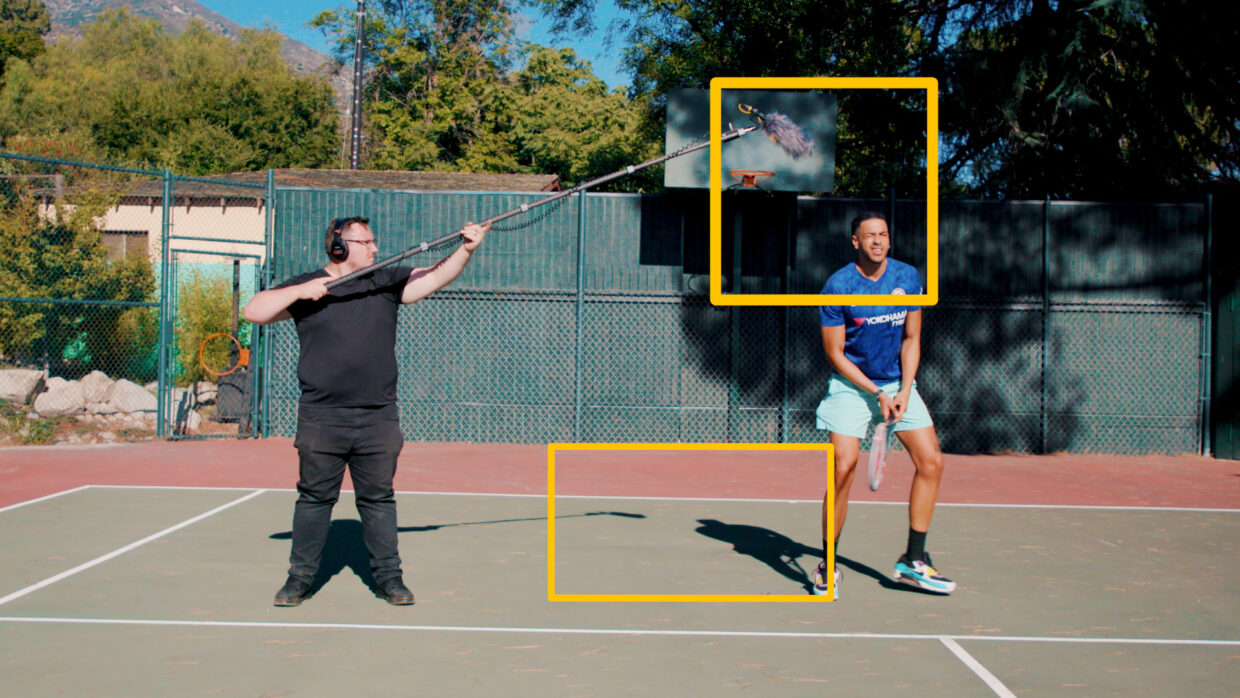
Shot #2 – Extreme Wide
The second shot is on a tripod and places the entire boom operator off to the side of the actor. This is not something you do on a whim as a boom operator.
Communicate with the Director, Post Supervisor, and Producer to confirm this game plan.
Ideally, you would use lavs, but for the purposes of this tutorial, we placed them in the shot to show you how powerful clean plates are.
Shot #2 – Things To Keep In Mind
If you do need to place the boom operator or microphone in the shot for whatever reason, keep these things in mind.
– Watch the shadows – don’t cast on the actor or be in the shadow of the actor
– Do not physically cross or go behind the actor
– Have the actors and Boom Op clear frame after every shot to get a Clean Plate
If you can avoid these things, you’ll save yourself a lot of headaches later.
Shot #2 – Using Static Clean Plates
Clint is back to help us out
– Draw a mask around the boom, animate it to move with the boom operator and their shadow
– Press “Subtract” to remove it from the shot
– Place the Clean Plate underneath the main footage so it can fill in those empty pixels
– Feather the main footage as needed
Shot #2 – Adding Back In Certain Elements
After cutting out the boom operator from the shot, it also removed the tennis ball in the foreground. To add it back in:
– Duplicate the main shot and make it your top layer (above the other two)
– Draw a mask around the ball, and animate it to move with the shot
– Feather as needed
– In our shot, the tennis ball crosses over the boom ops clothing, creating a black halo. To remove this, use an “extract” effect.
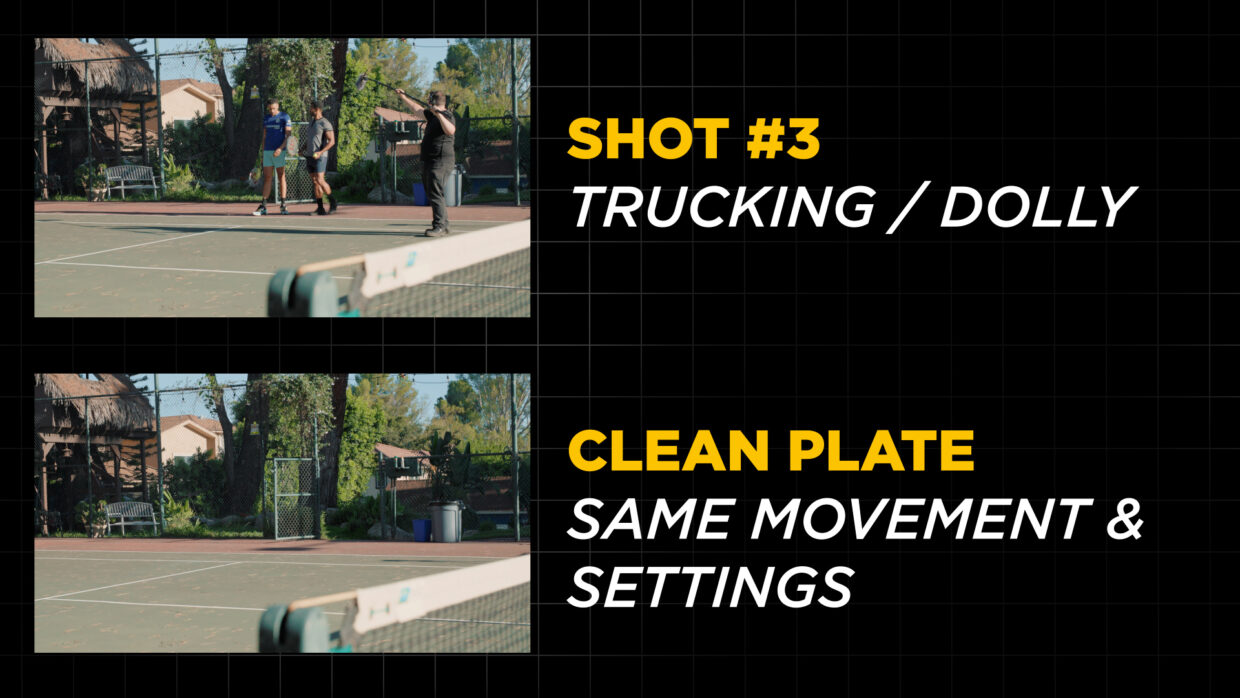
Shot #3 – Wide / Trucking
The final shot is the most complicated.
The approach is similar to the previous shot, the main difference is that the background and camera are moving.
Additionally, there are wind and lighting changes going on throughout the shot, making our clean plate less than ideal.
Shot #3 – Motorized Clean Plates
The Director has requested a trucking shot for this last setup.
To perfectly match the movement between the main shot and the Clean Plate we are using a motorized slider. These allow you to set key frames and repeat the same movement every time.
Of course, this is more complicated and expensive than just renting a lav system. We are showing you this as an option.
Shot #3 – Approach The Shot In Sections
Even though this shot has some tricky problems, Clint has the knowledge to get us through.
– Approach shots like this in sections. For example, handle the bottom of the shot, then the top to simplify your approach
– The bottom is the boom operator, and his shadow
– The top is all the windy trees above the scene
Shot #3 – The Bottom Half
“For the bottom bit, I followed all the same steps as shot #2.”
– Draw a mask around the boom, animate it to move with the Boom Operator and their shadow
– Press “Subtract” to remove it from the shot
– Place the Clean Plate underneath the main footage so it can fill in those empty pixels
– Feather the main footage as needed
Shot #3 – The Top Half
“For the top half, I followed those same steps but noticed the lighting had changed and the wind (in the leaves) didn’t line up.”
– Draw a mask around each of the problem sections and expand it to cover more area around it
– Press “Subtract” to remove it from the shot
– Place the Clean Plate underneath the main footage so it can fill in those empty pixels
– Feather each of these areas to the extreme to blend it
– After this, review all of your sections to make tweaks as needed
Your shots are saved!
With that, your editor is ready to dive into the rest of the post process.
For more production sound tips check out our YouTube channel where we have a whole bunch of other sound advice.
Thanks again, Clint! Check out his channel if you’re looking for more VFX and 3D knowledge!