Shopping List
Lots of these items can be purchased online but we
• 5″ Casters (2x)
• 16″ Wheelbarrow Tires (2x)
• Quick fist (2x)
• Bolts (#10-32×3/4″)
• Nuts & Washers (#10-32×3/4″ / 1/2″ / #10 washers)
• Liquid Nails
• Drill (1/2″ / #10 Drill bits)
• Hacksaw for metal
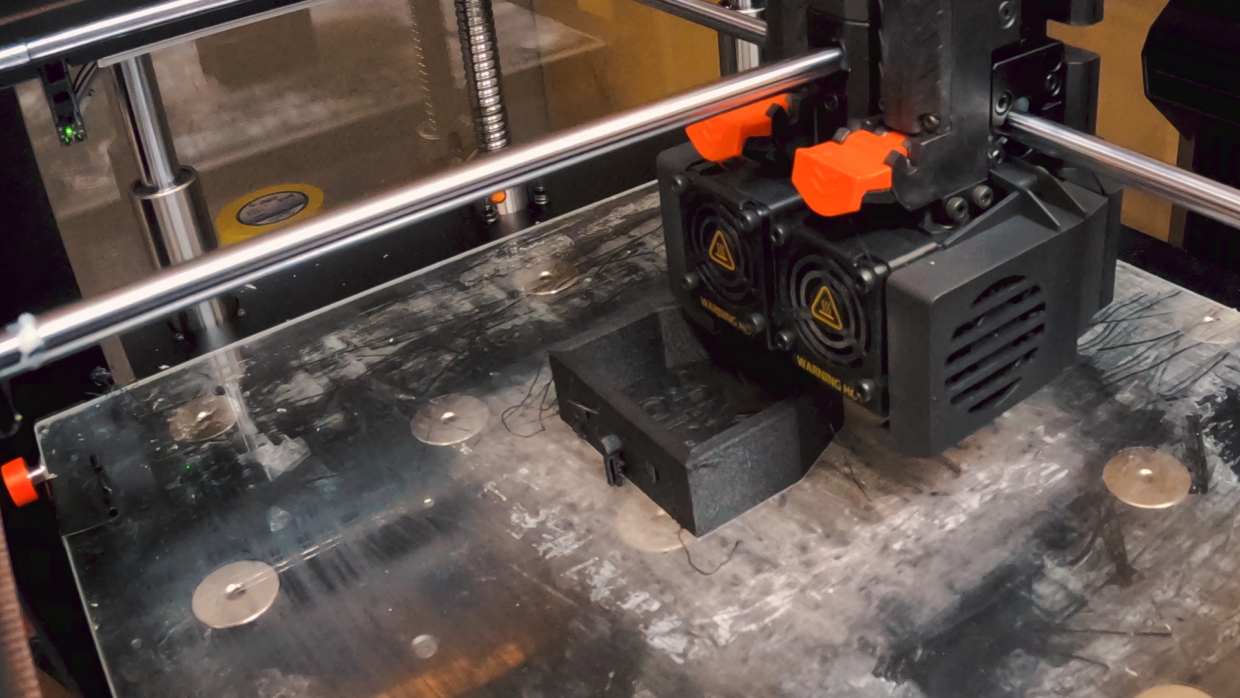
3D Prints
You’ll need 3D print some assets from Michael render.
Luckily if you don’t have a 3D printer you can use services like Shapeways to get them printed.
• Caster Stem Adapter (2x)
• Boom Pole Cup (2x)
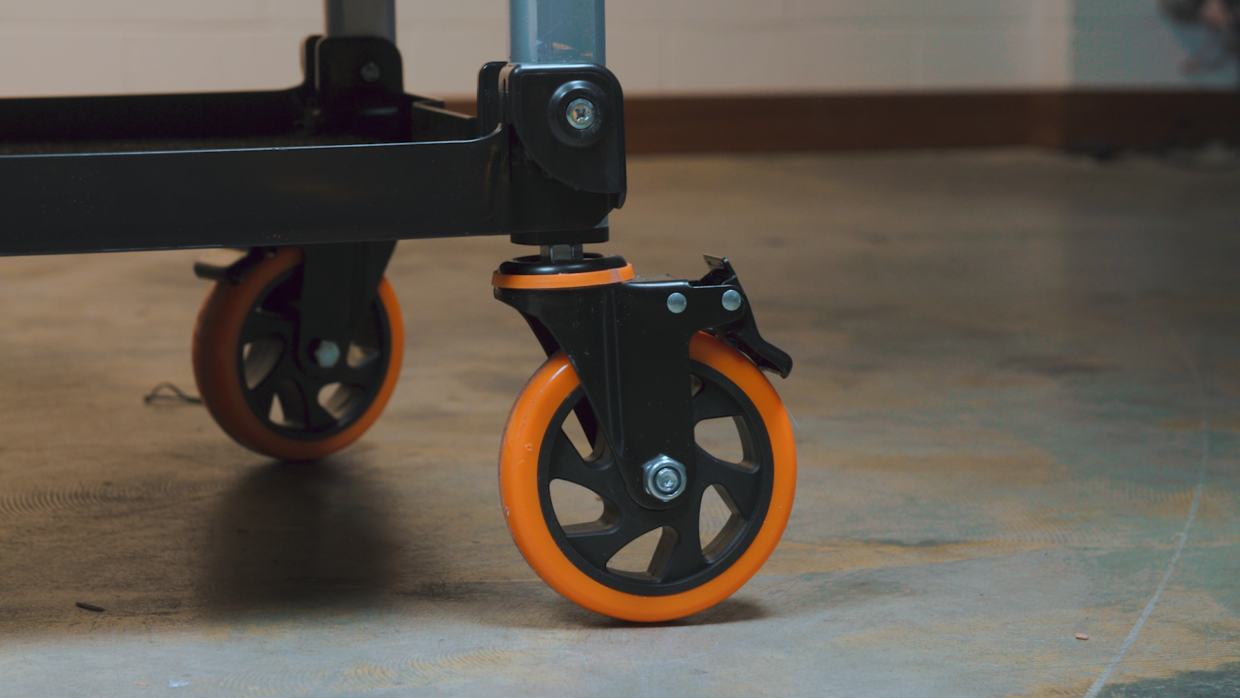
Mod #1 – Casters
The first step in upgrading your production sound cart is replacing the stock casters.
It’s not that they’re bad by any means, they just won’t last you more than a couple months on set.
Casters – Step 1
Unscrew two of the casters on one side of the Olympia XL cart.
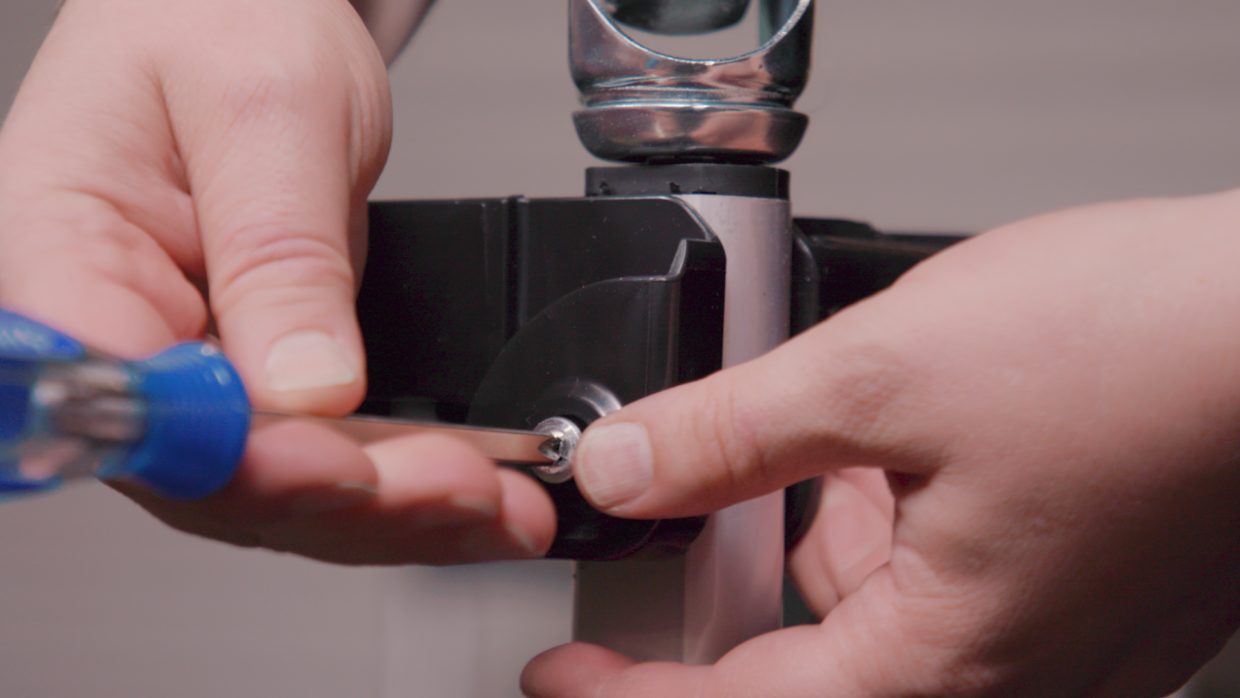
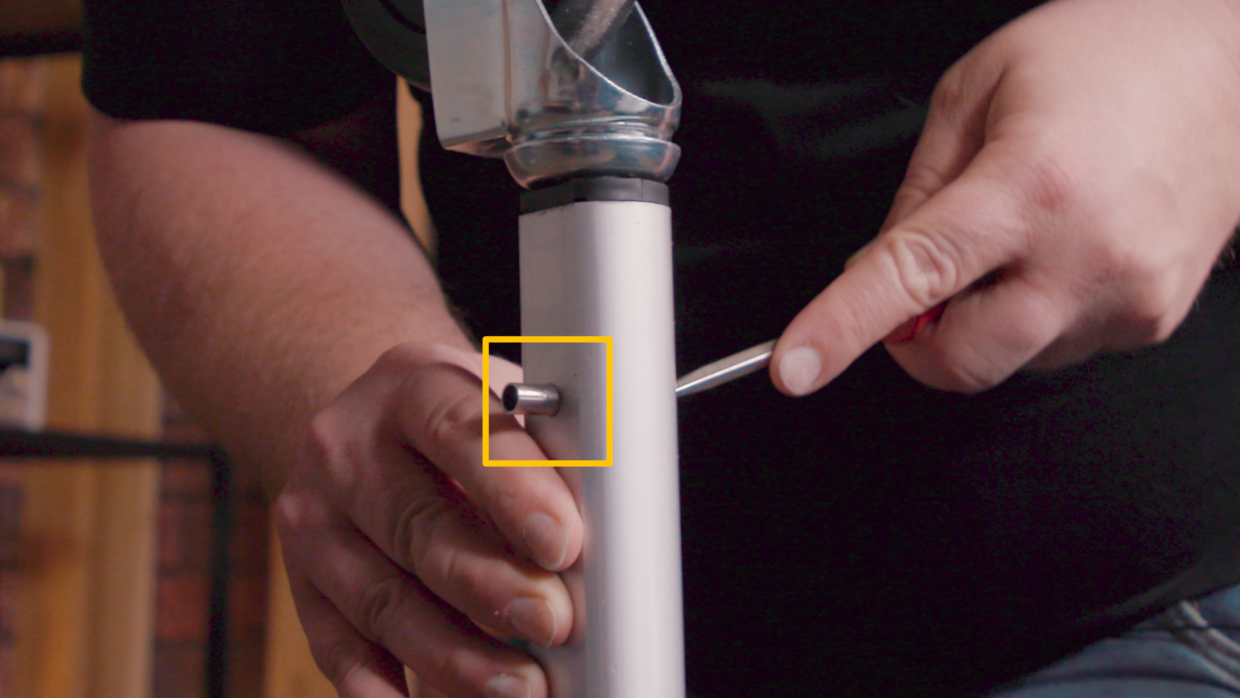
Casters – Step 2
Slide the shelf downward and place a tool inside the exposed pin hole.
Push until a pin is fully taken out of the stem. Save these pins and screws for later.
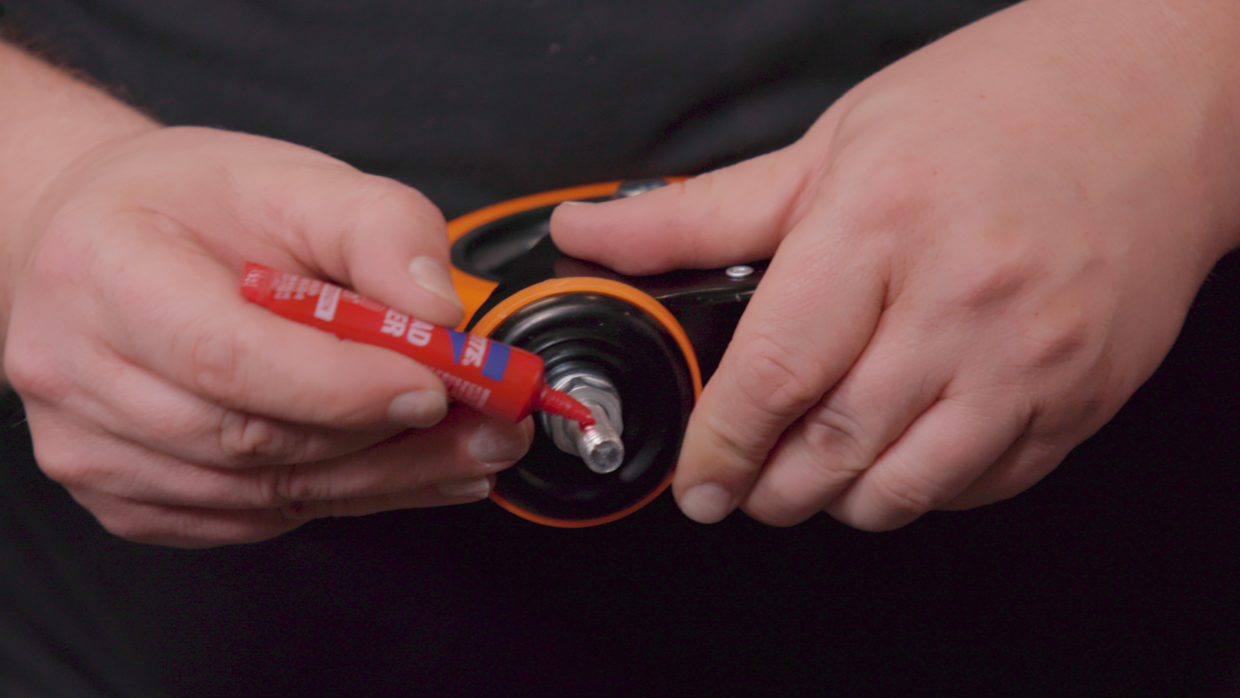
Casters – Step 3
Take the new casters and apply Red Loctite to the mounting screw – then attach them to the 3D printed adapters
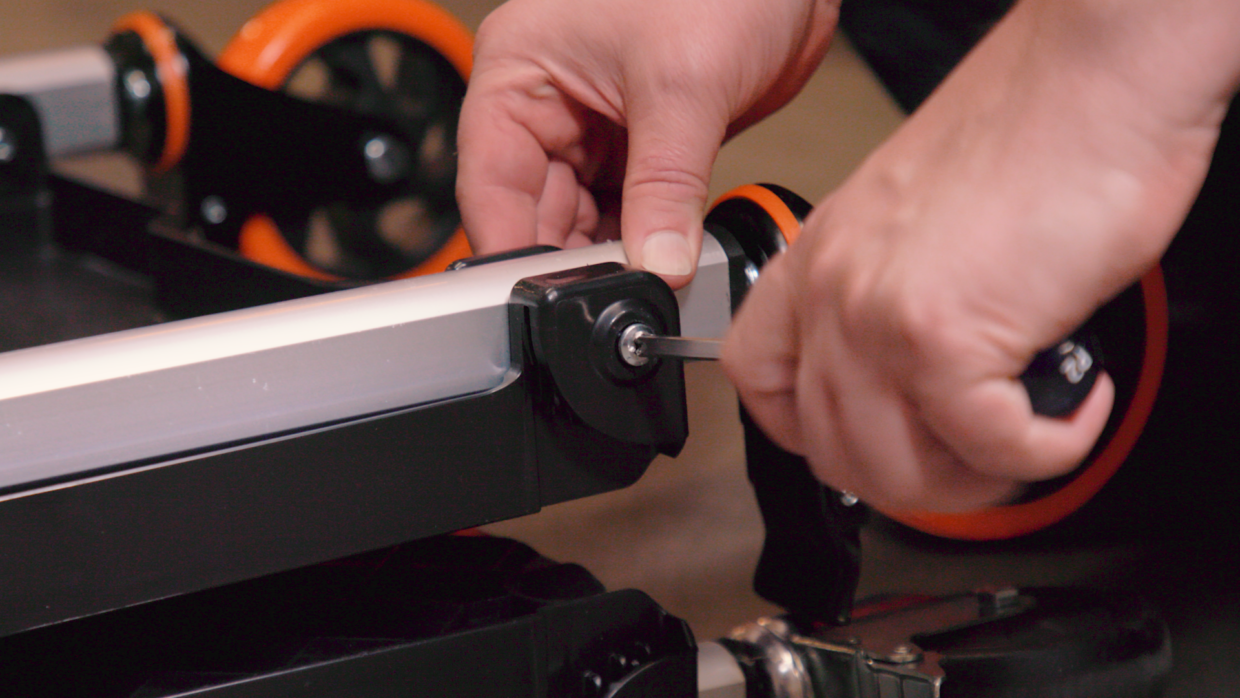
Casters – Step 4
Using the original pin and screws, attach the new casters to the Olympia XL cart.
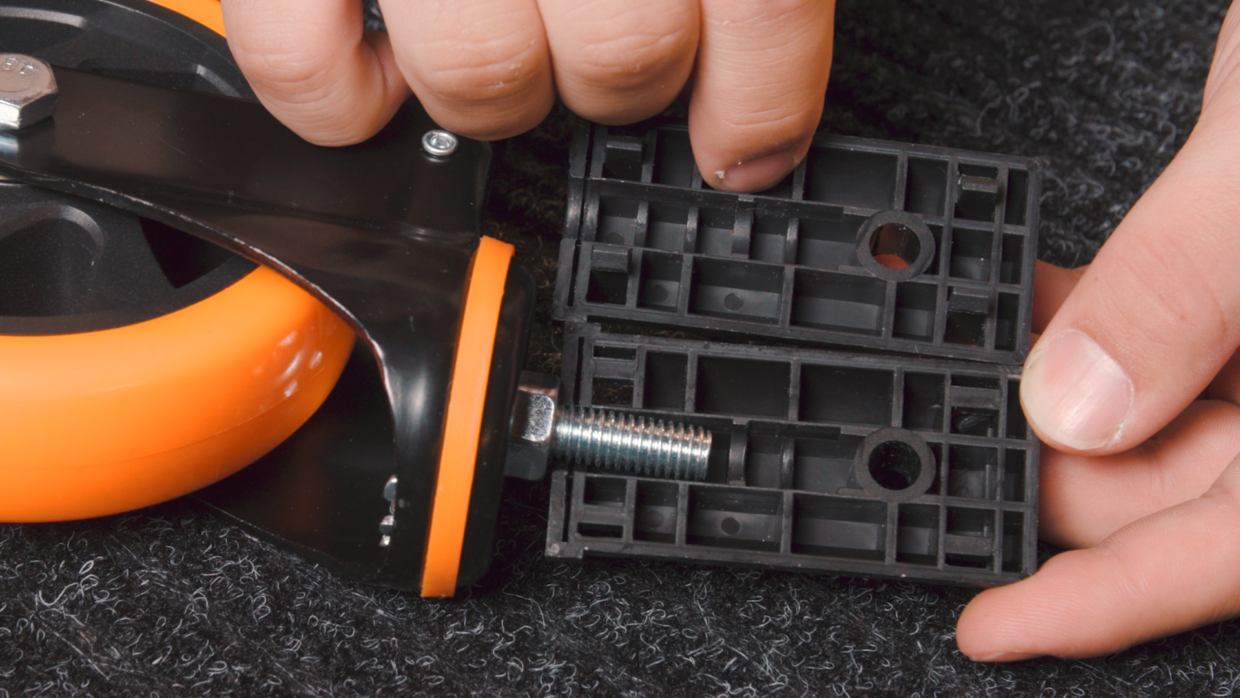
Casters – Quick Tip
If you don’t have a 3D printer, you can use the caster adapters that come with the Olympia XL.
You’ll just need to fill the two plastic halves with epoxy to accommodate the size gap and lack of mounting.
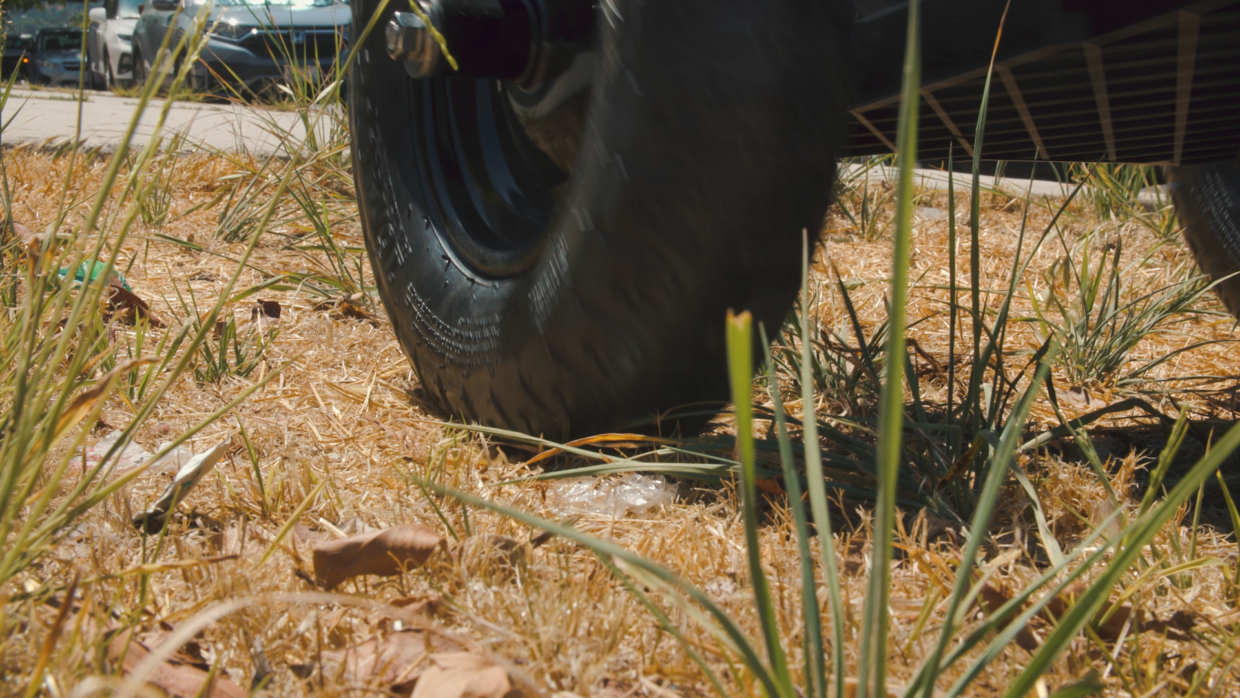
Mod #2 – Off Roading wheels
Those casters will keep you set for in studio work but what about on location?
You’re gonna need some proper outdoor wheel that won’t get eaten up by precarious terrain.
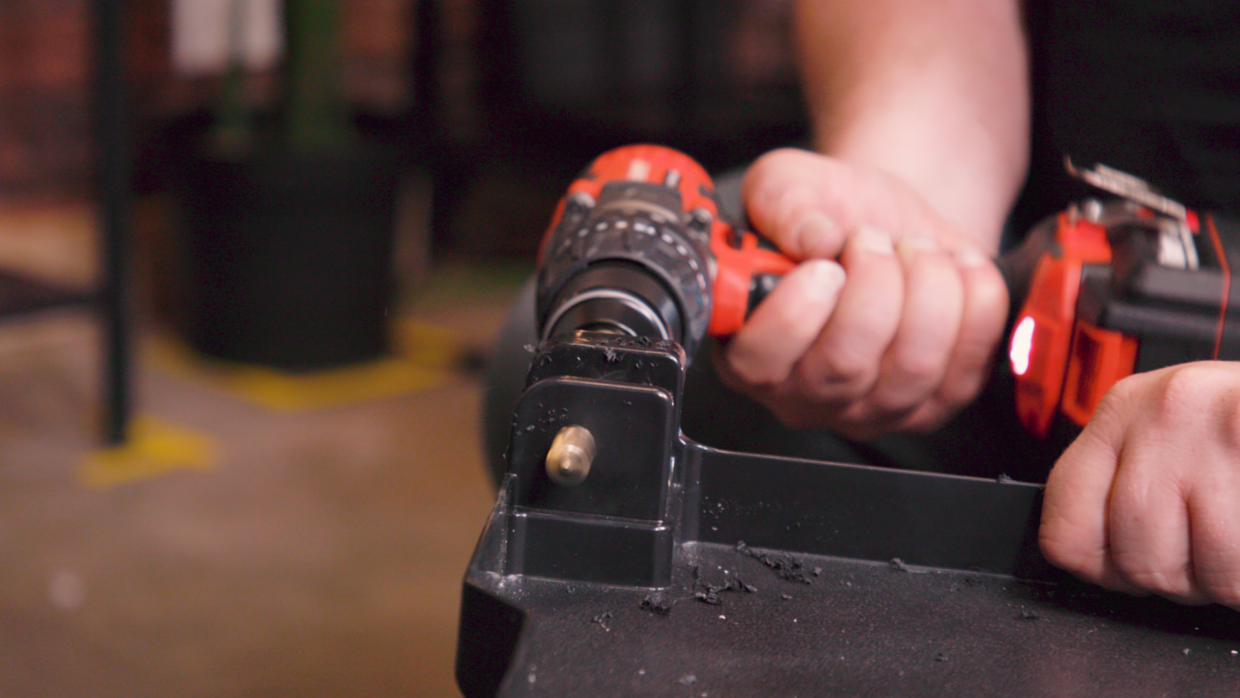
Wheels – Step 1
Same as before, remove the caster screws and pins.
Now, take a 1/2″ drill bit and drill through the plastic and metal holes on the cart to enlarge them.

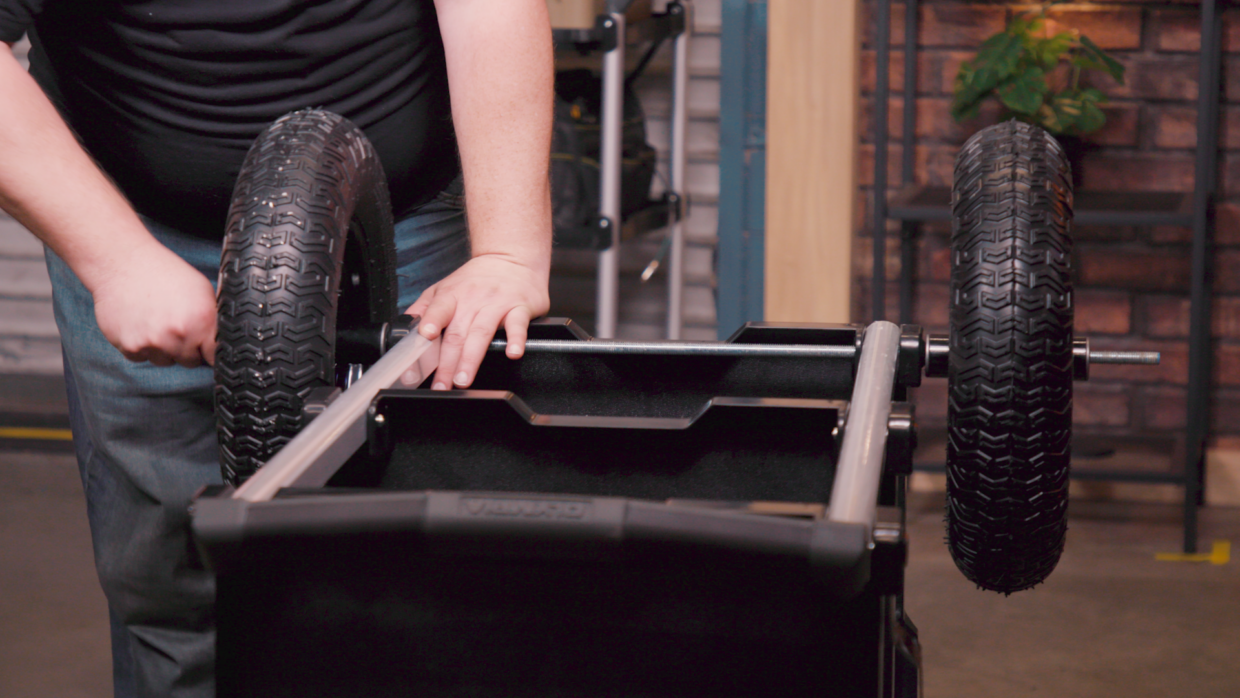
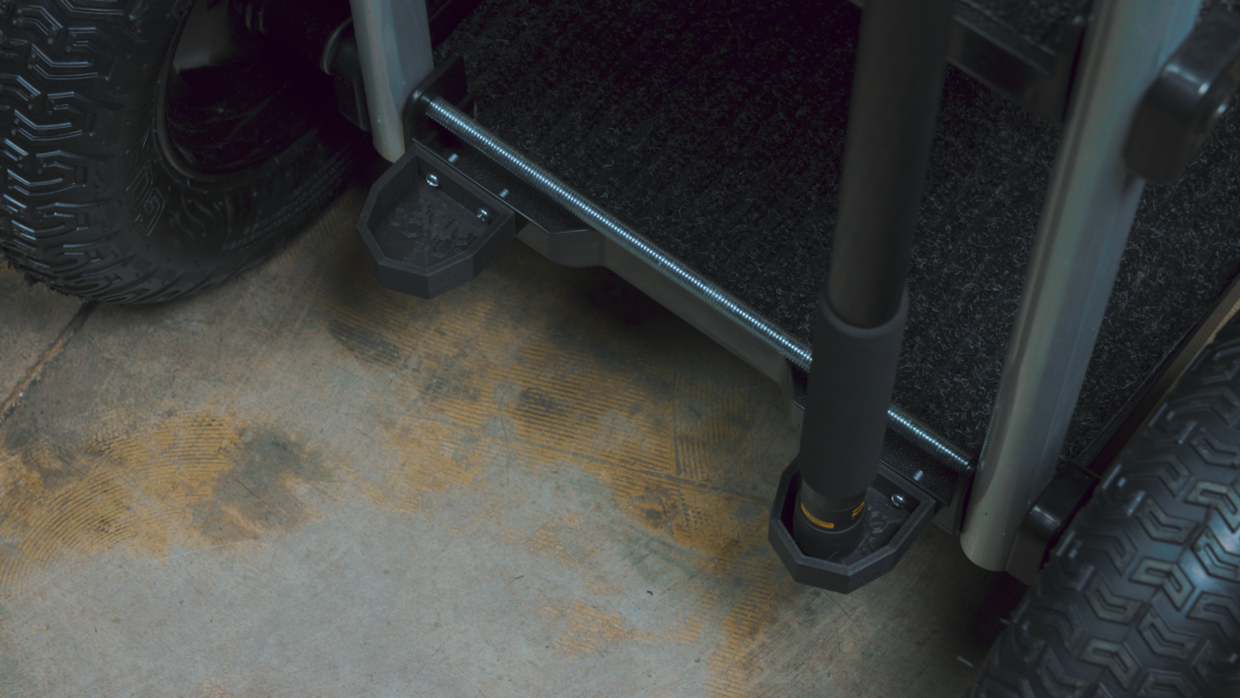
Wheels – Step 2
Take a 1/2″ threaded rod and slide it through these enlarged holes.
Wheels – Step 3
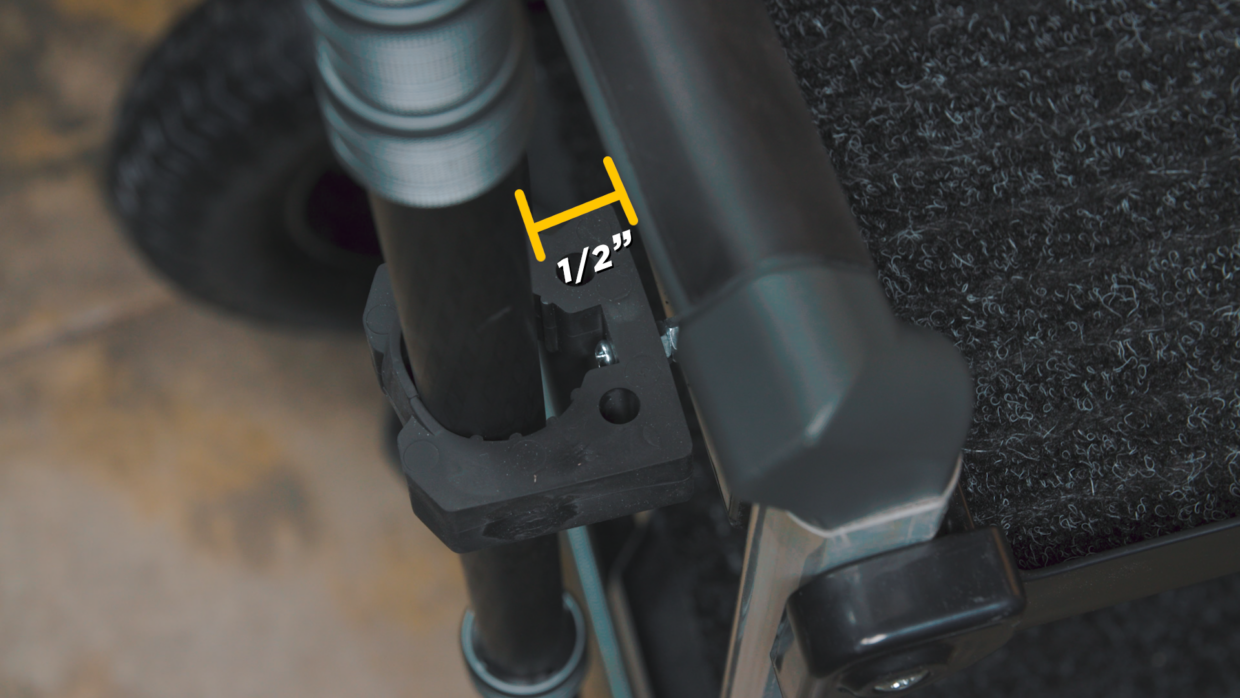
Test fit your 16″ wheels to see how much material needs to be cut off.
Mark the area with a sharpie and cut away the excess with a hack saw.
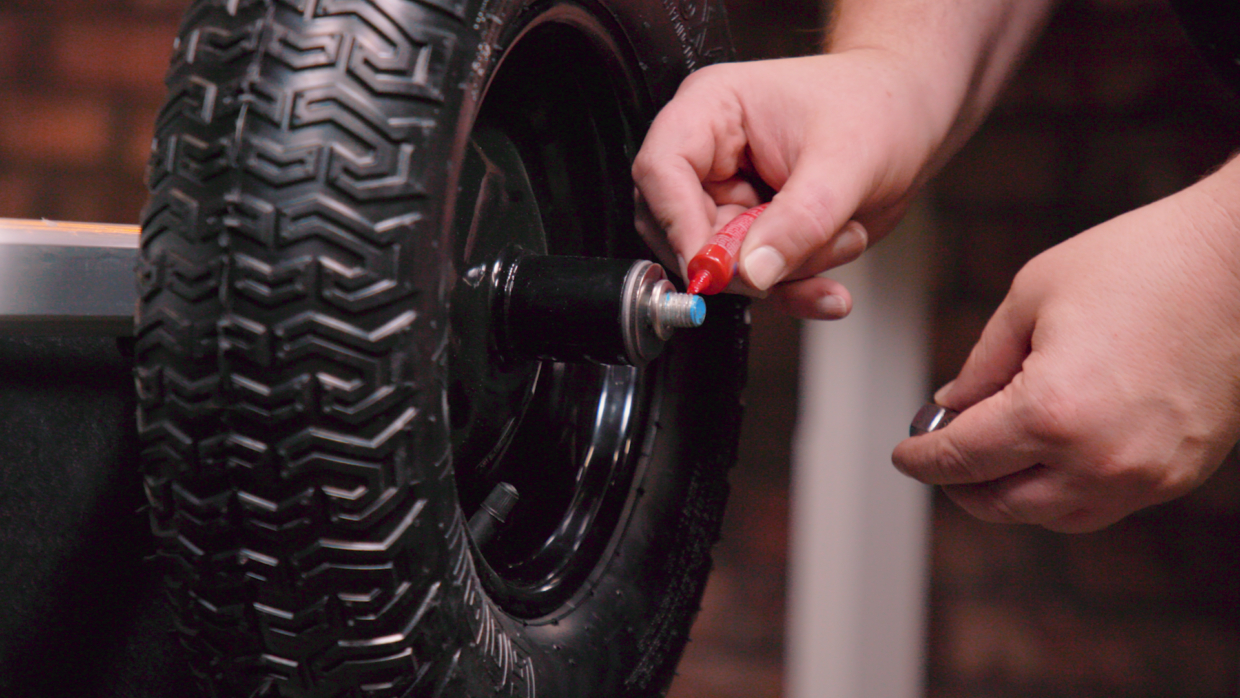
Wheels – Step 4
Once the metal is cut, place a dab of Red Loctite on each end of the rod – then screw on a 1/2″ nut.
After letting that set for 24hrs, flip the cart over and take those new wheels for a spin outside.
Wheels – Quick Tip
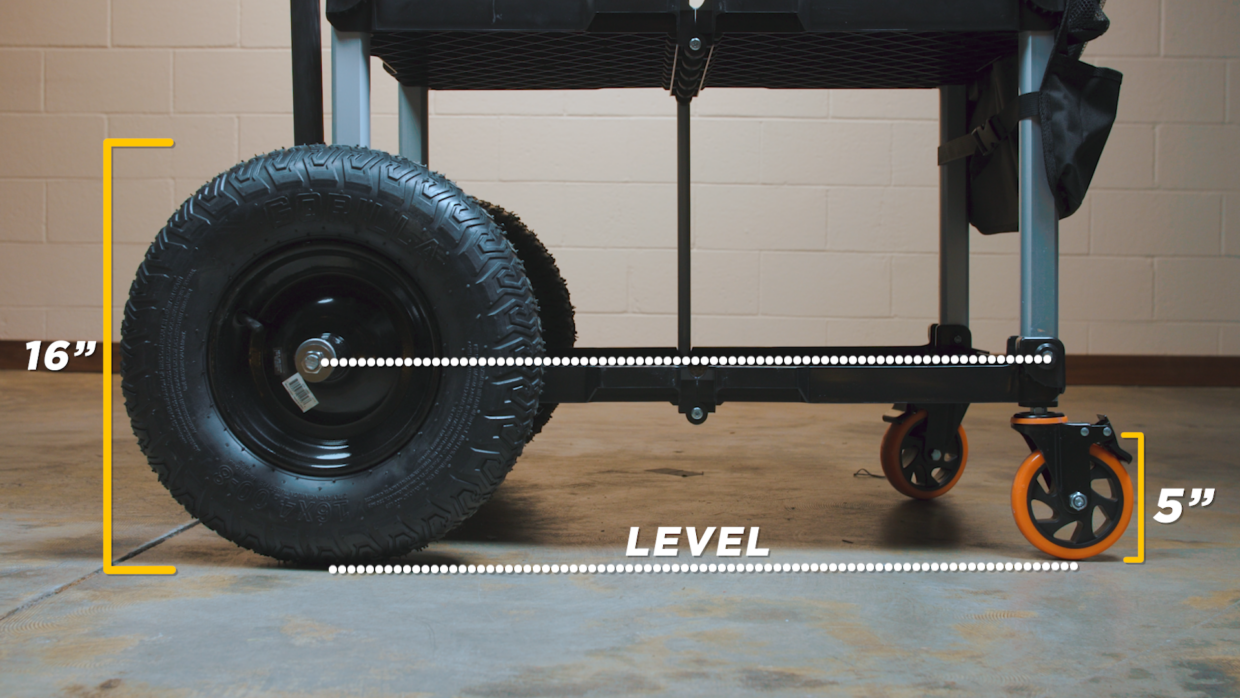
If you’d like to use wheels of a different size, confirm that the cart will still be level when used together.
In our case, we are using 5″ casters and 16″ wheels.

Mod #3 – Boom Pole Holder
If you like us, you’ll need a place to stash your boom or UHF antennae while you work on other things.
Boom Pole Holder – Step 1
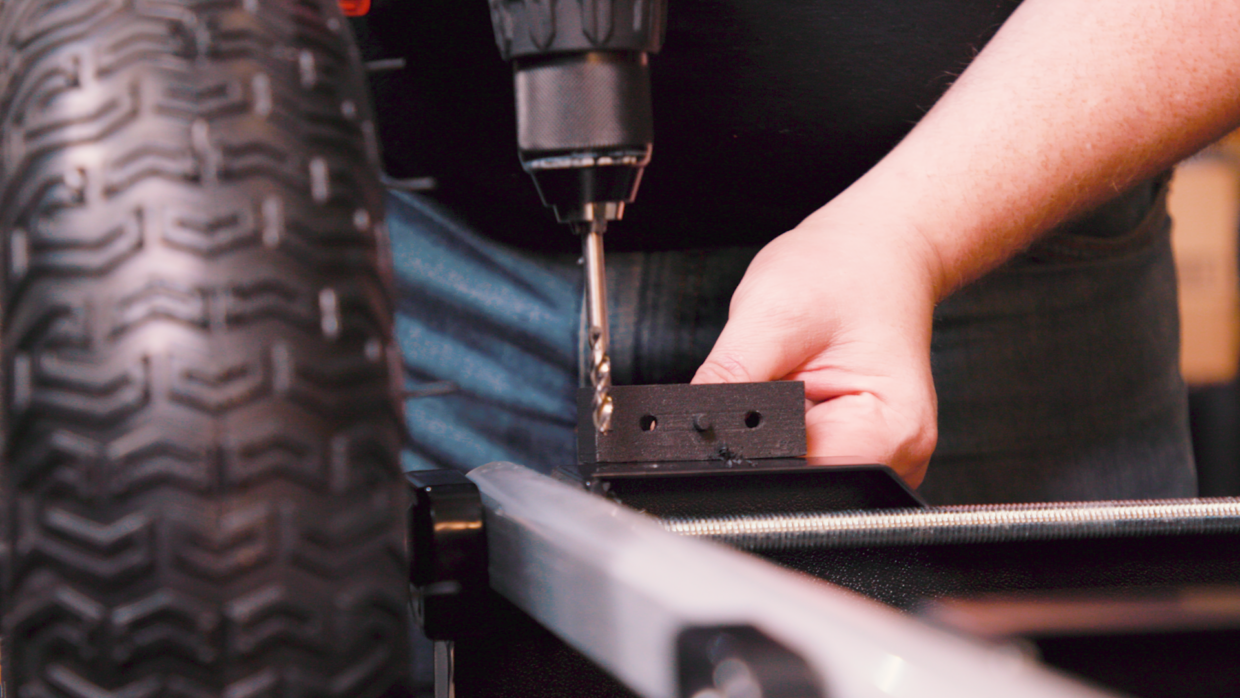
Take your 3D printed boom pole cup and use it as a reference for your drill.
Using a size #10 drill bit, make three holes. 2 for your screws and 1 for the little pin that comes on the print.
Boom Pole Holder – Step 2
Mount the boom pole cup using size #10 screws and nuts.
Boom Pole Holder – Step 3
On the top of the cart screw one #10-sized hole in line with the boom pole cup.
Place a screw through the quick fist and and then 2 #10 nuts on the end of the screw. Then attach the quick fist to the cart.
You need these spacer screws to clear the carts handle above.
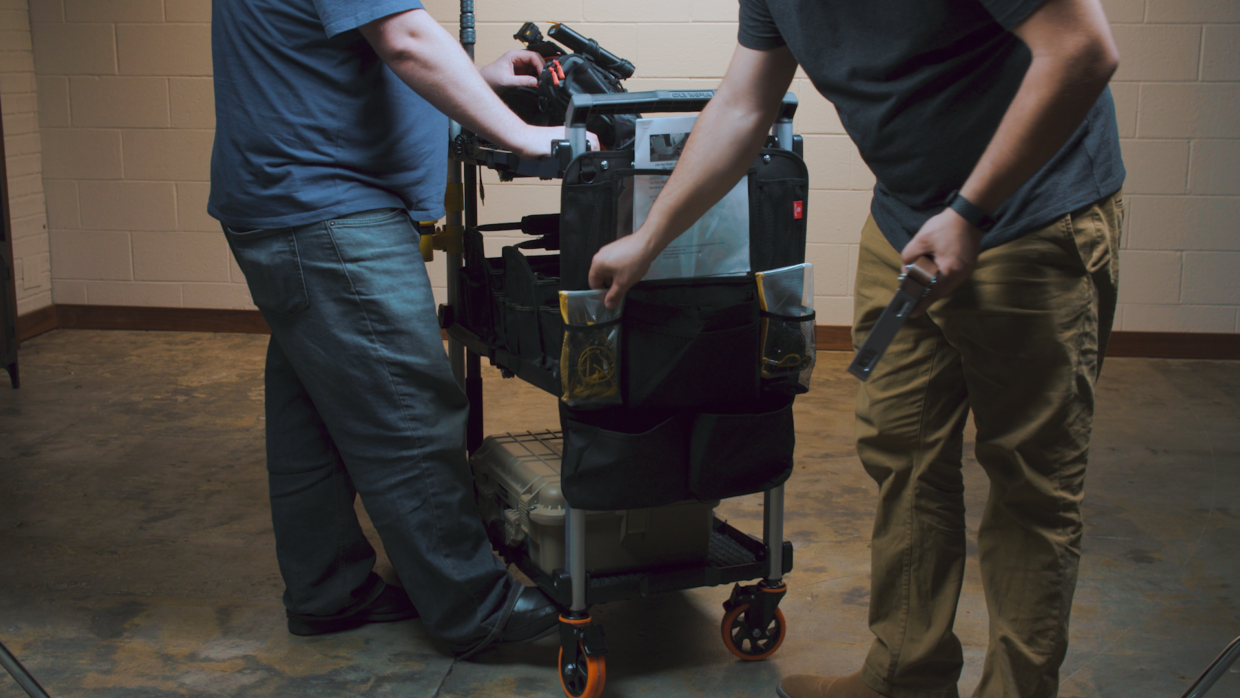
Mod #4 – Accessory pouch
Though there is plenty of shelving space on this cart, you might want an extra area for expendables, slate, or various cables.
Additionally, this area should be accessible while another person is also working at the sound cart.
Accessory Pouch – Step 1
Take a car seat utility pouch and screw four #10-sized holes through the fabric and the top shelf of the cart. Attach the pouch with #10 screws and bolts.
To secure the bottom of the pouch use the included strap and attach it to the stem of a lower shelf.

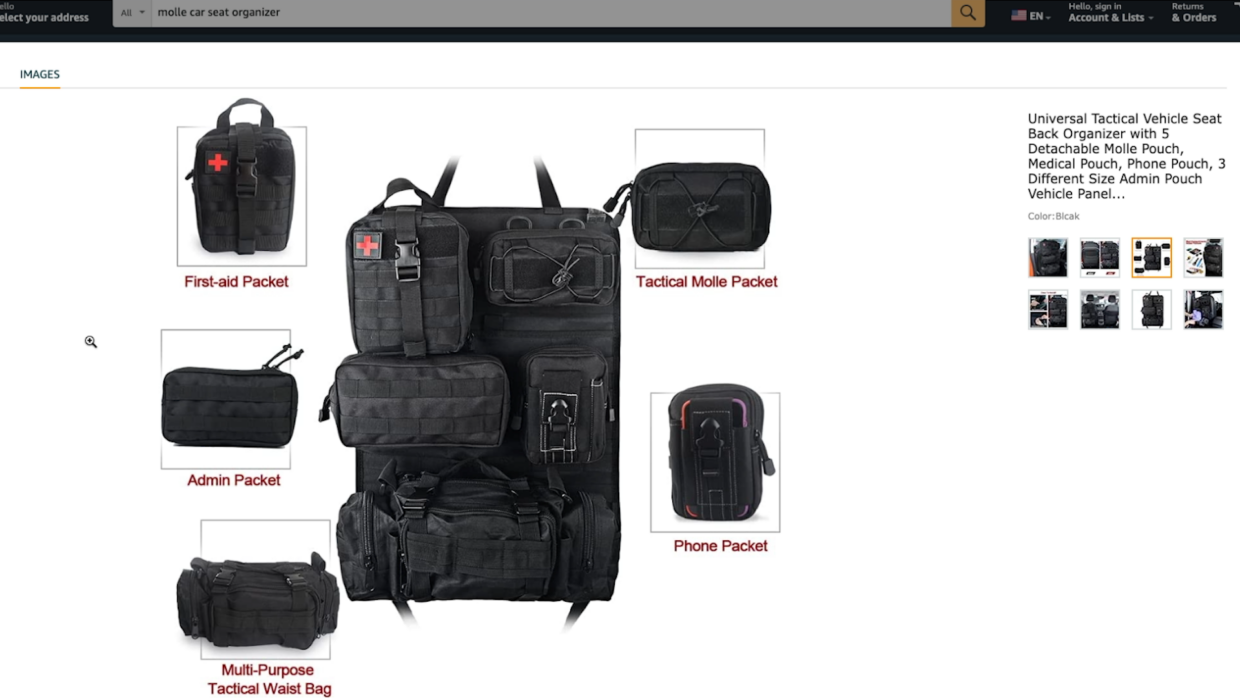
Accessory Pouch – Quick Tip
If you’re looking for an accessory pouch with more versatility, you can always use a Molle mount system to customize things just the way you like.
It does come at a premium price though.
Mod #5 – Carpet Lining
The final bit of polish and function you should add to the cart is also one of the cheapest – carpet lining.
You’ll especially want this mod because it dampens all sound when placing and taking things off the plastic cart.
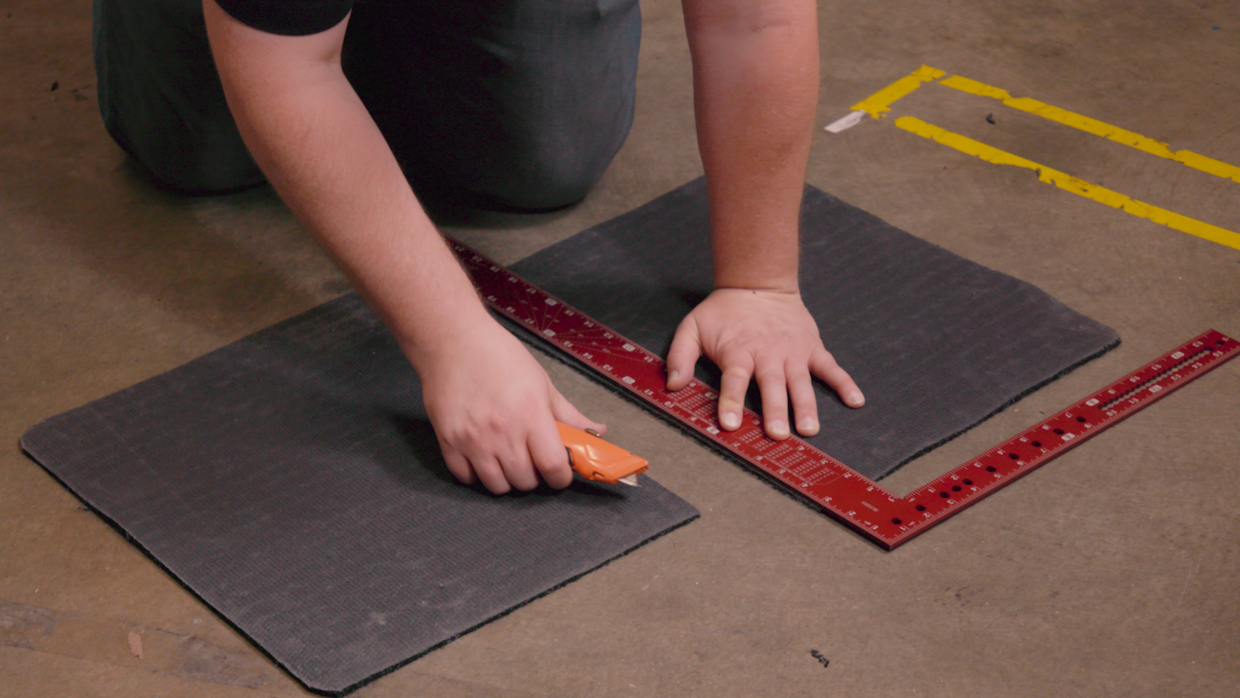
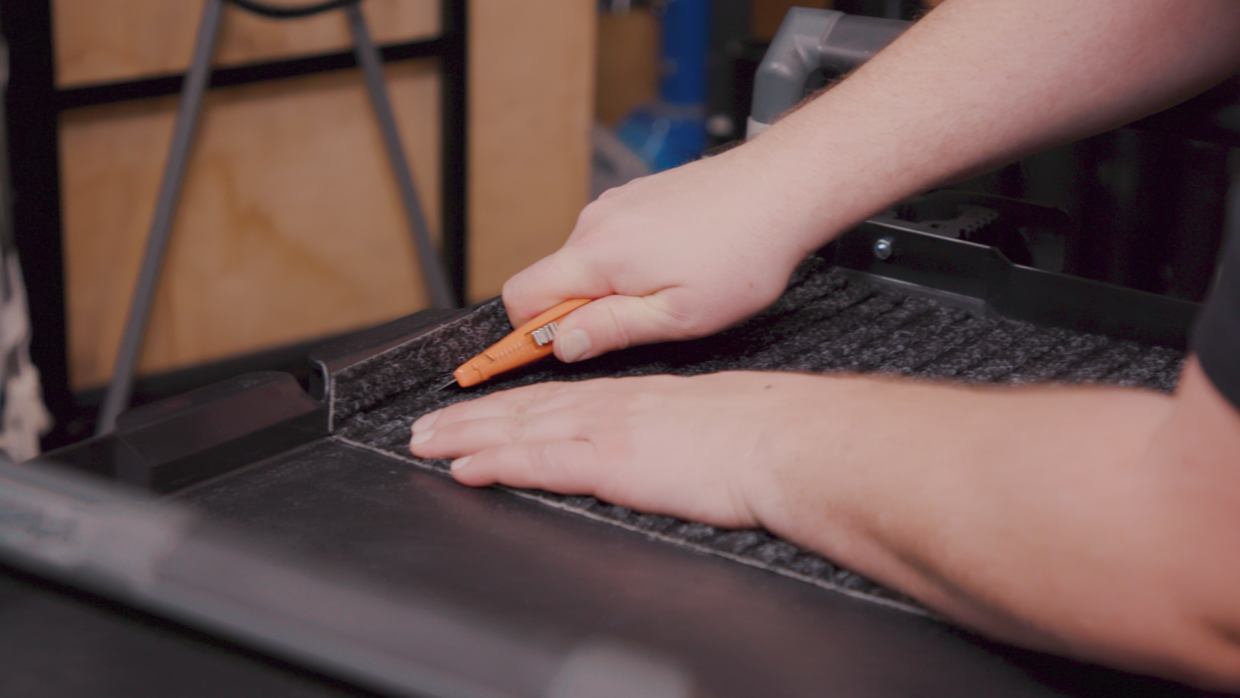
Carpet Lining – Step 1
Using Outdoor carpet, cut the mat in half. We still want to be able to collapse the cart and carpet halves will allow that.
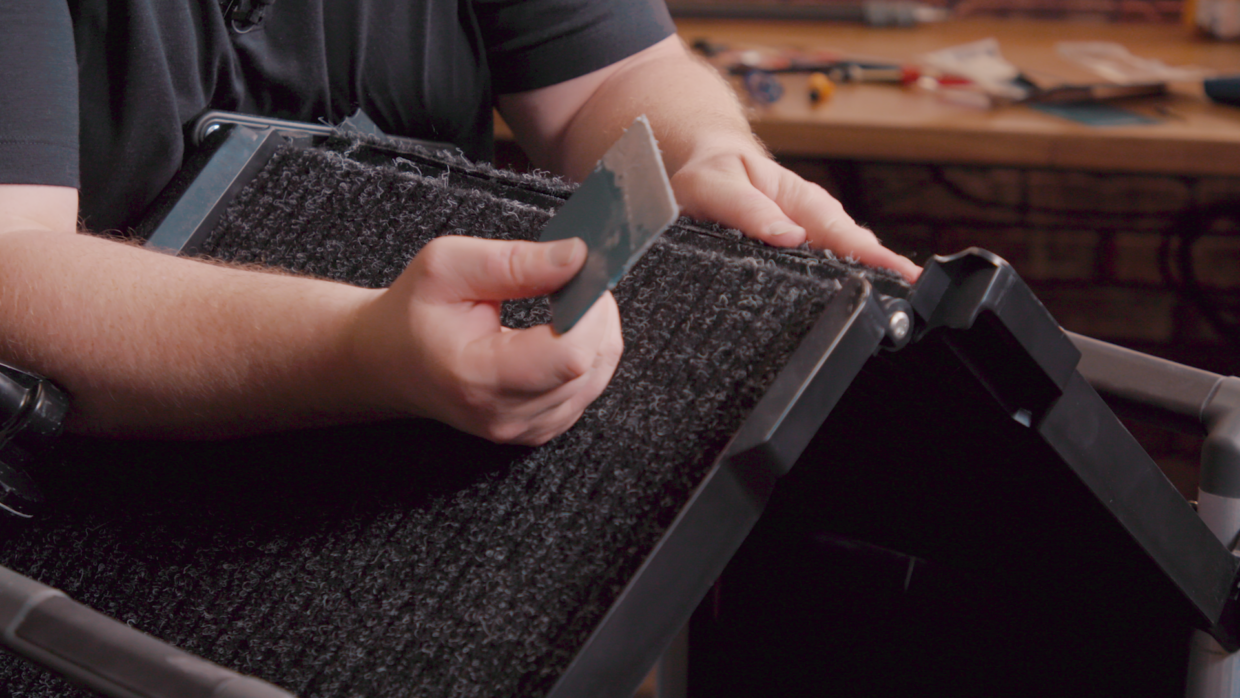
Carpet Lining – Step 2
Using the seem in the center of each shelf as a guide, cut away the excess carpet from each of the edges.
This way is sits flat against the lip of each shelf.
Don’t worry, by the time you do your third shelf you’ll get pretty good at it.
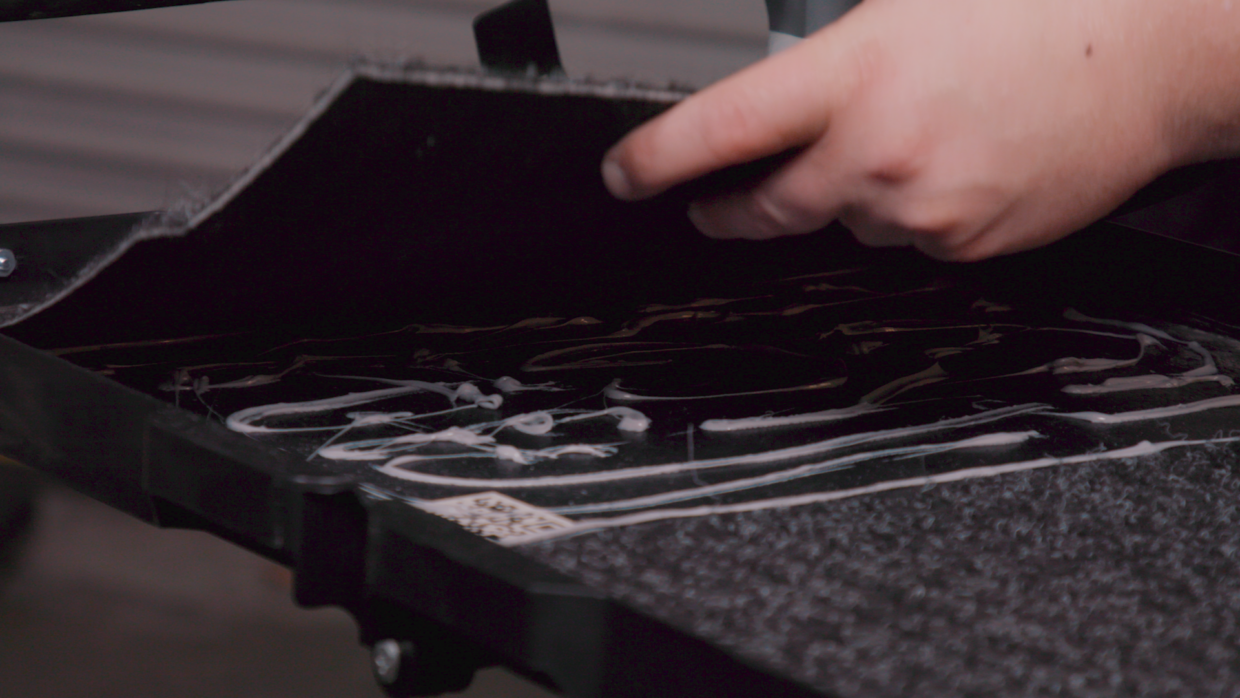
Carpet Lining – Step 3
To lock these into place, spread liquid nails or another rubber and plastic-compatible adhesive over each of the shelves.
Make sure to spread this adhesive all the way to the edge of each shelf to avoid future peeling.
Carpet Lining – Step 4
Angle each of the shelves using some C-stands and sandbags as to avoid gluing them together.
Let dry over night.
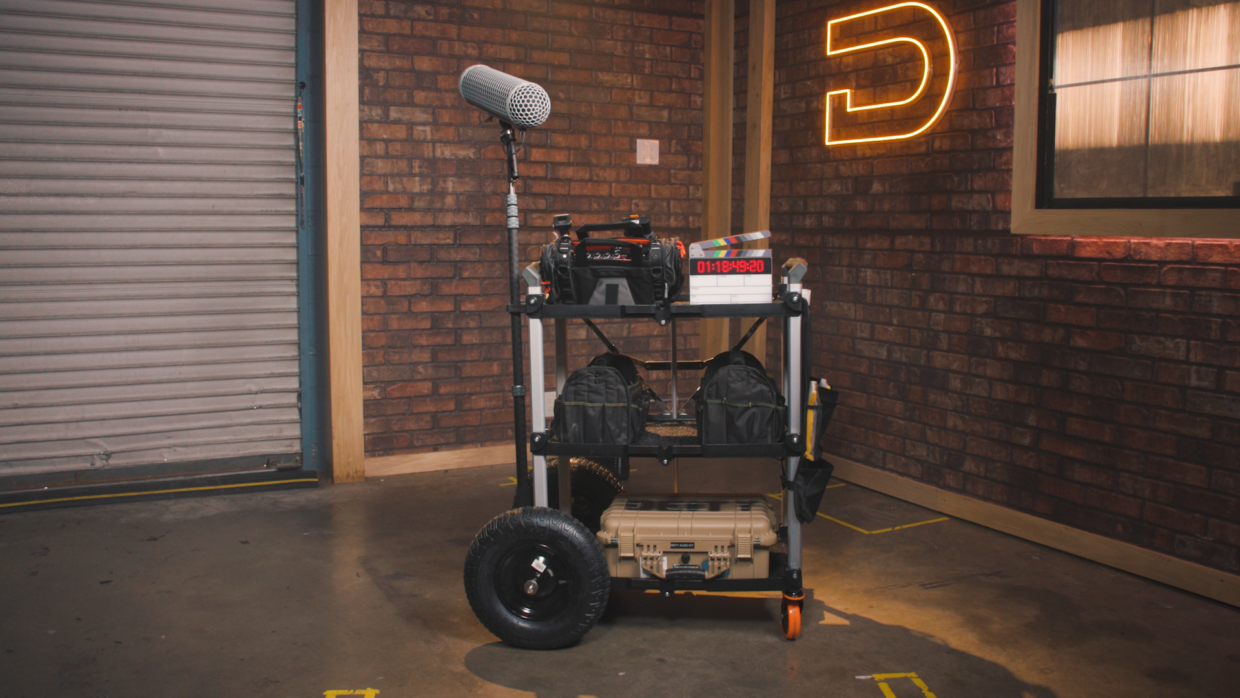
Get Rolling!
With that, you’re looking sharp and are ready to take on your next big set!
For more production sound tips check out our previous DIY build!