Step-By-Step User Guide
Step #1
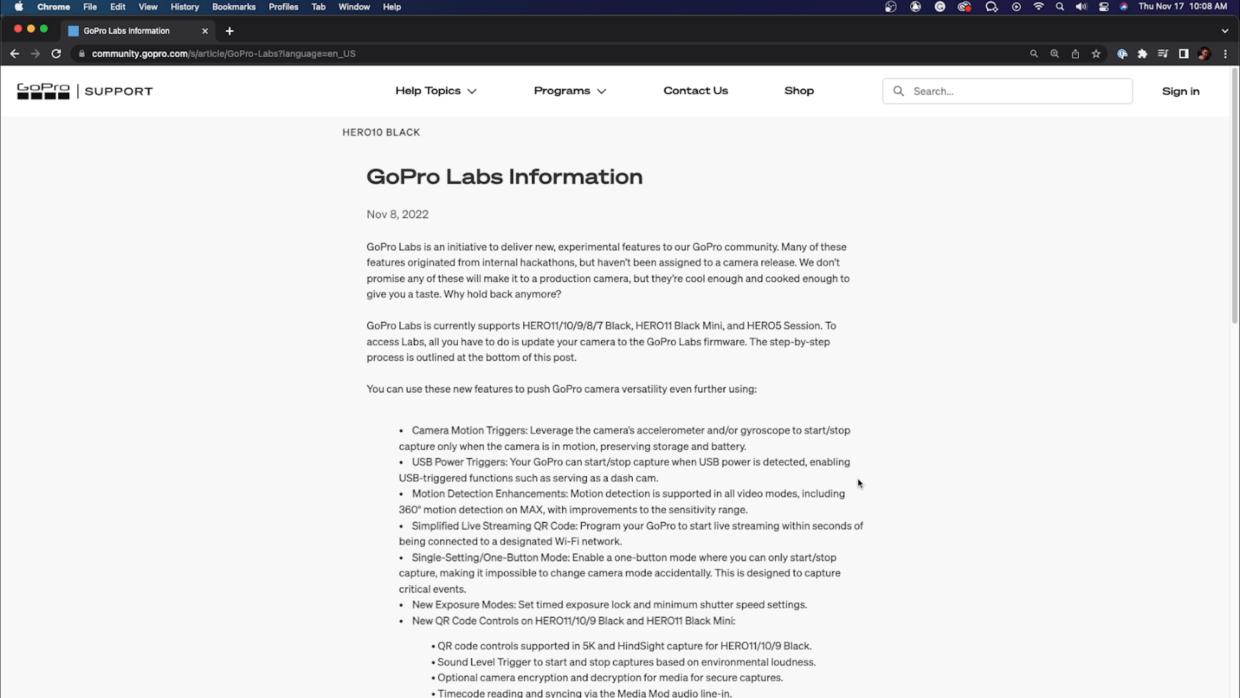
First, you will need to download the GoPro Labs software directly from GoPro. Follow this link.
Step #2
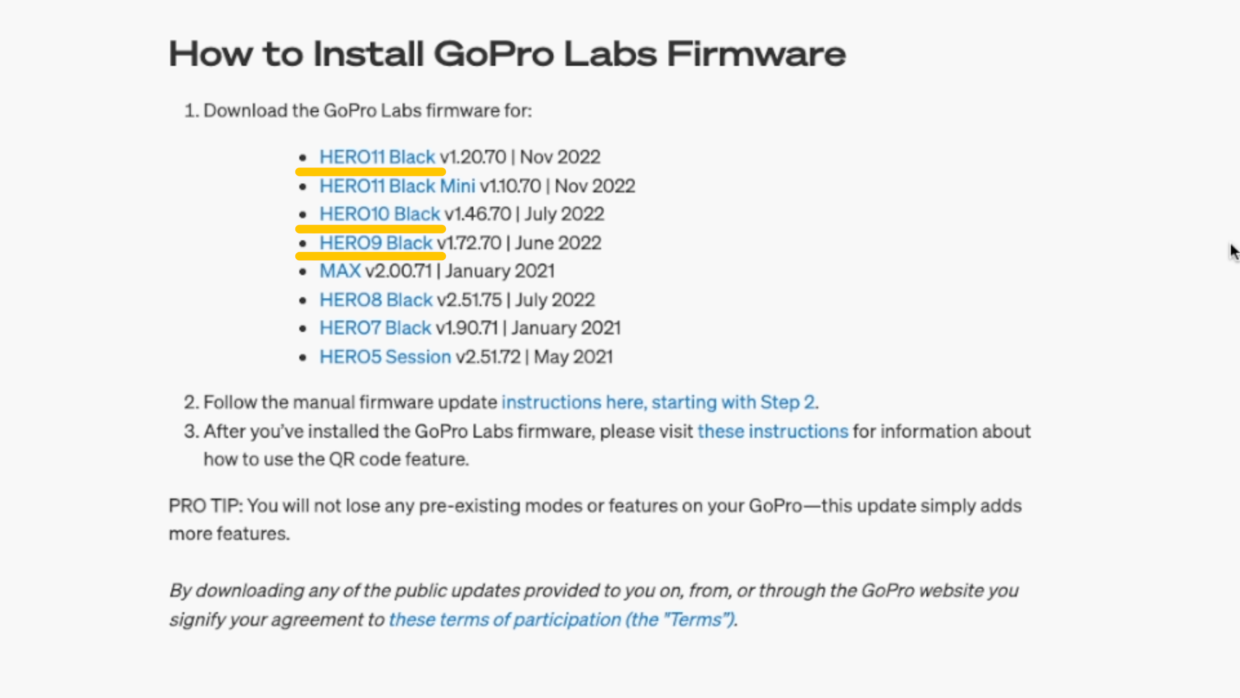
Once the page is open, scroll down and select the firmware for your camera version. Unzip this download and copy it onto a micro SD card as you would a normal GoPro update.
Note that the timecode function is currently only available on the GoPro Hero 9, 10, and 11 Black.
Step #3
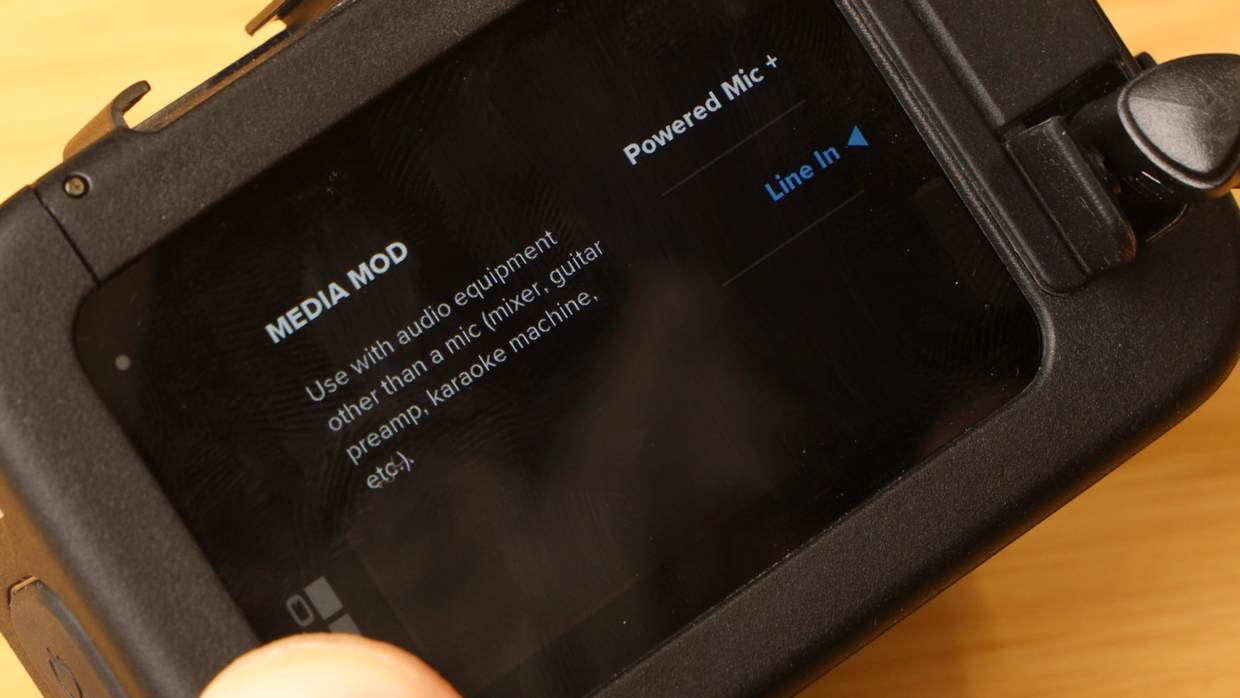
To utilize this new software you will need a GoPro Media mod. Once that’s connected, go into your camera menu & select “preferences.”
Inside that select “Media Mod” and then make sure “Line-In” is selected.
Step #4
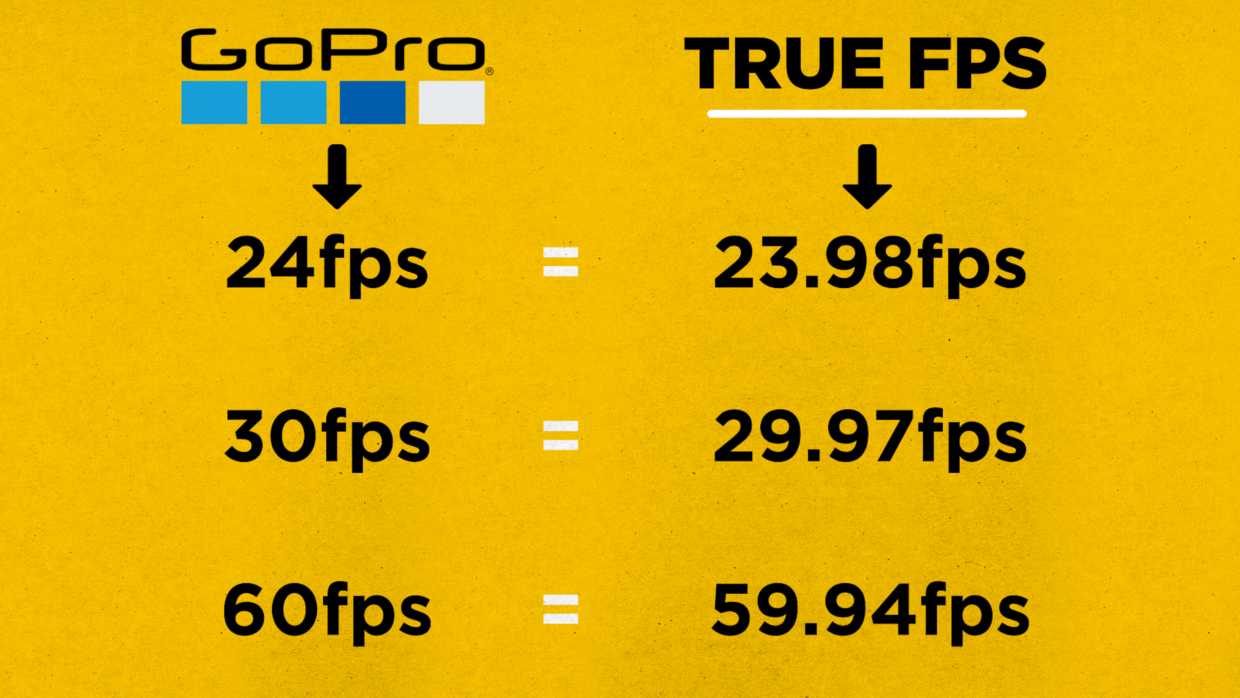
Really quickly, confirm your frame rate, in this case I’m using 23.98. Be warned, even though the GoPro menu says 24fps it’s actually 23.98.
The same is true for 30fps being 29.97 and 60fps being 59.94.
Step #5
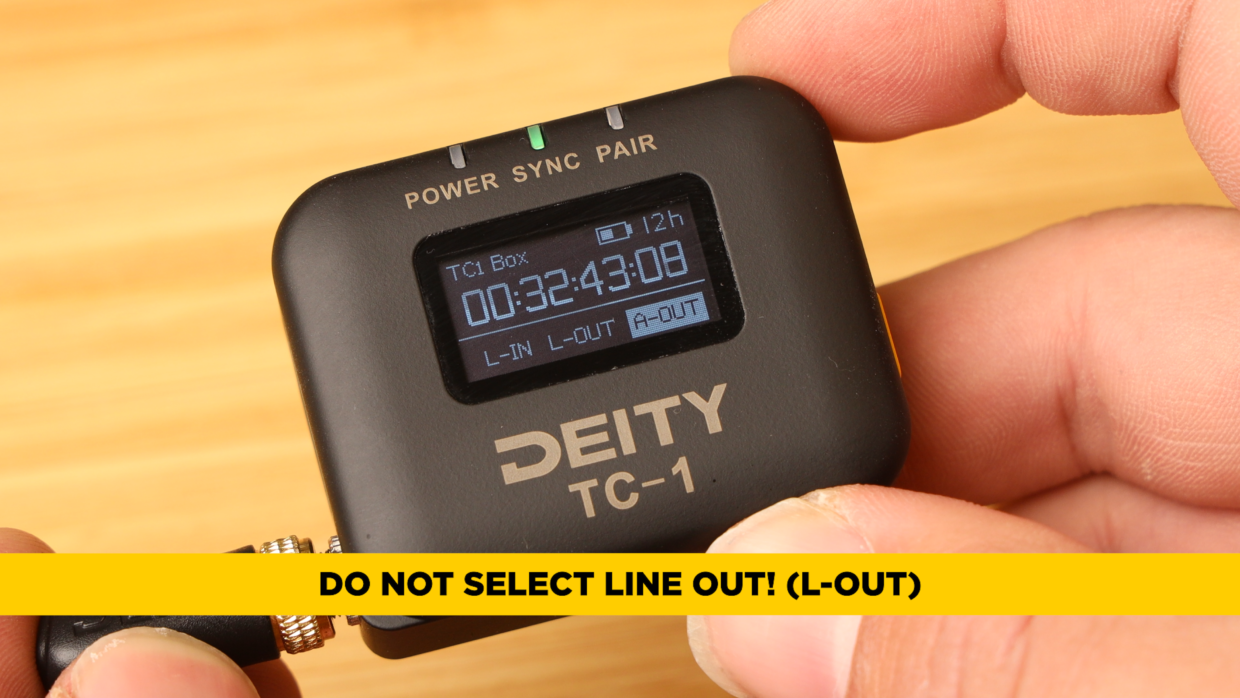
On your Deity TC-1, scroll over to the frame rate section and match it to the camera. Next, scroll over to the out type section and select “A-Out.”
Do not select “line out” (L-Out).
Step #6
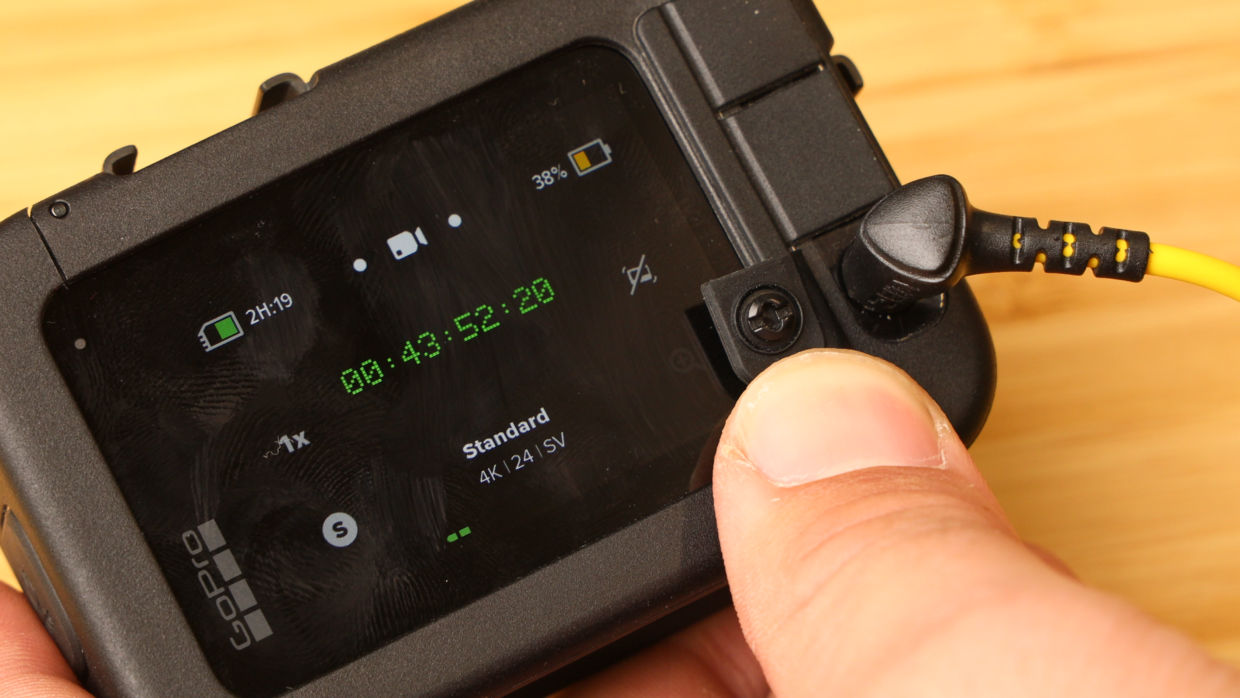
Next, grab a 3.5 to 3.5 TRS cable and locate the mic input on the back right of the media mod.
Once you plug in the cable, yellow or red timecode will appear on the screen. Once it turns green, you’ll know that your timecode is locked in.

Step #7
Your timecode will now be on the left channel, while the TC-1 scratch audio is on the right.
Additionally, the timecode signal will be encoded onto the GoPros internal clock, giving you timecode metadata as well.
What about post?
Once you have the footage you need, drop it into your editing software of choice.
We’ve already made tutorials on how to sync timecode in Adobe Premiere and DaVinci Resolve but I’m gonna show you how to get rid of the timecode buzzing in your left audio channel.
Davinci Resolve
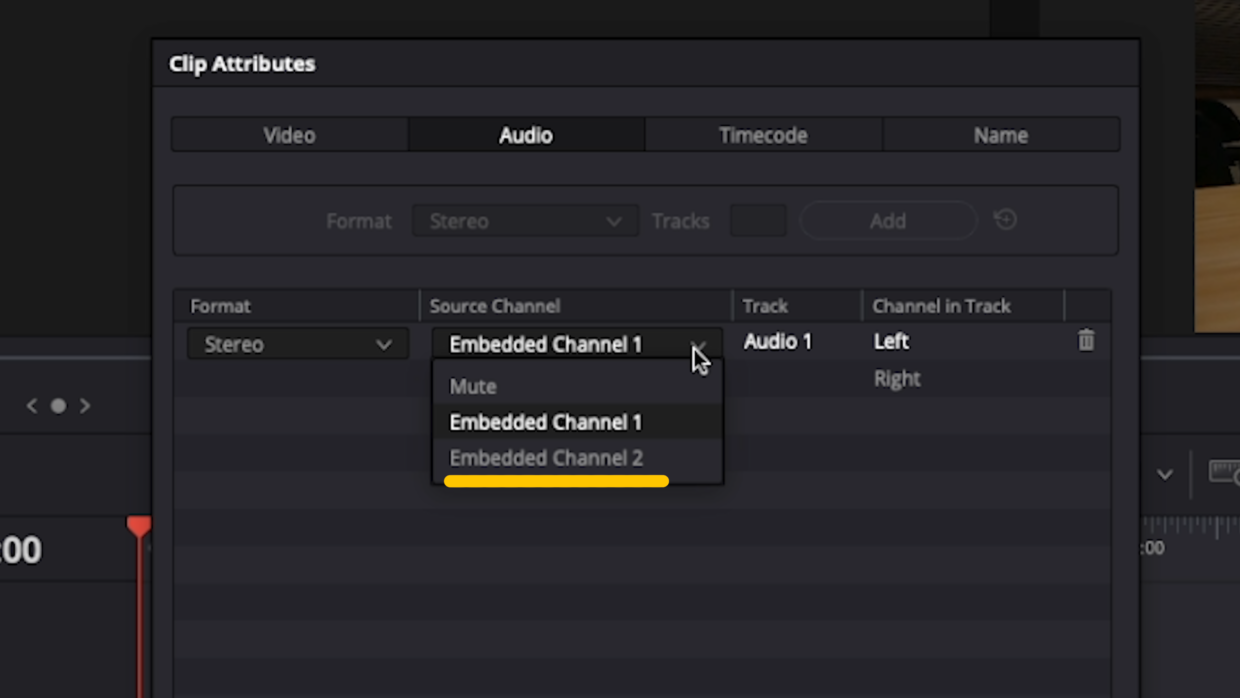
Highlight all of your GoPro clips and select “clip attributes.”
Inside this, navigate to the audio sub-menu. Go to your left source channel drop-down menu and select “embedded channel 2”.
This will take the TC-1 scratch audio from the right channel and replace the timecode audio on the left channel.
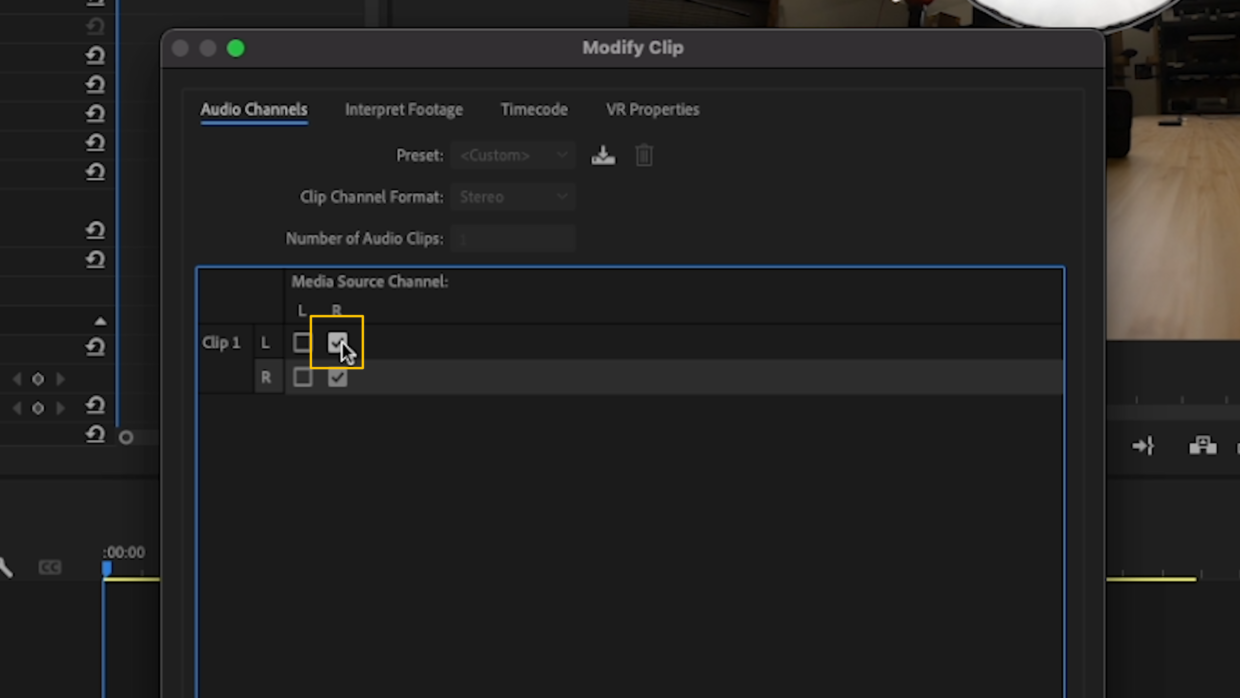
Adobe Premiere
Highlight all of your GoPro clips and right-click.
Selecting “audio channels” will open the modify clip window. Inside this, change your left channel’s media source to be from your right channel.
This will take the TC-1 scratch audio from the right channel and replace the timecode audio on the left channel.

You’re Connected!
Your GoPro Hero 9, 10, & 11 is ready to be synced with the rest of your set!
If you need help syncing your Deity TC-1 to your other Deity TC-1 timecode generators, here is a User Guide!
Connect all your devices to your phone or laptop via Sidus Audio™️. With our app, you can control your device’s settings, monitor their status, and sync all your units at once. Learn More
For the user guide to Sidus Audio™️ Click Here


Drop a comment down below if you have any cameras or mixers you’d like to see tutorials for!